Easy Homemade Pie Crust
Pie crust has to be my favorite part of any pie. As a kid I would eat around the filling and just eat the crust.
In the past, I have avoided making pie crust opting instead to buy the premade stuff from the grocery store. But I have recently learned a new technique that makes this homemade pie crust so easy and super flaky!
Better than any pie crust you would get in the store!
How To Make It
The key to this recipe isn’t the actual recipe. It’s in the process.
Let’s start with the basics
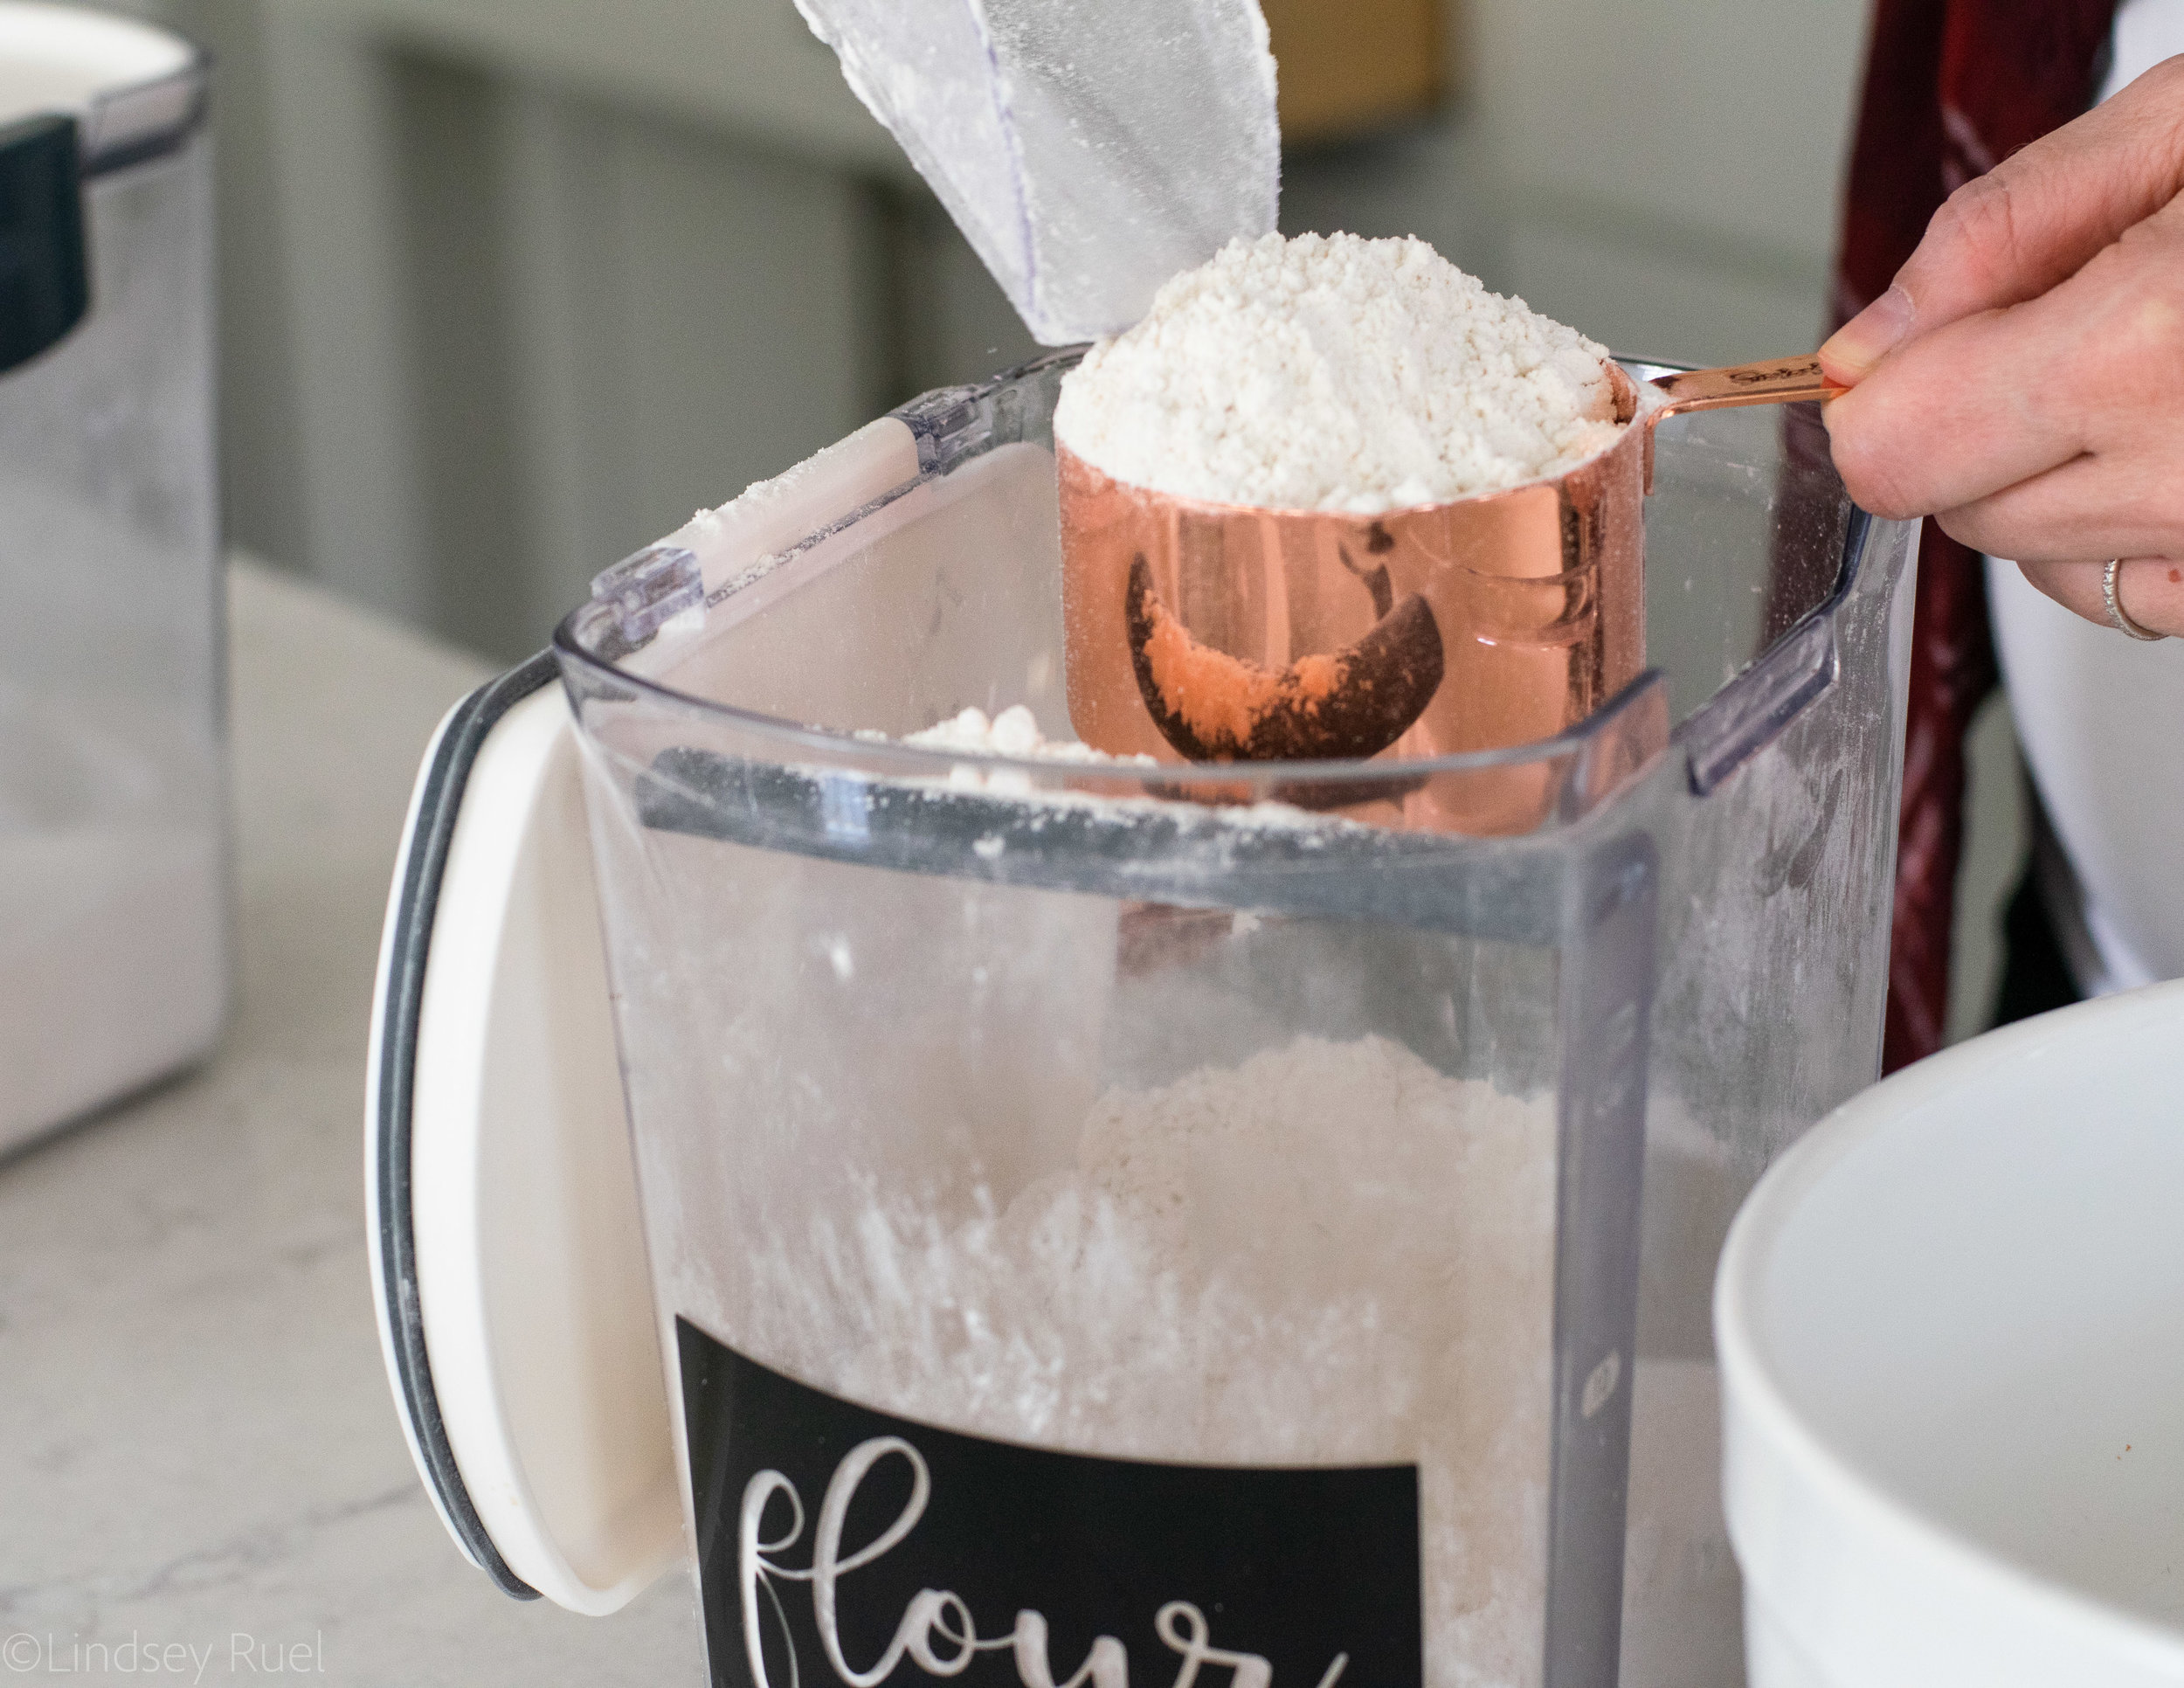
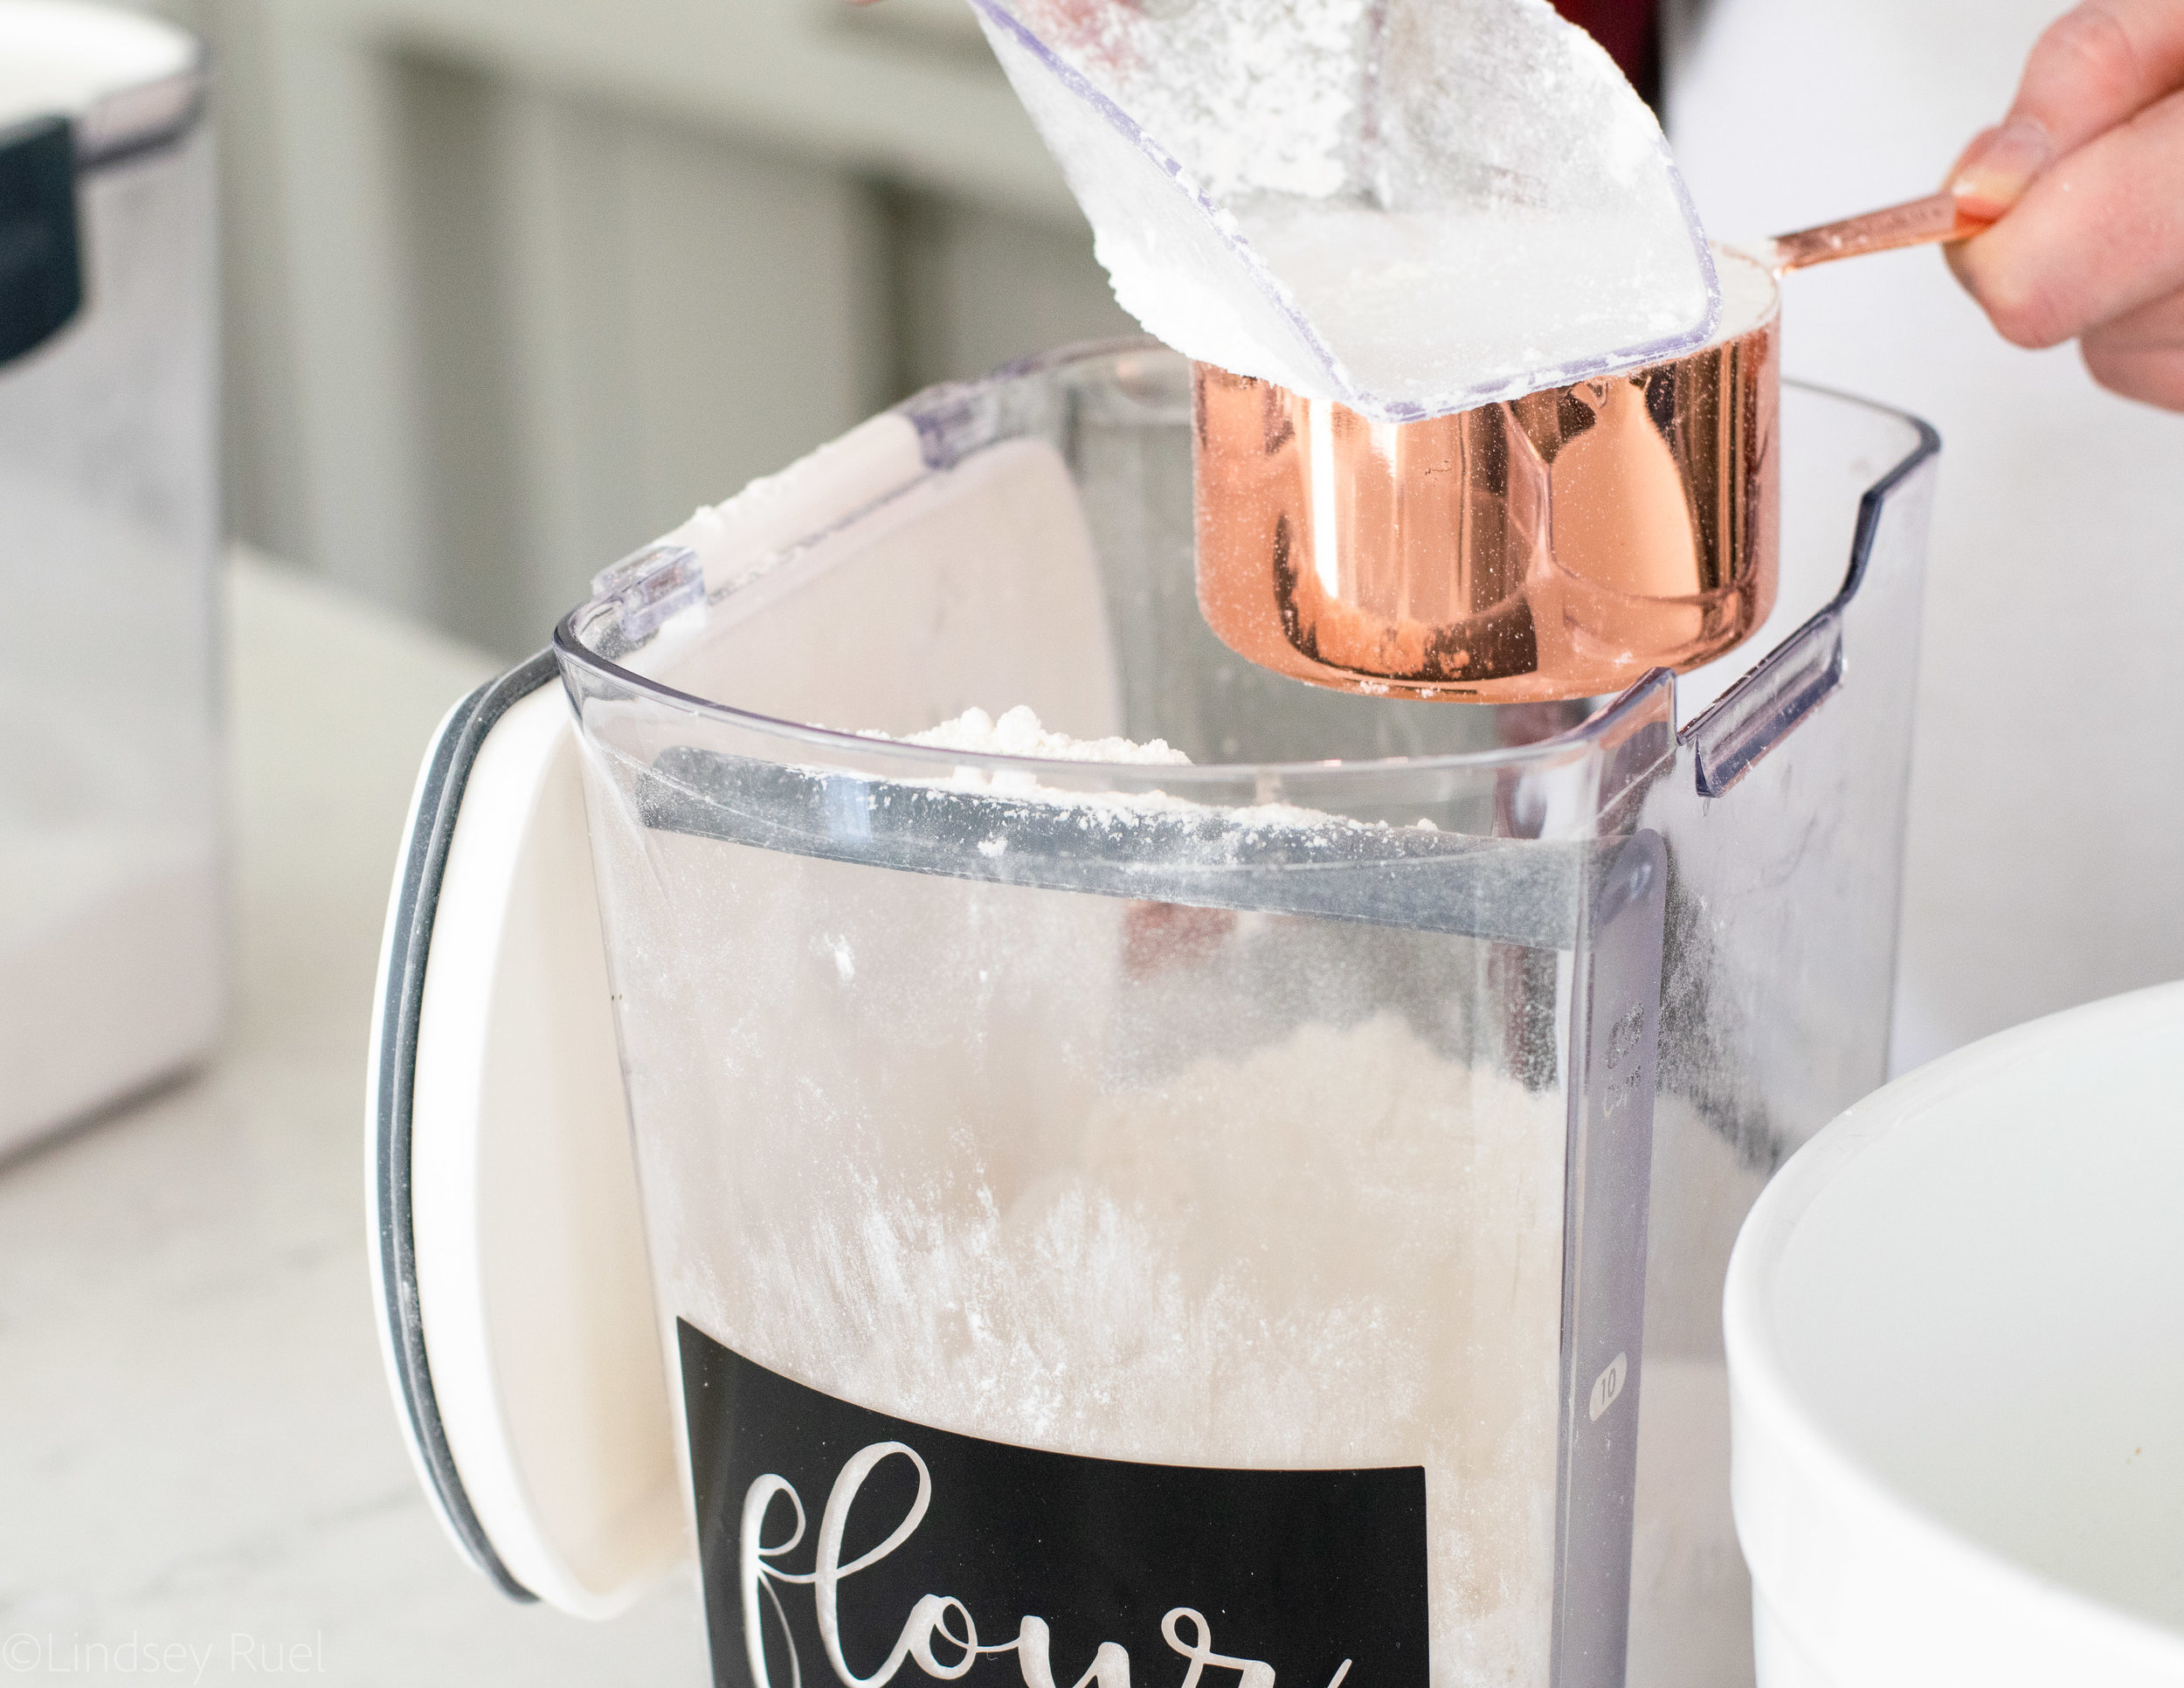
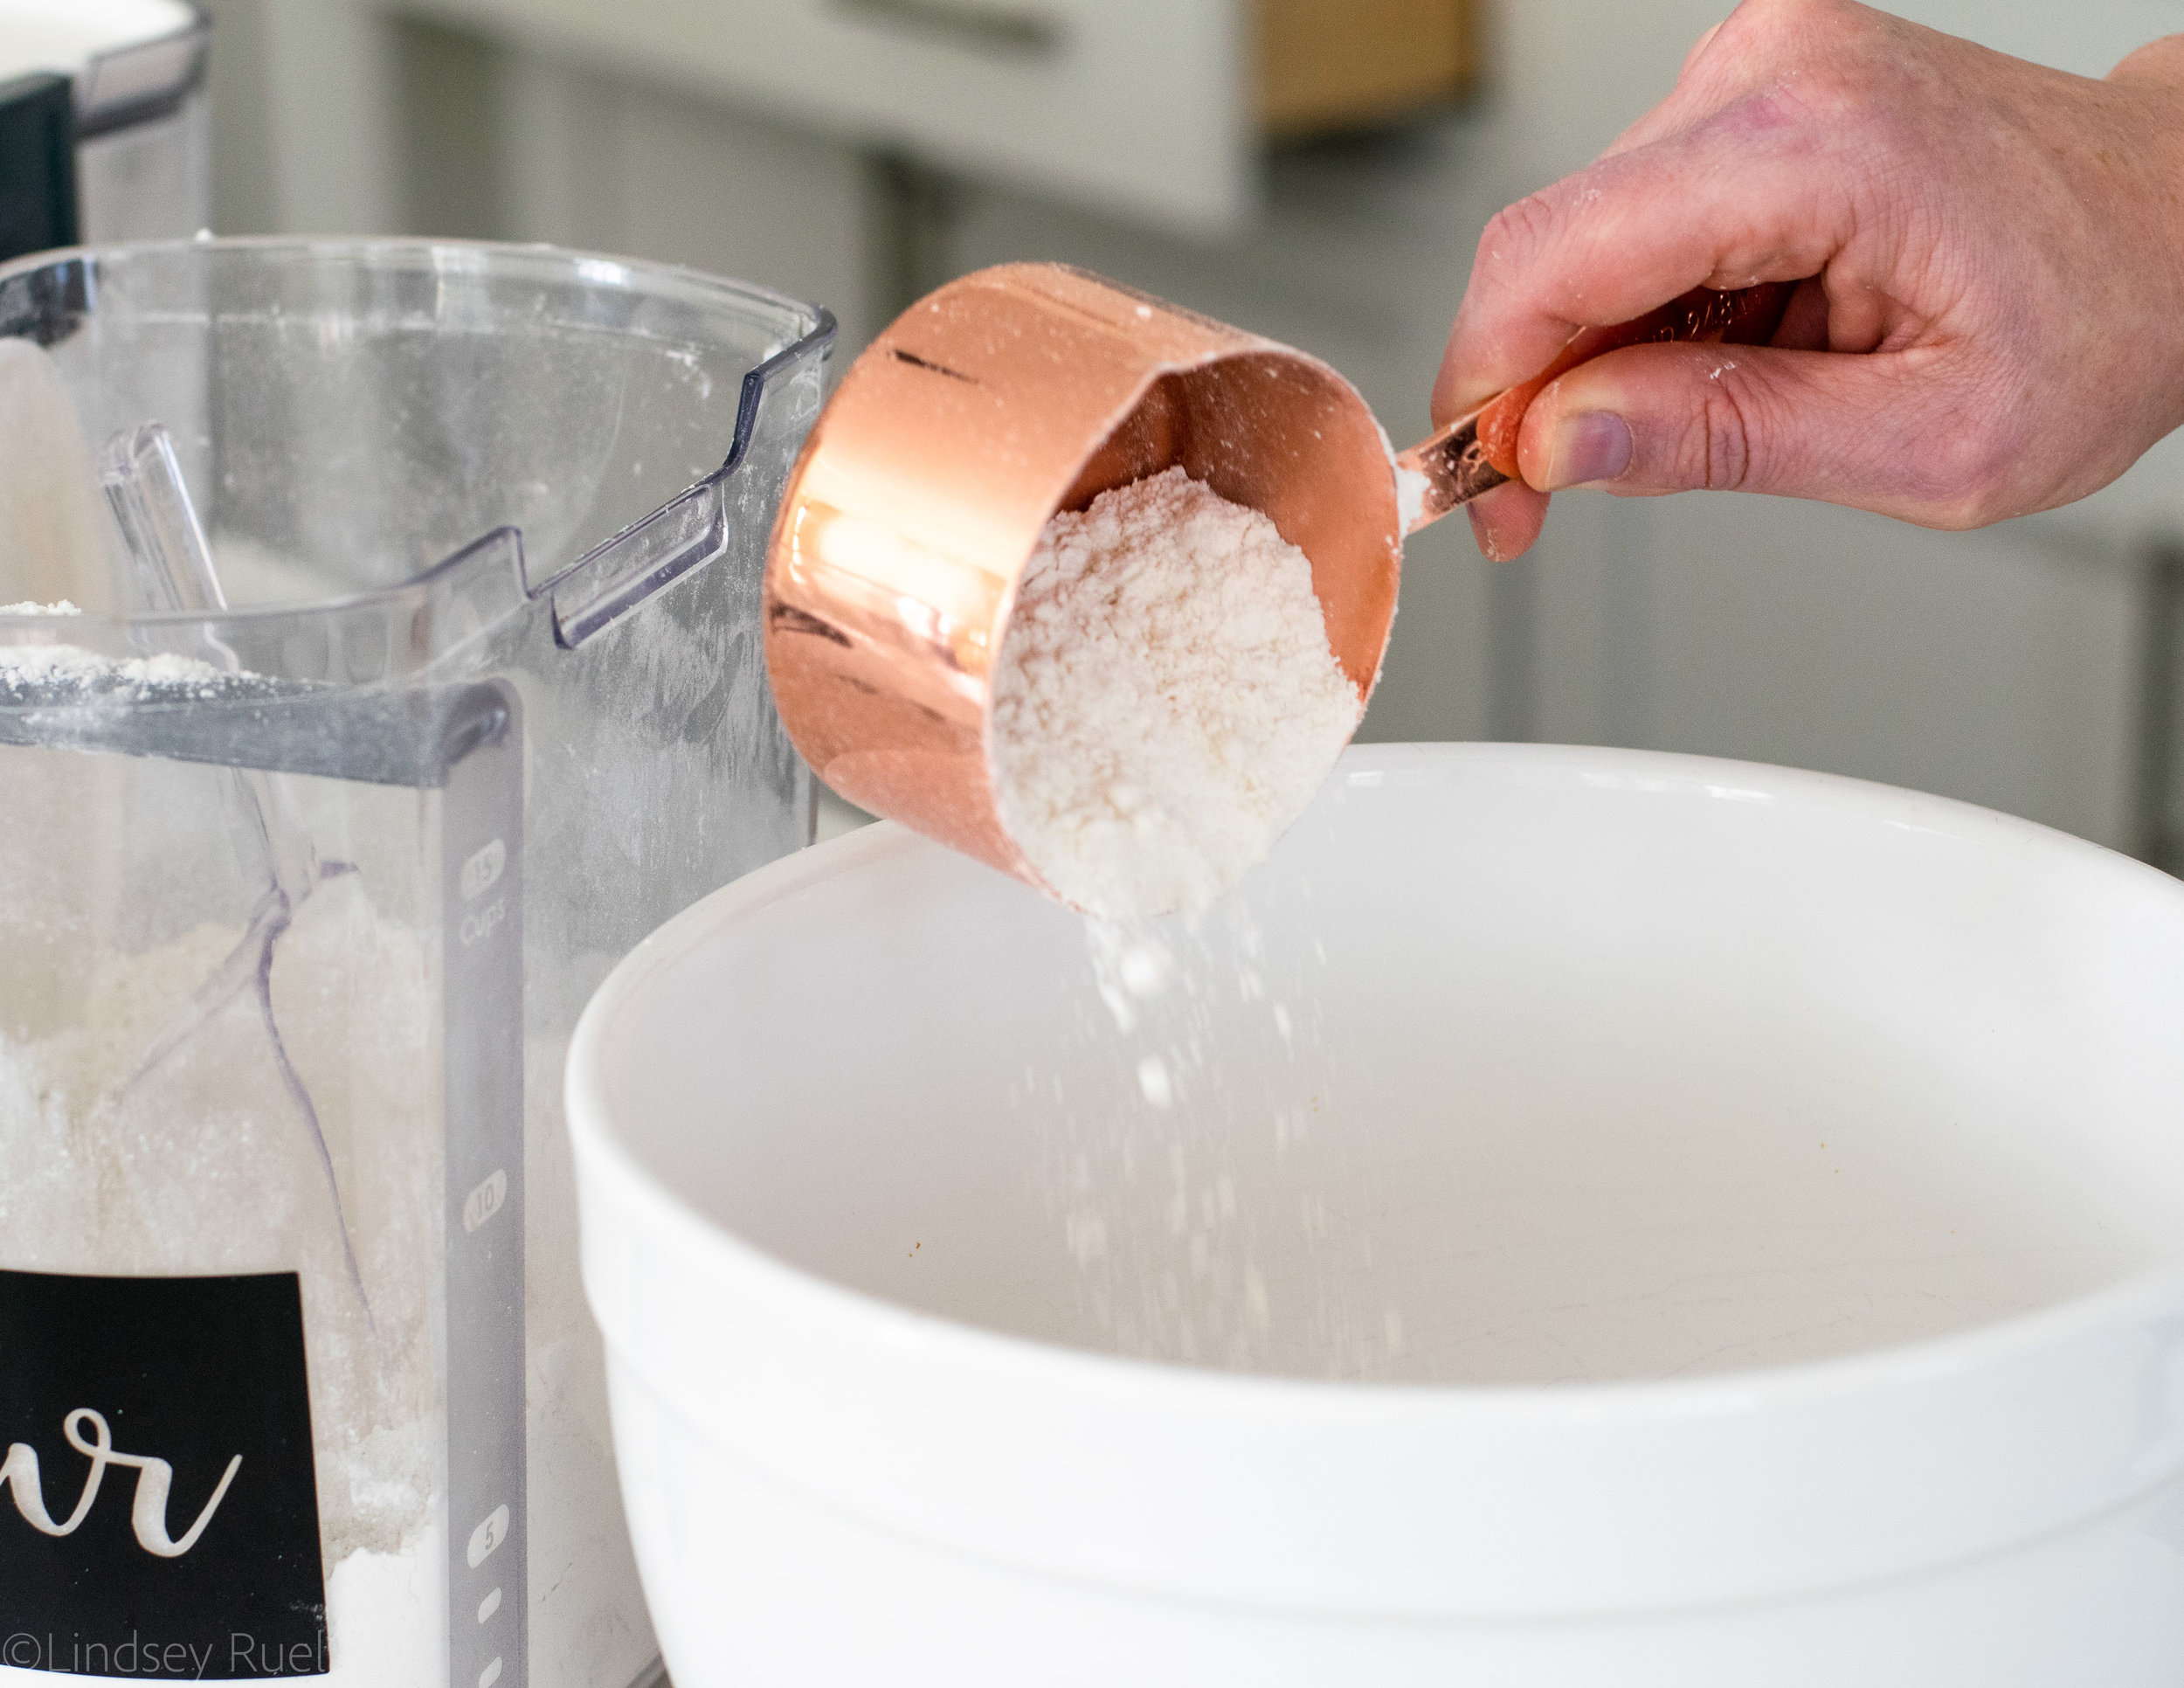
First measure your flour.
I recommend spooning the flour into your measuring cup then leveling off. That will give you the most accurate measurement.
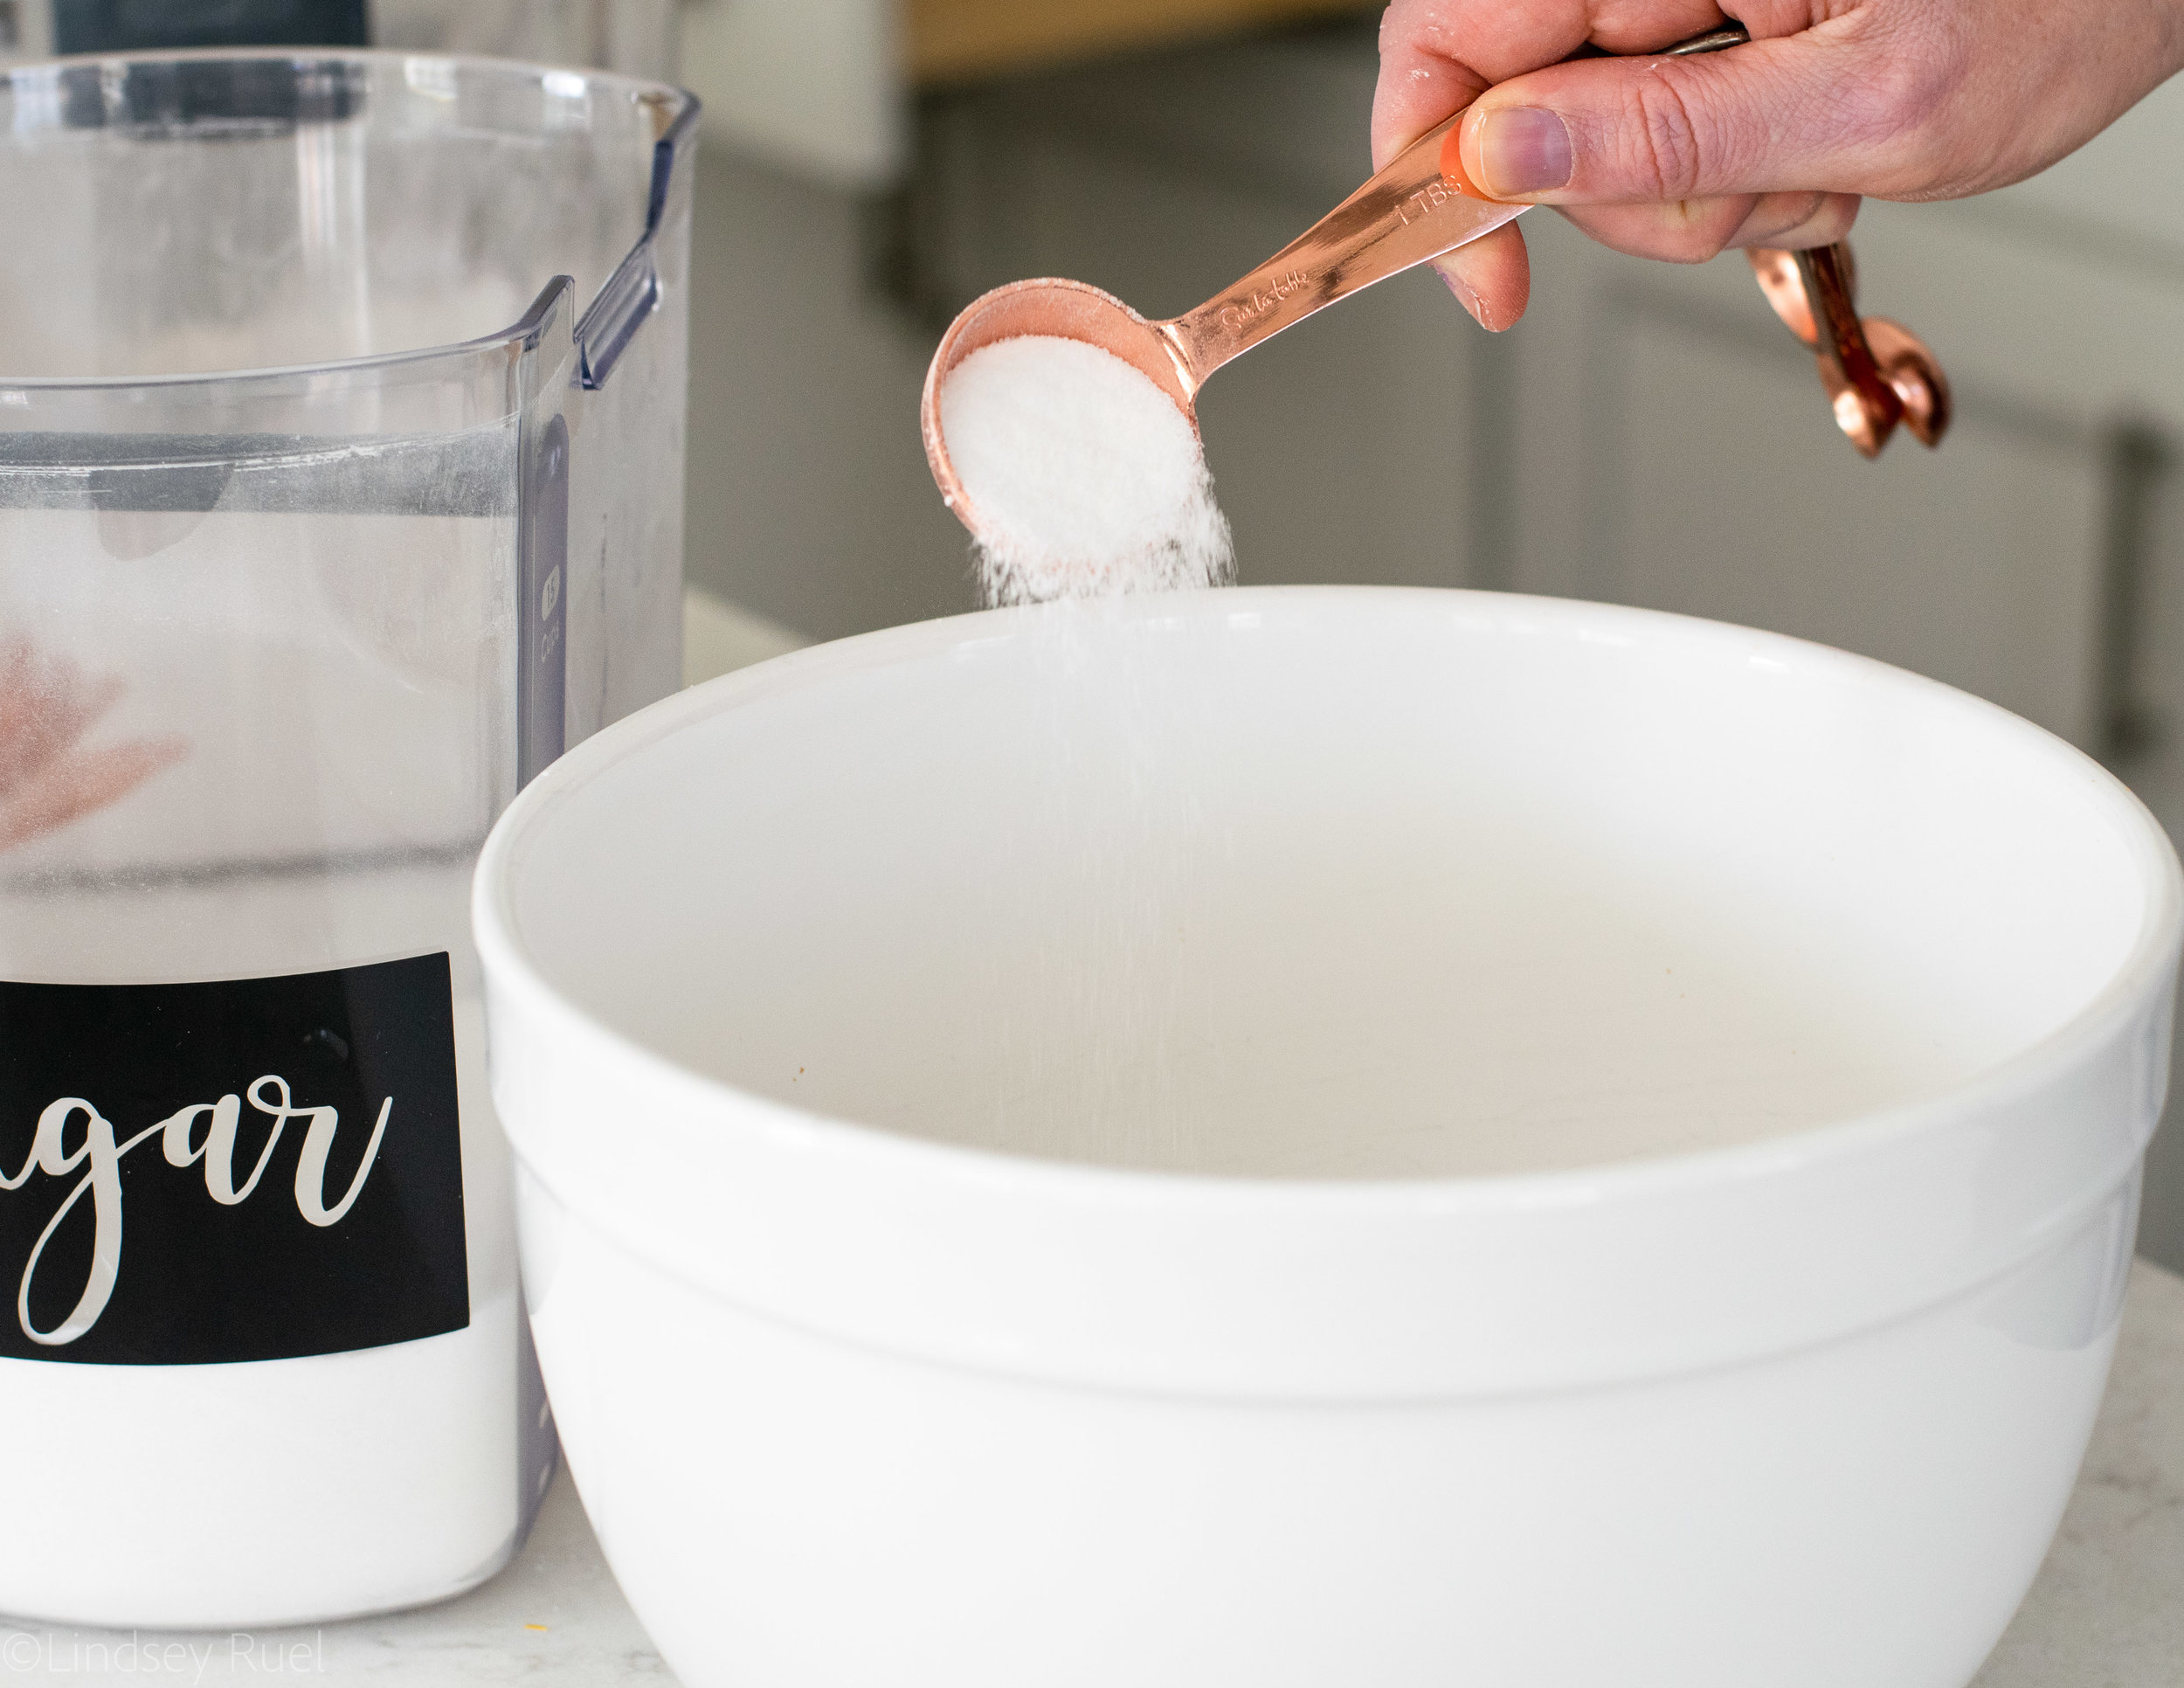
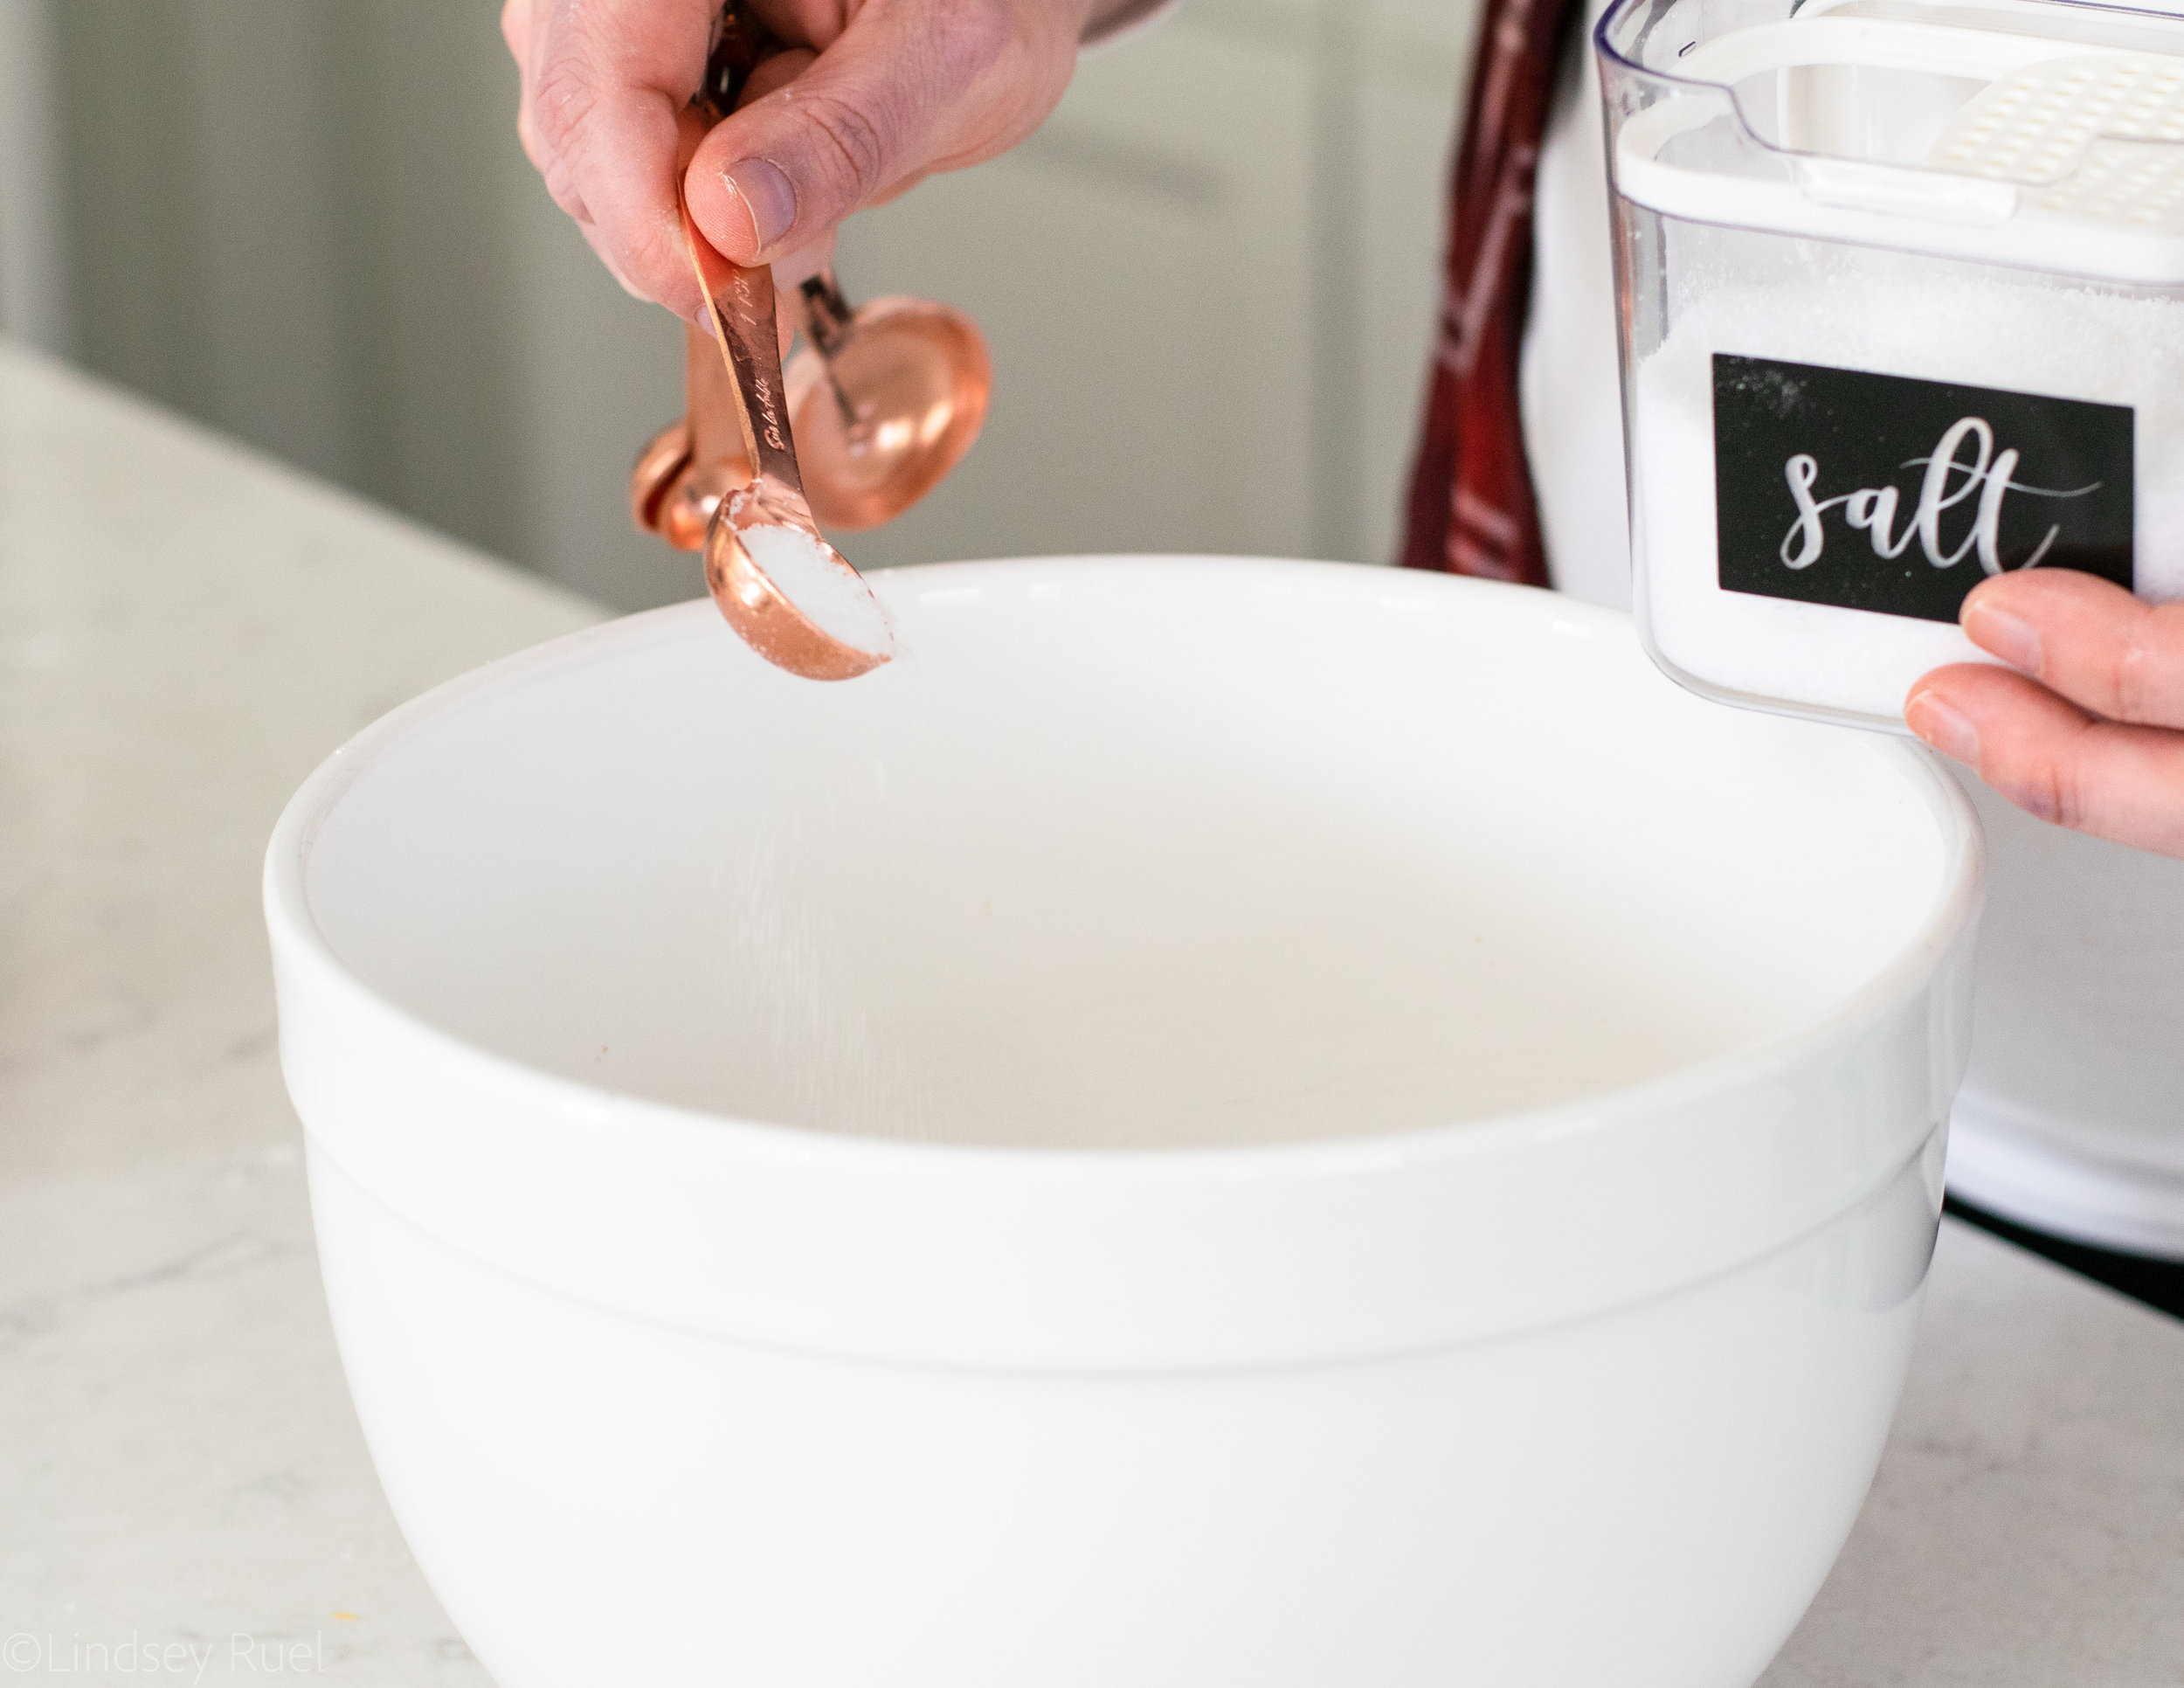
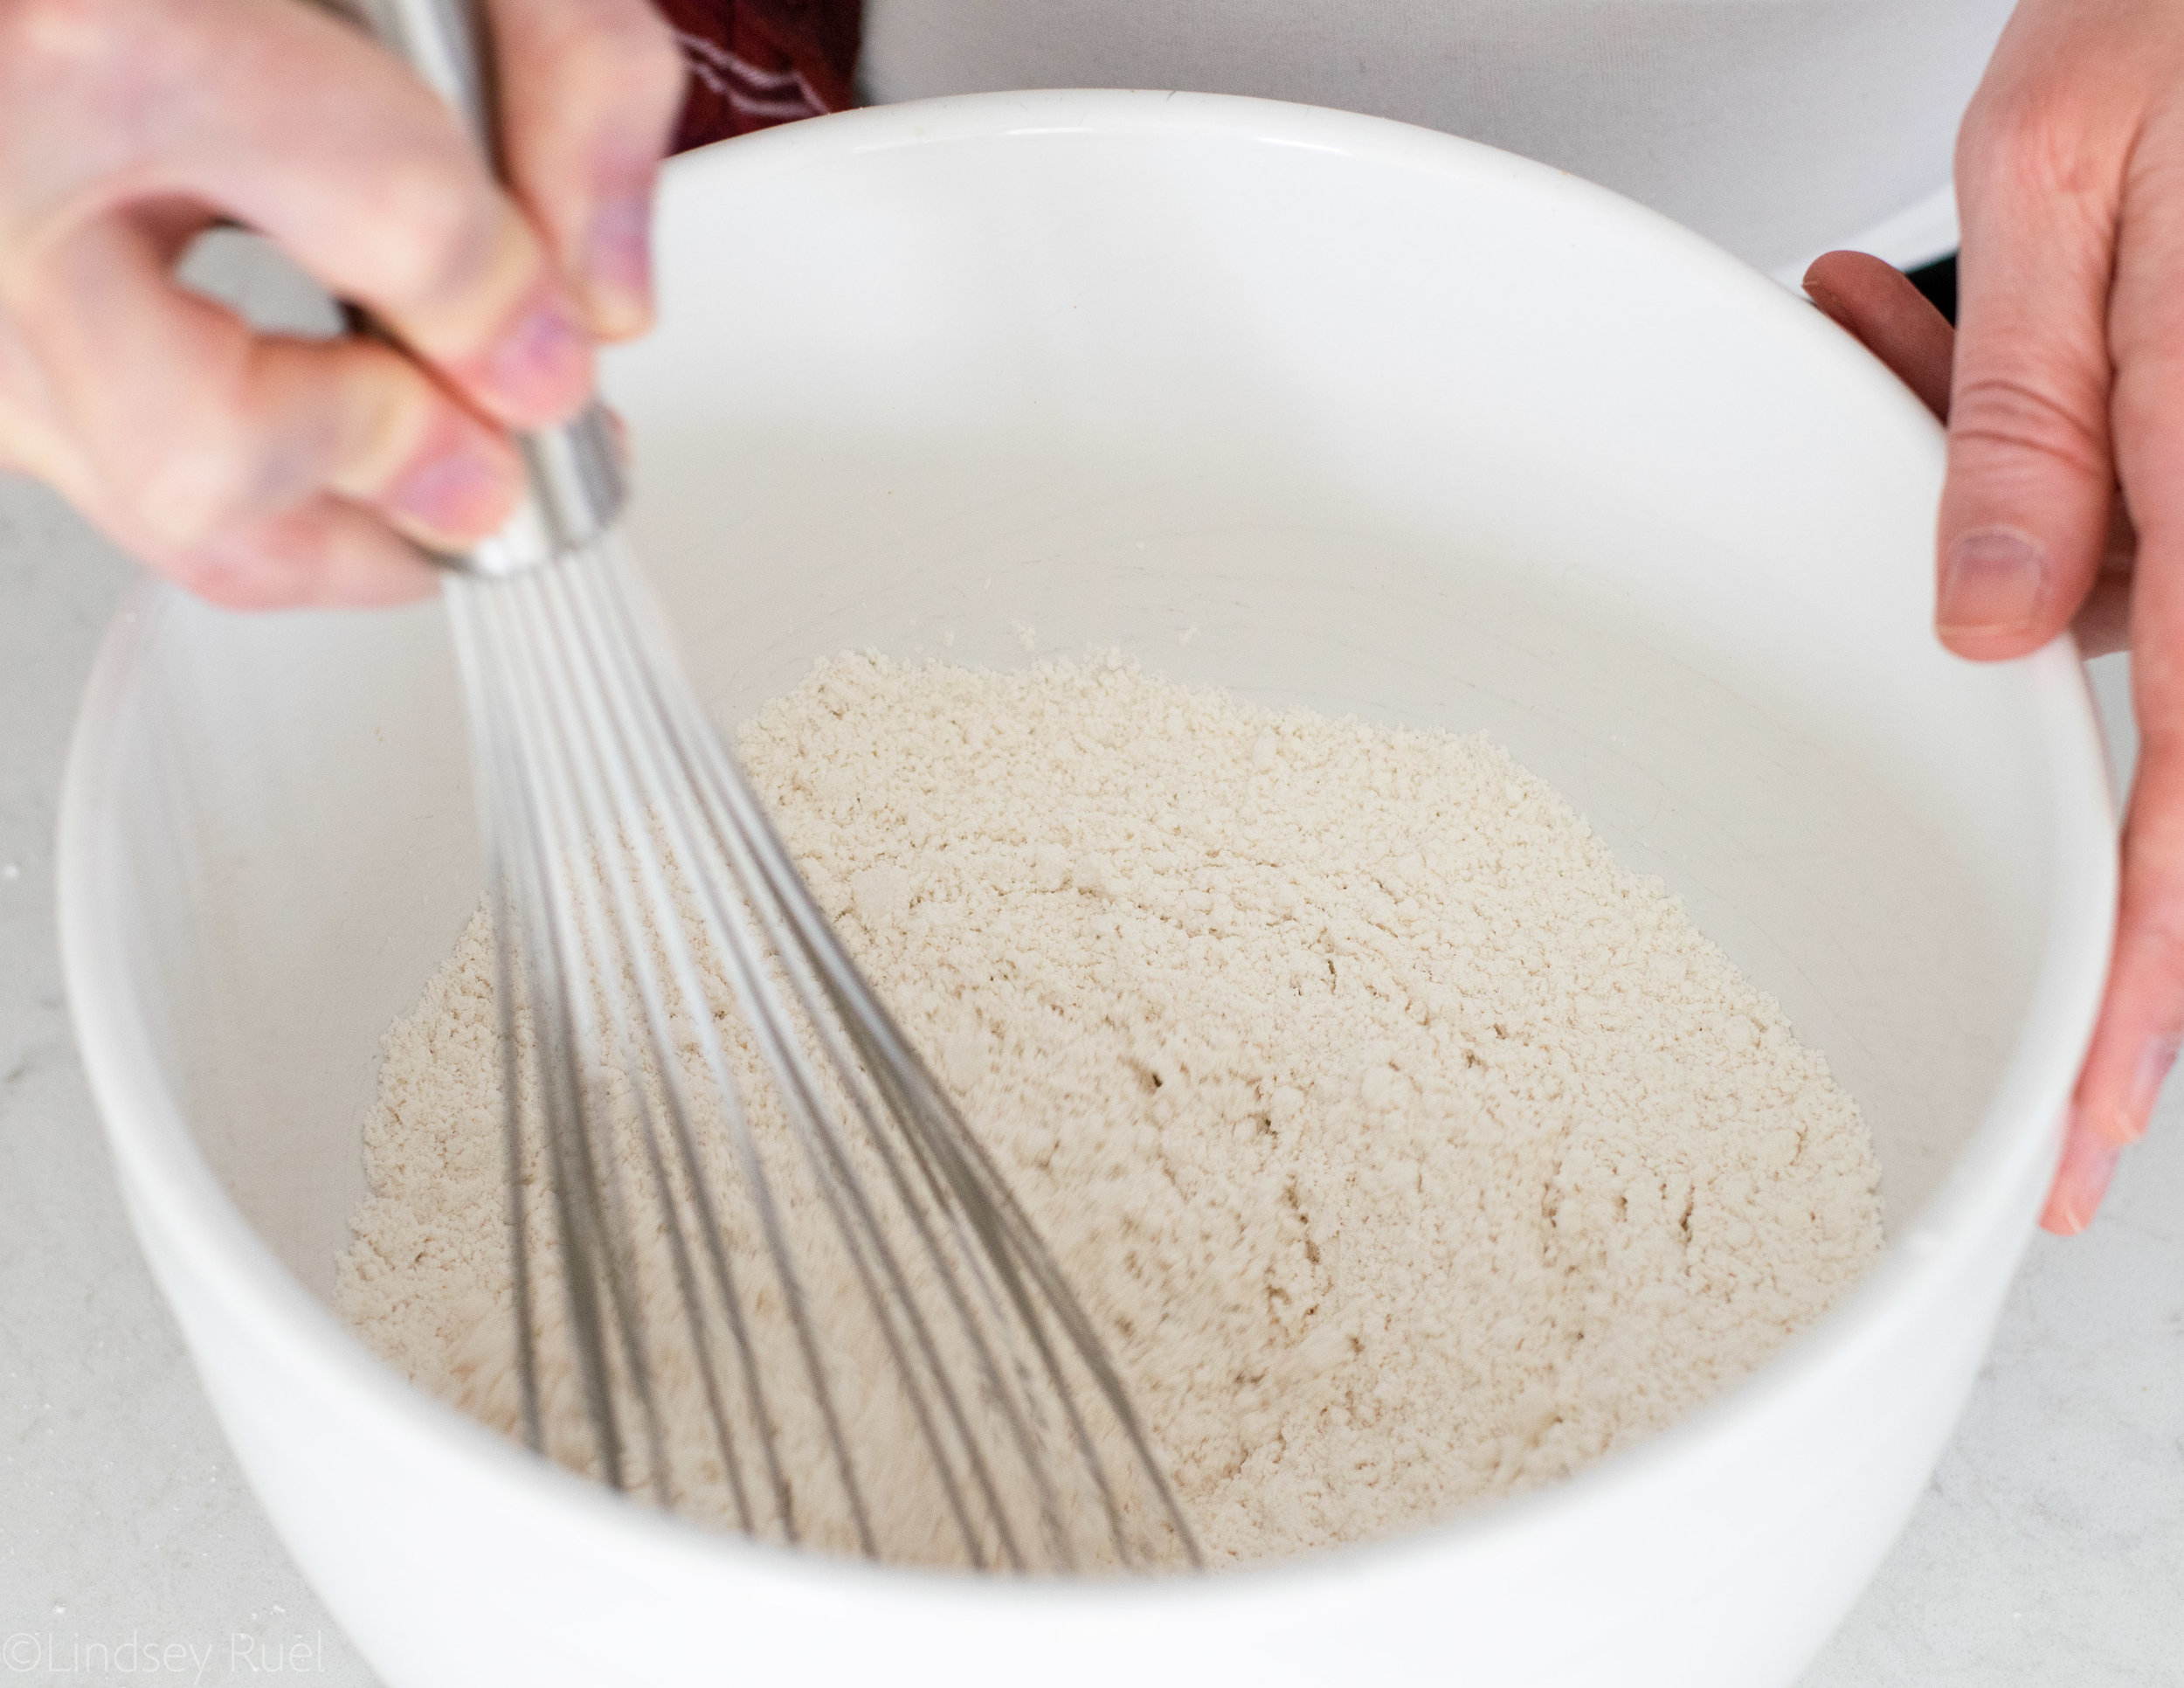
To the flour add sugar and salt, then whisk together pretty vigorously to incorporate and aerate everything.
Now here’s the fun part!
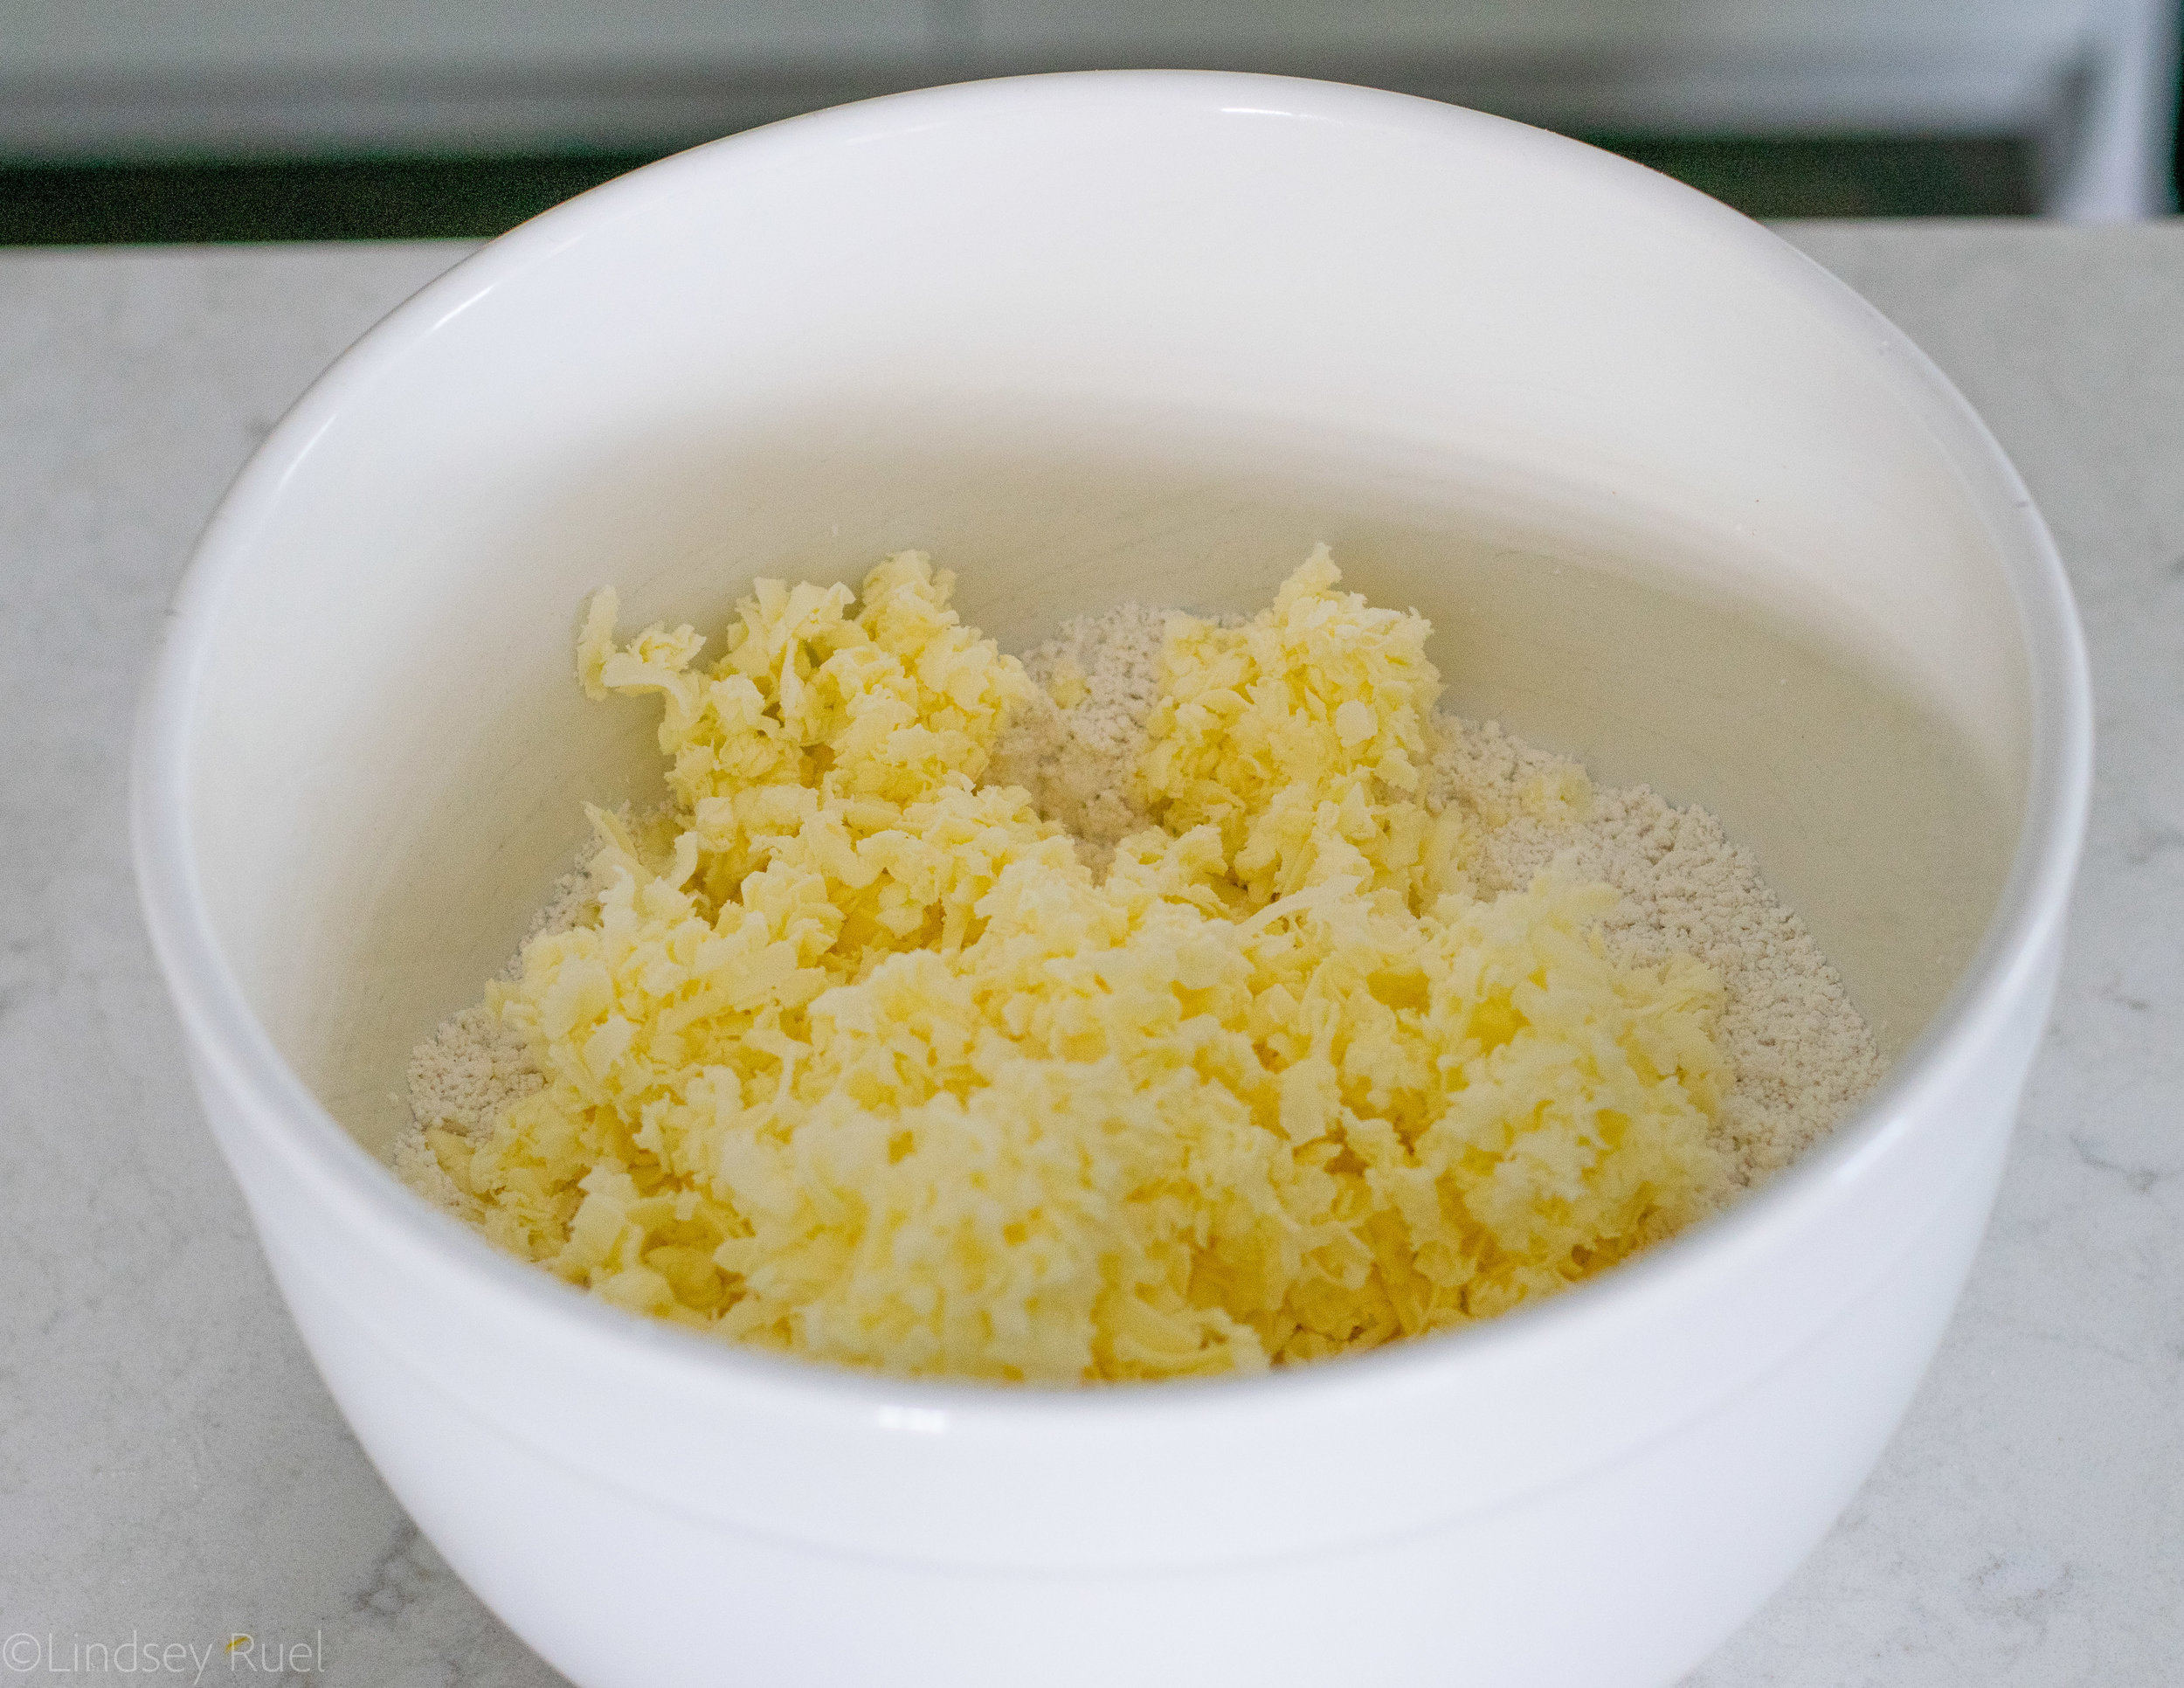
Grate the butter!
I know it seems weird, but I promise it makes a huge difference!
I first tried this technique when making biscuits and the biscuits turned out so flaky and amazing. The best part is that by grating the butter, you don’t have to tirelessly try to cut the butter into the flour.
The trick is to make sure that the butter is cold. Stick the entire stick of butter into the freezer before trying to grate it.
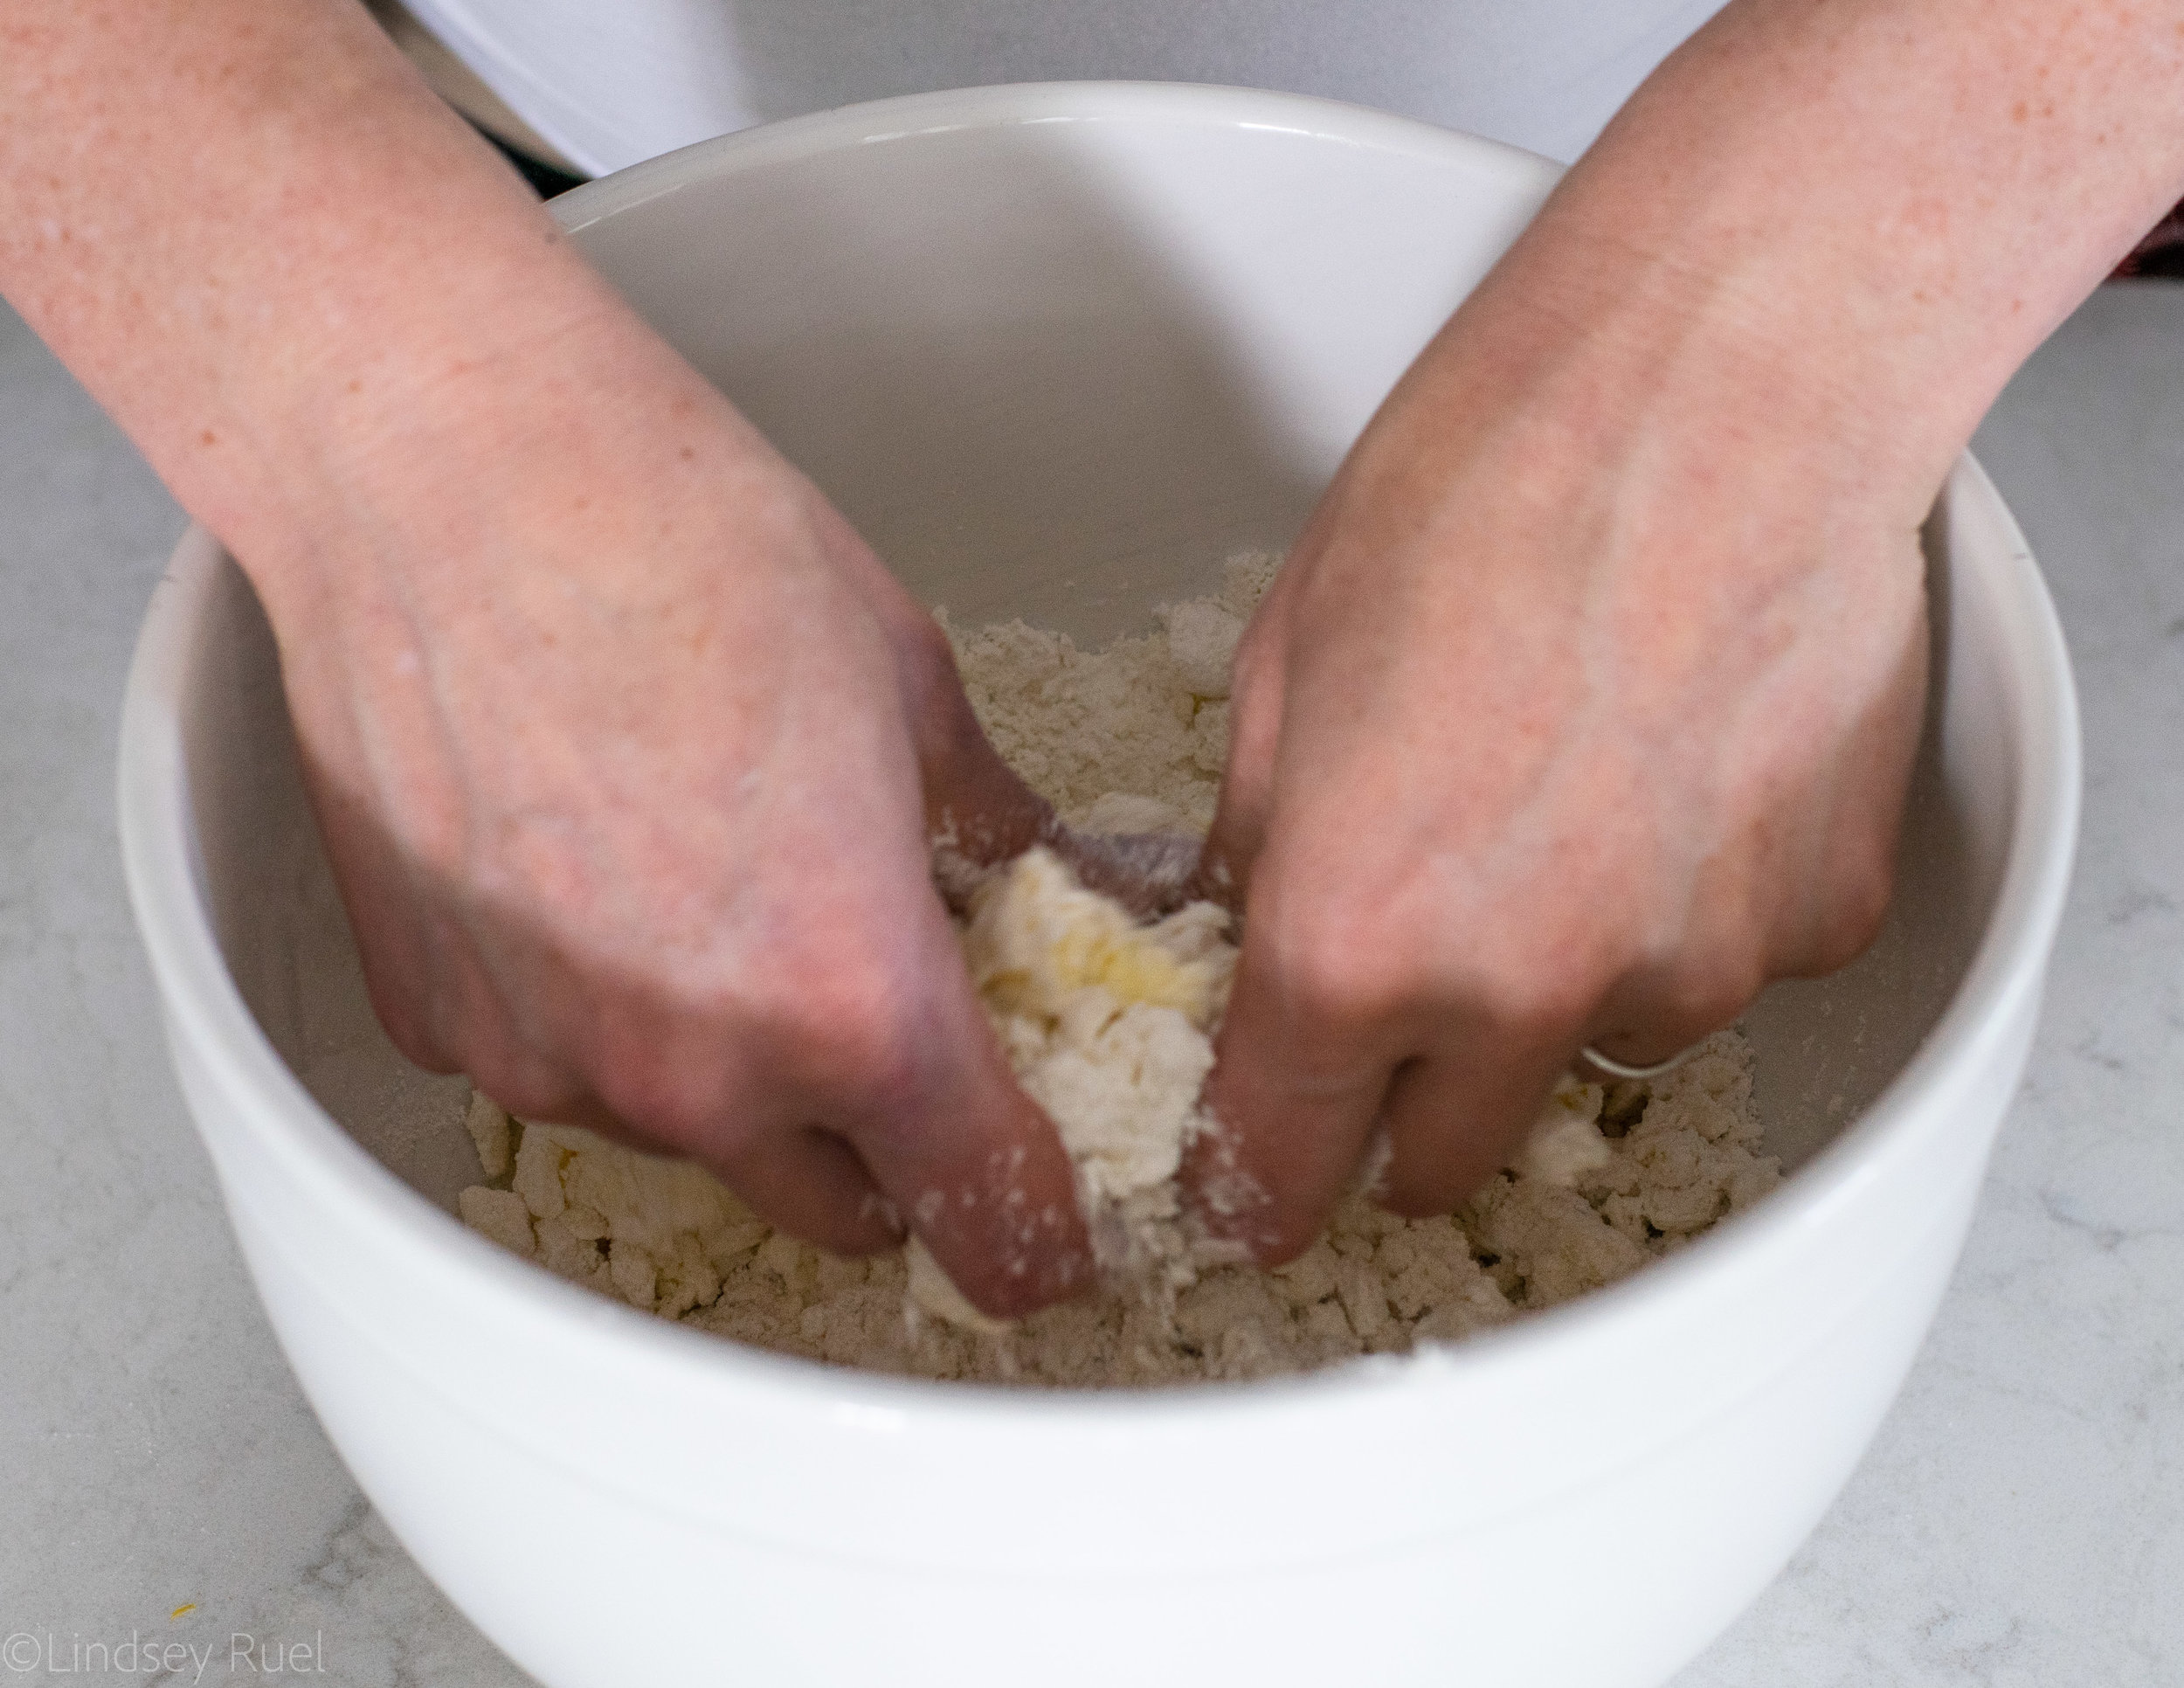
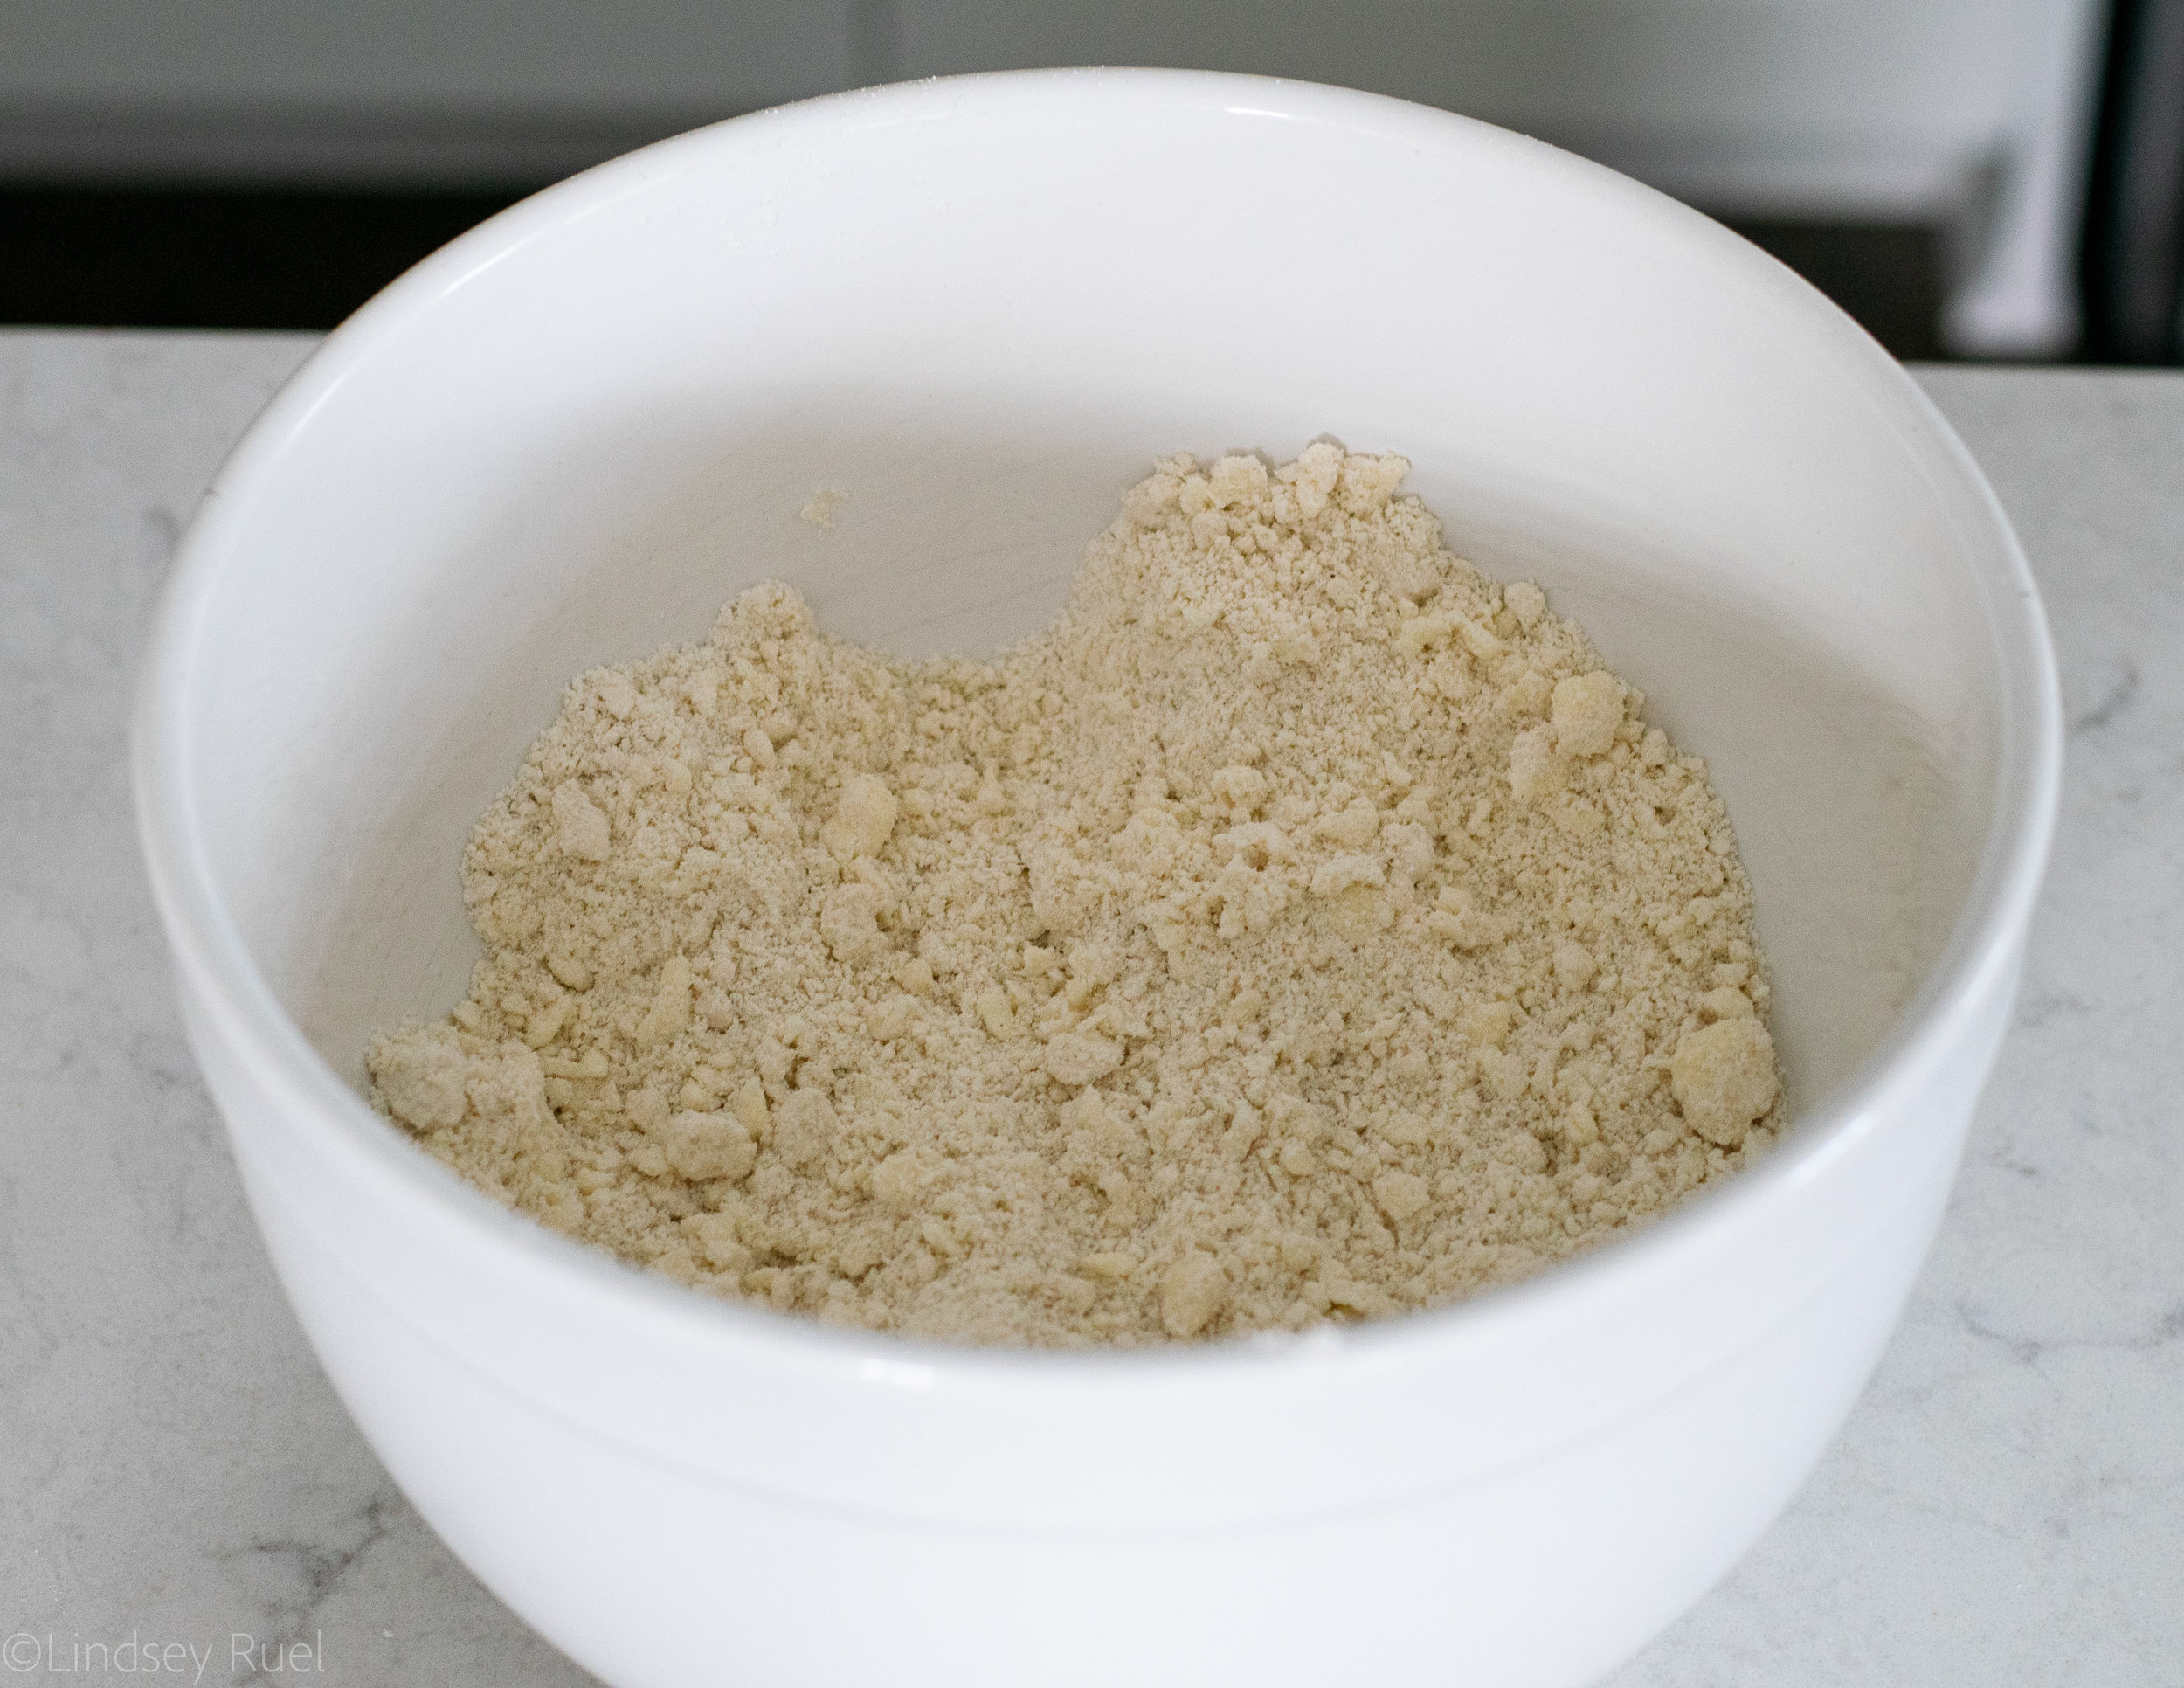
Add the cold, grated butter to the flour mixture then work the butter into the flour with your hands until it forms a sandy texture.
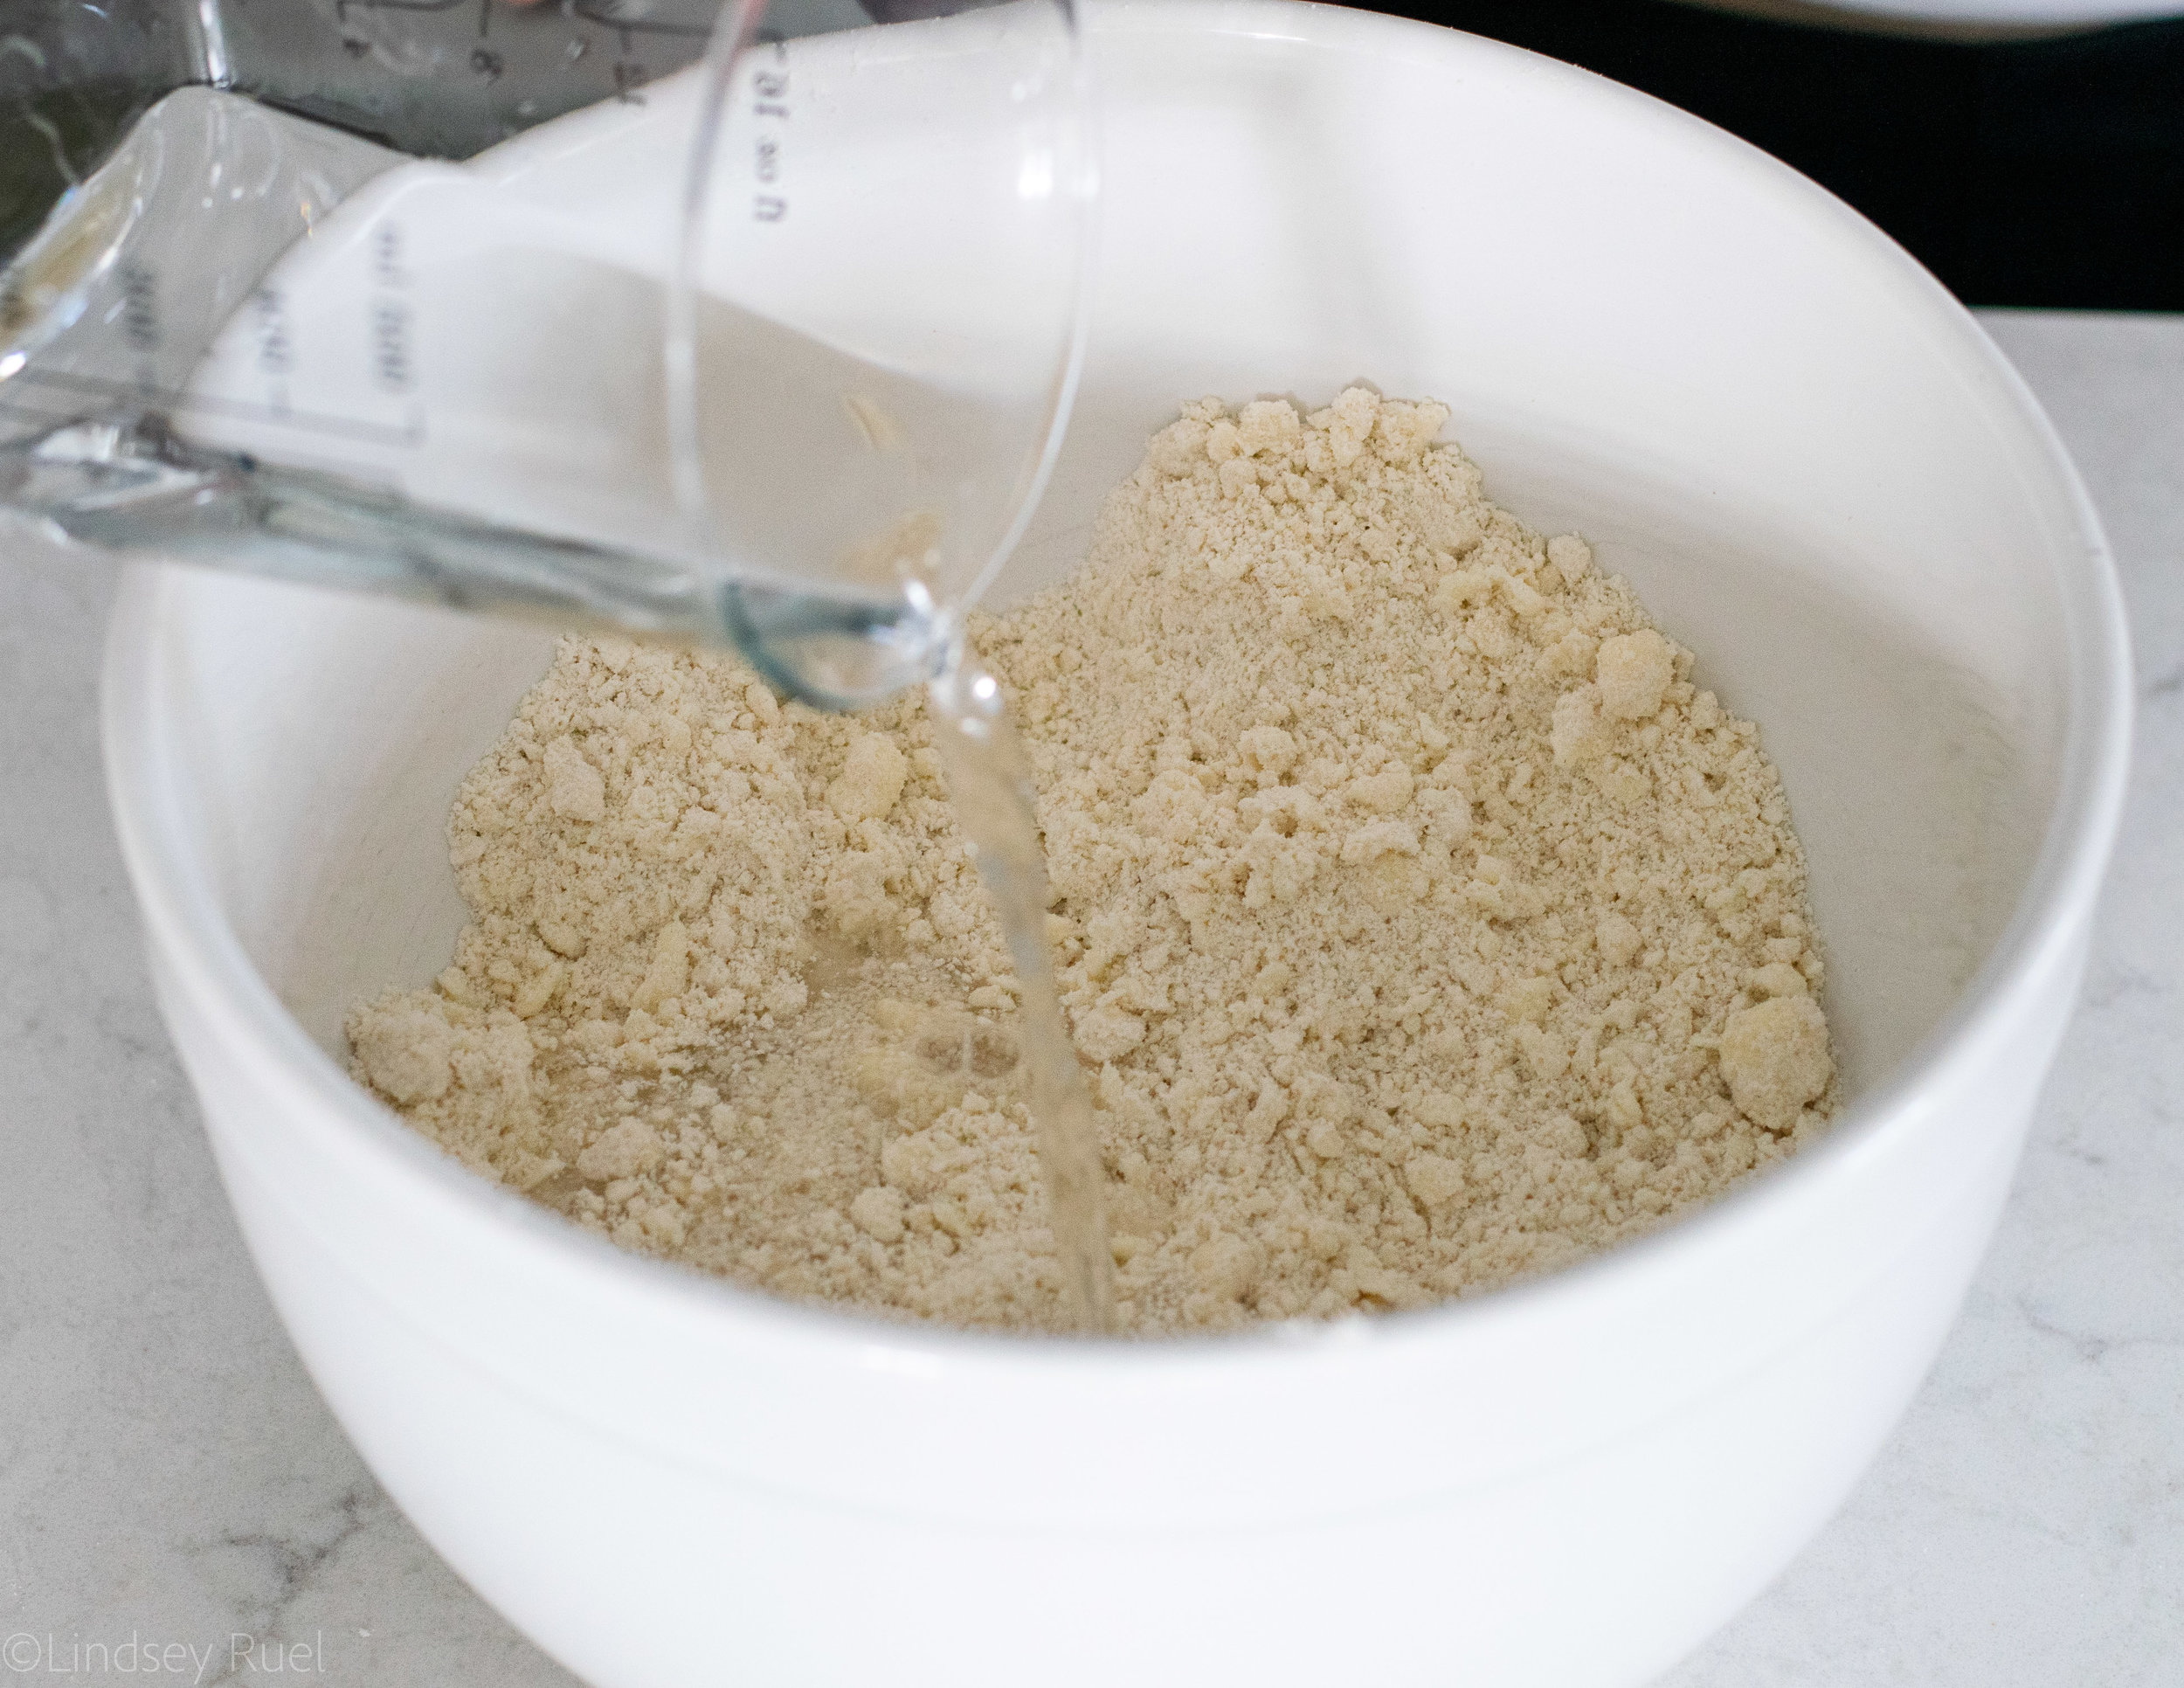
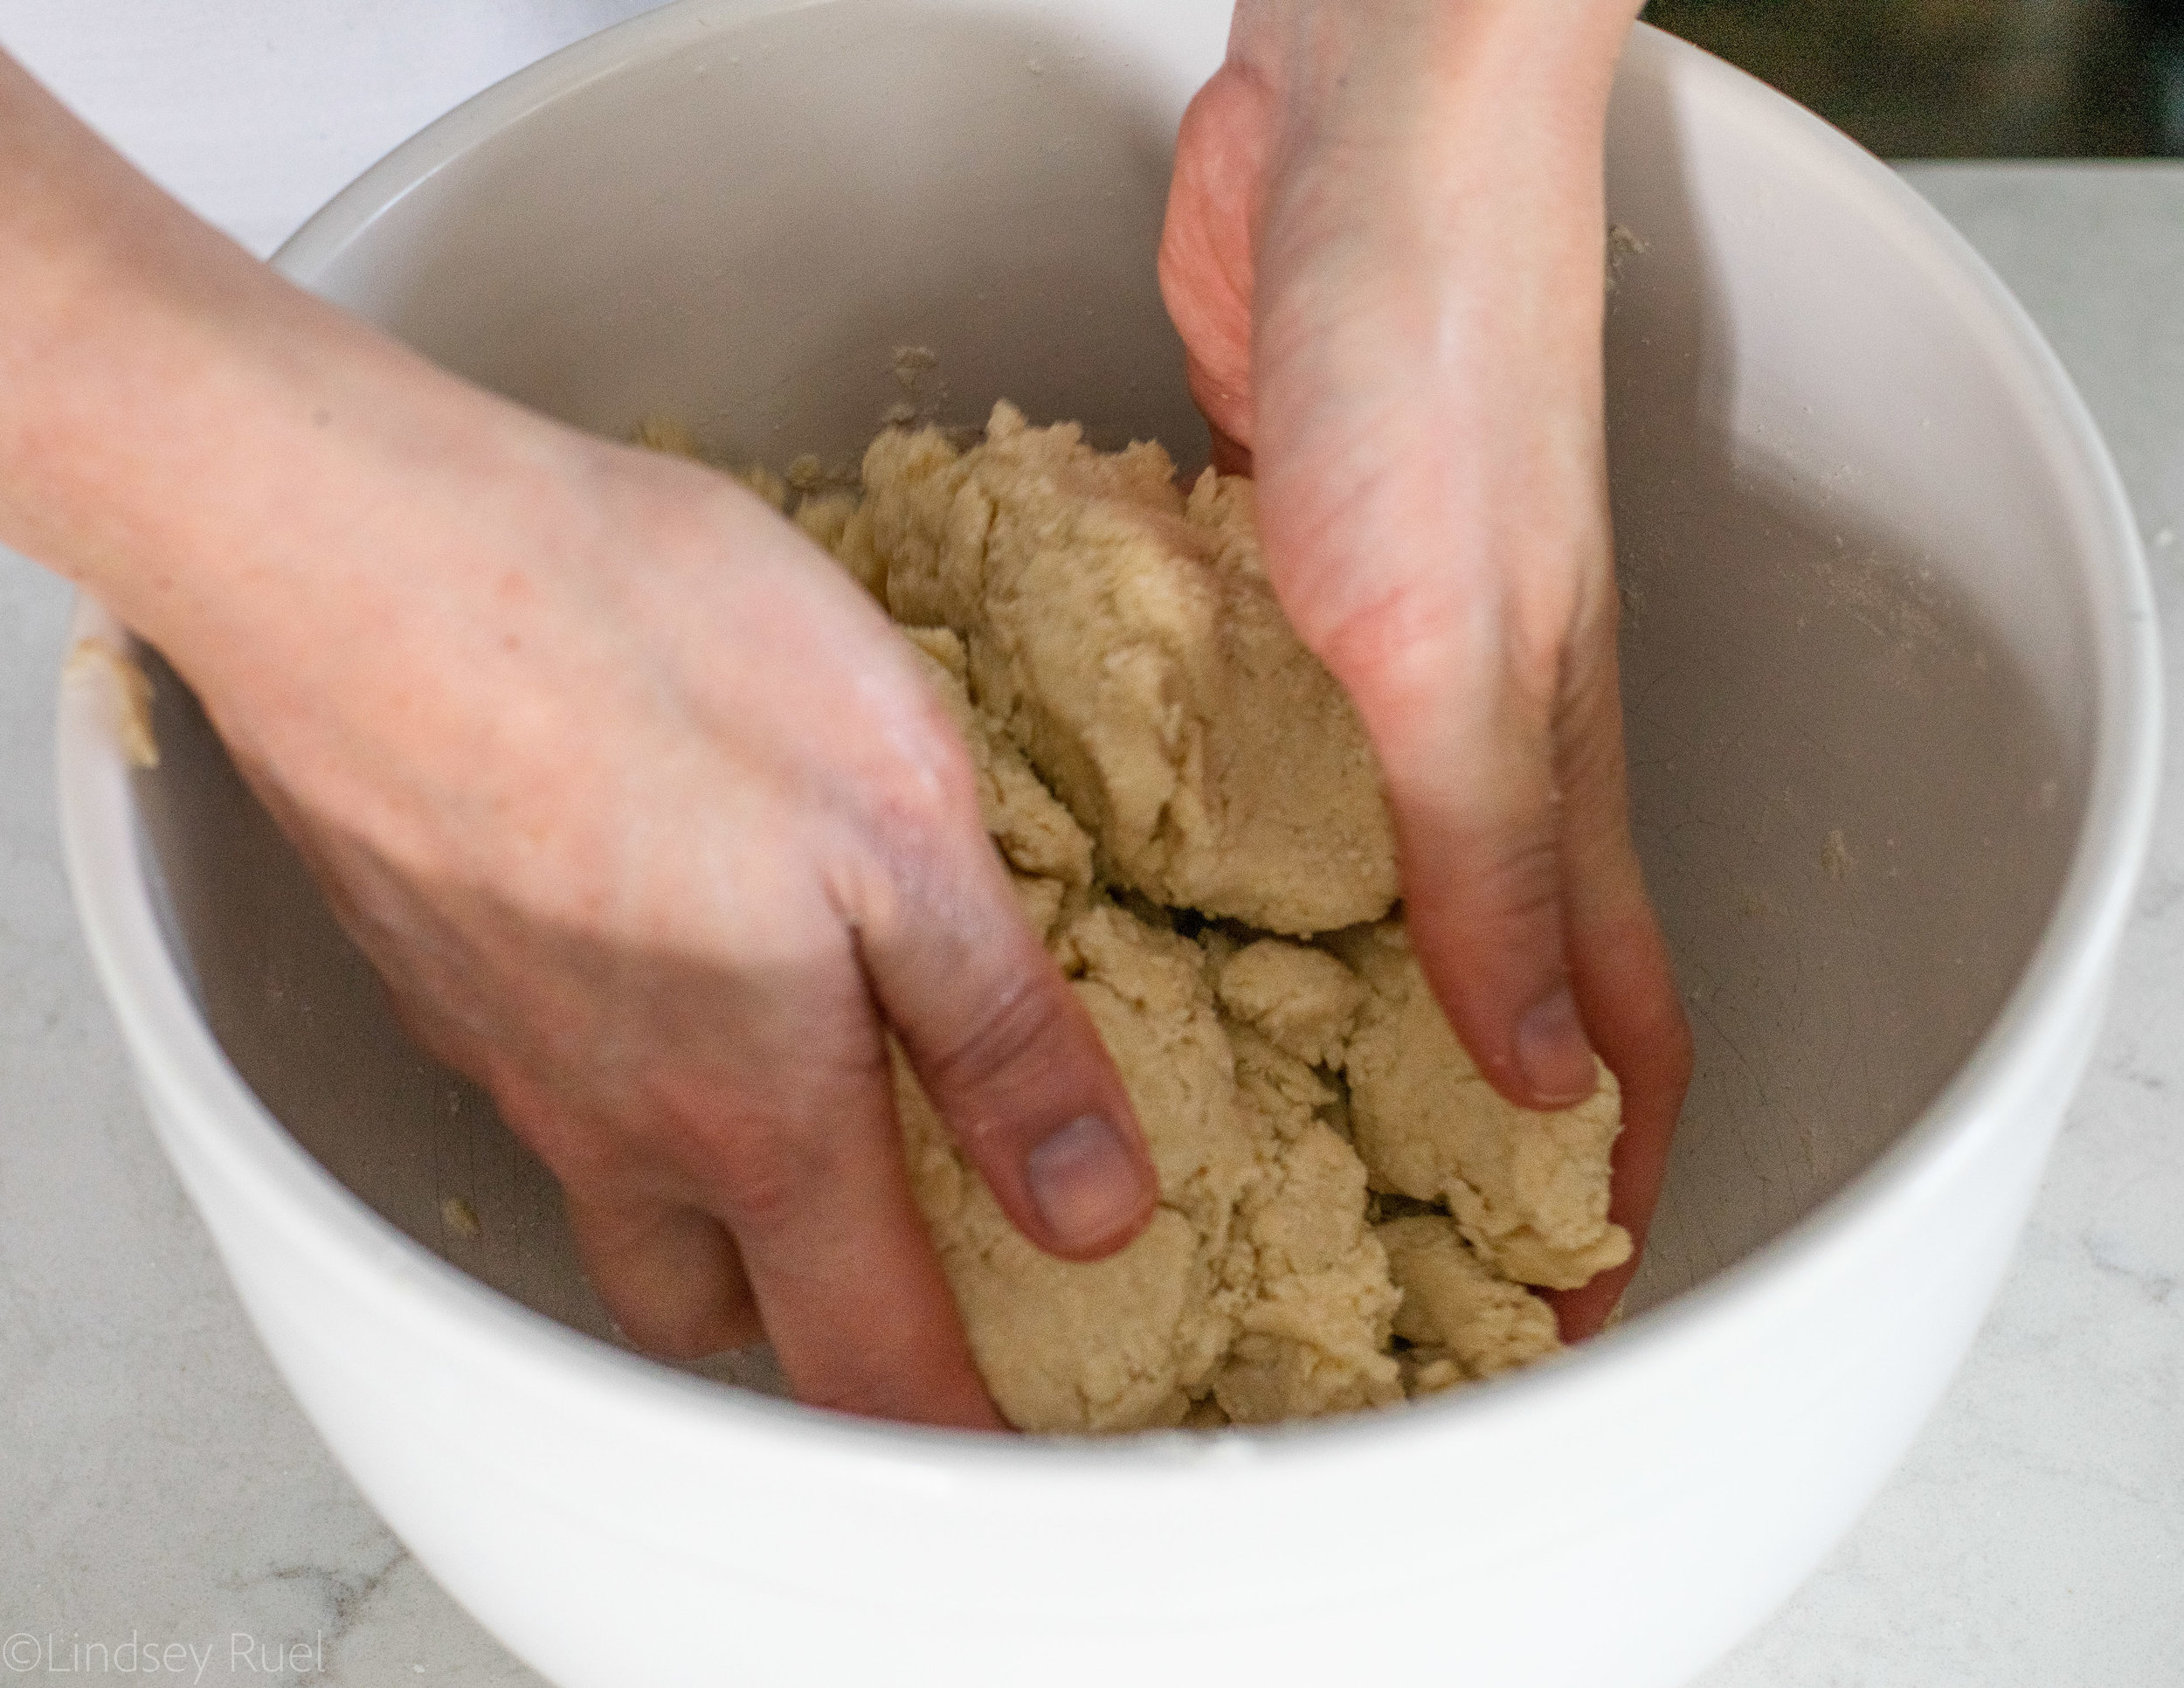
Pour in the water and again with your hands work it into a nice ball of dough.
Now, here is trick number two to getting that flaky crust.
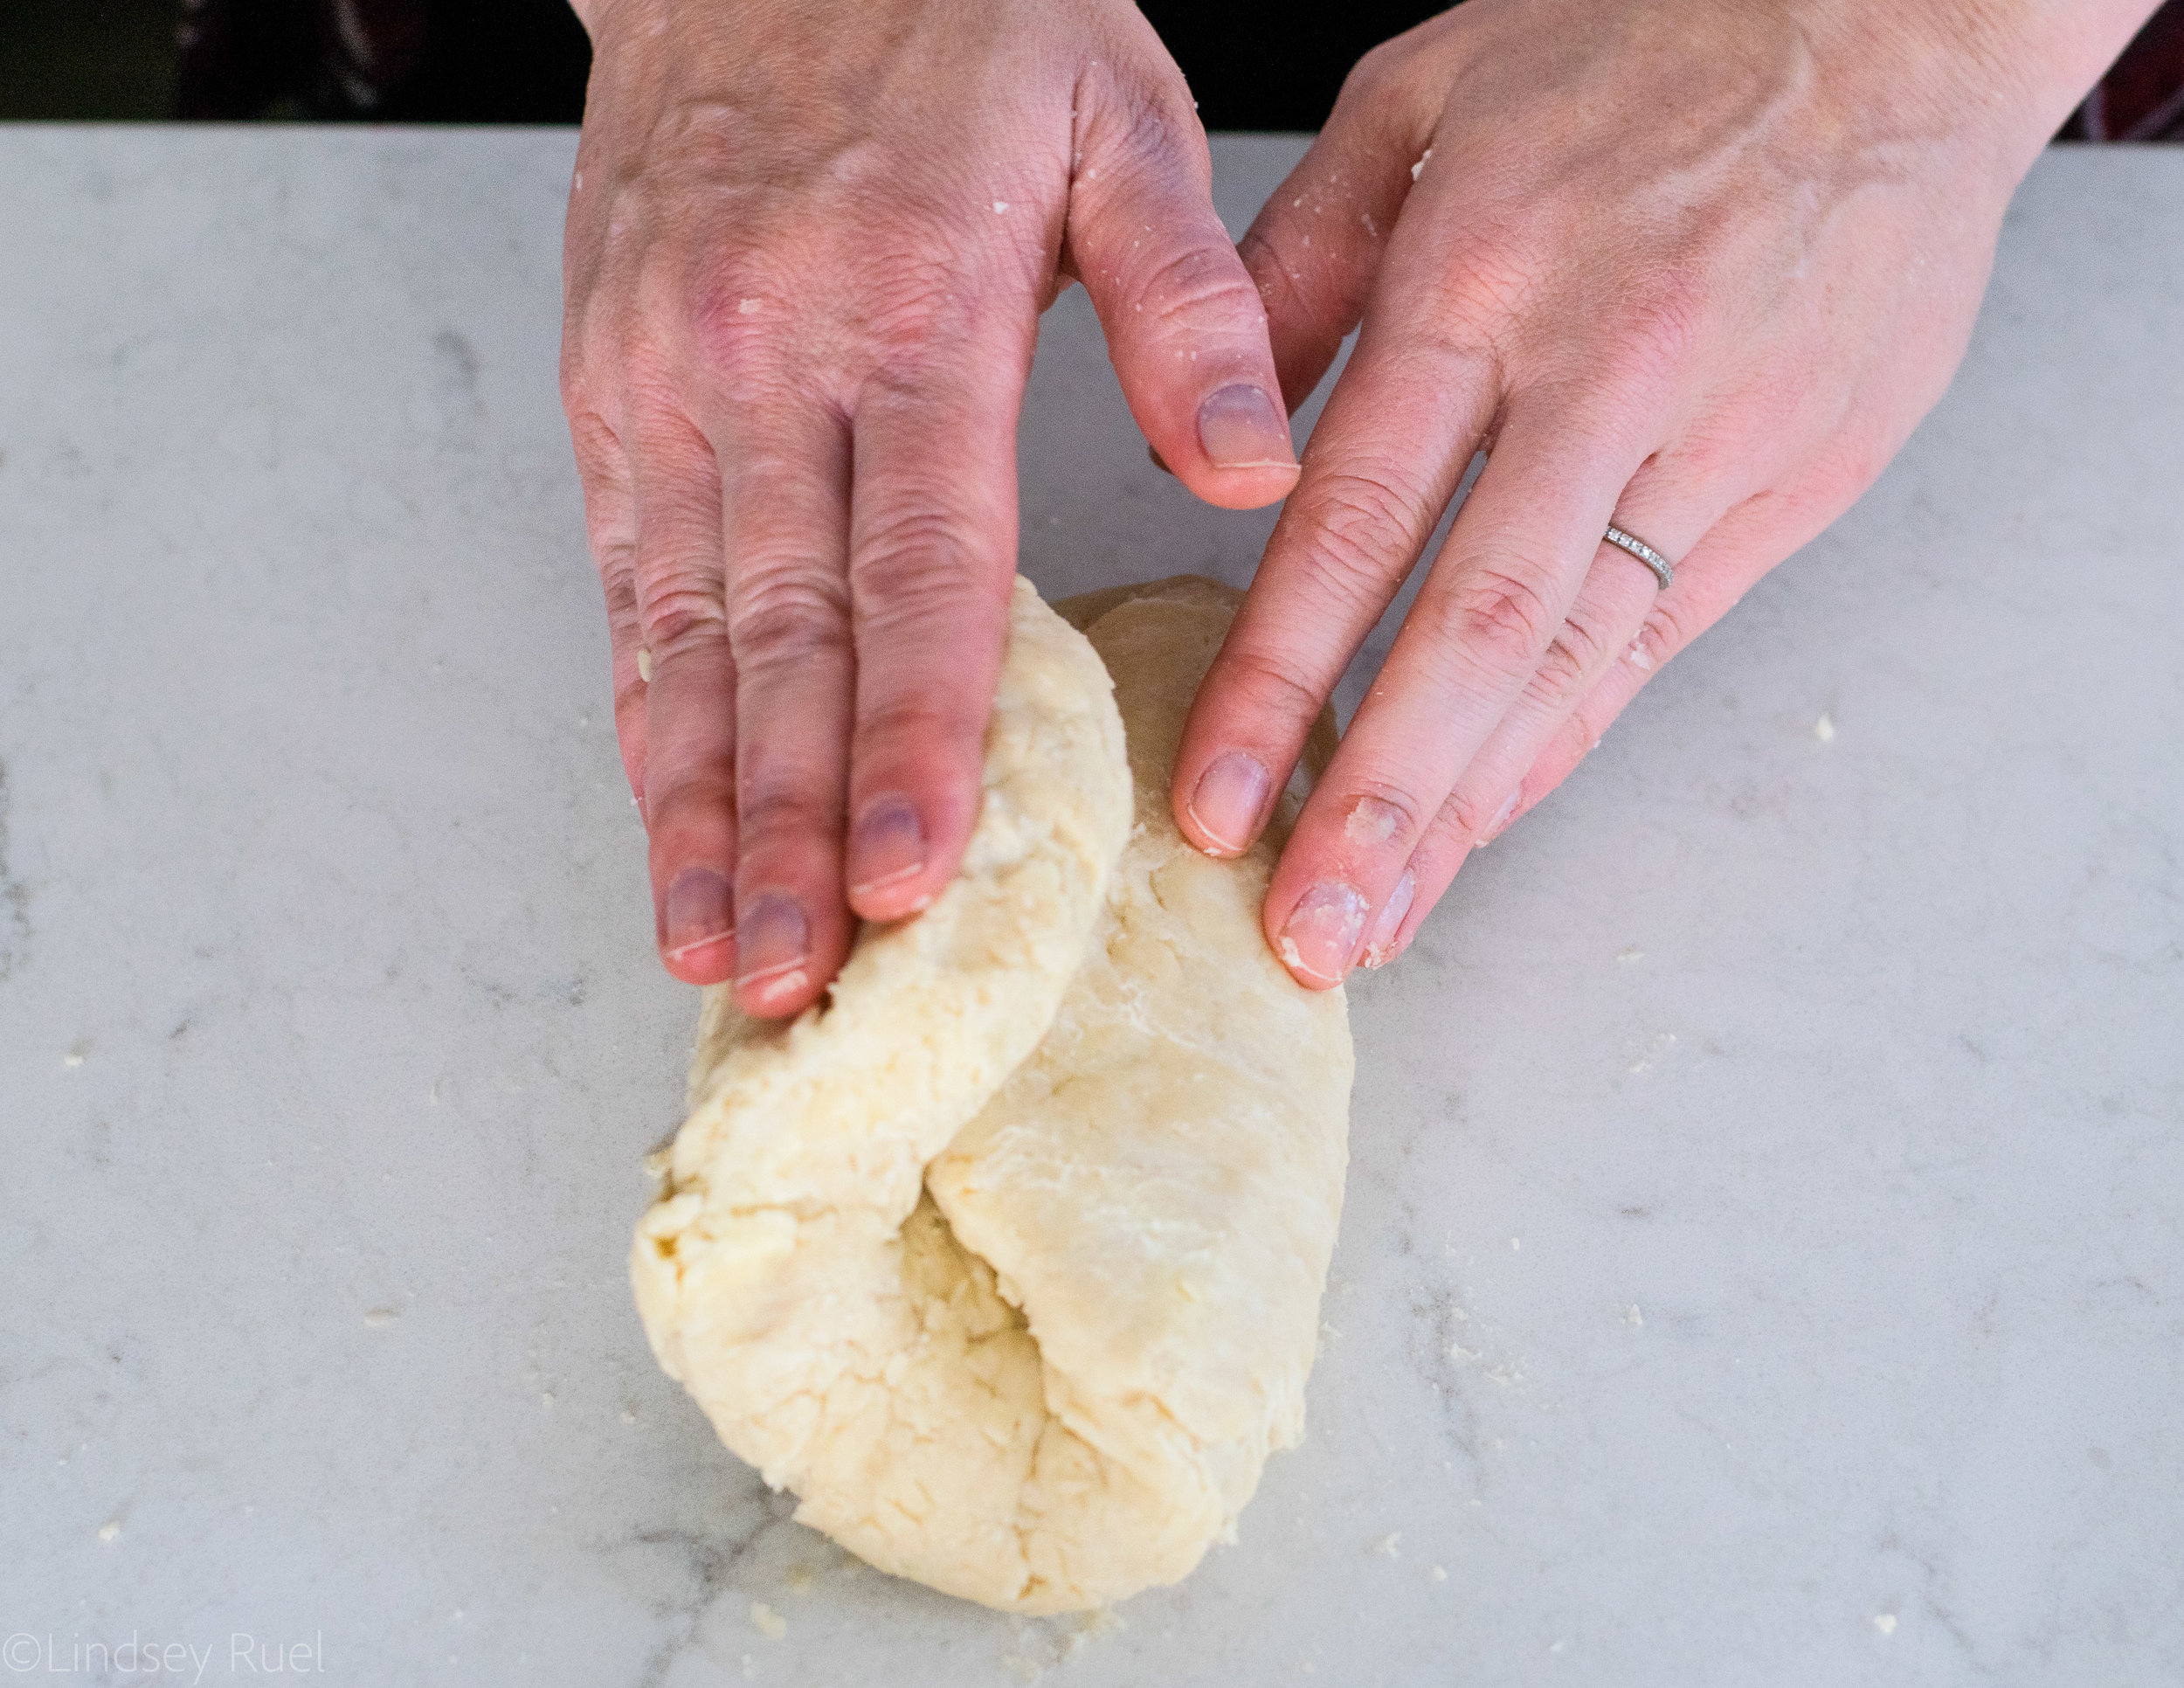
Before refrigerating the dough, laminate it.
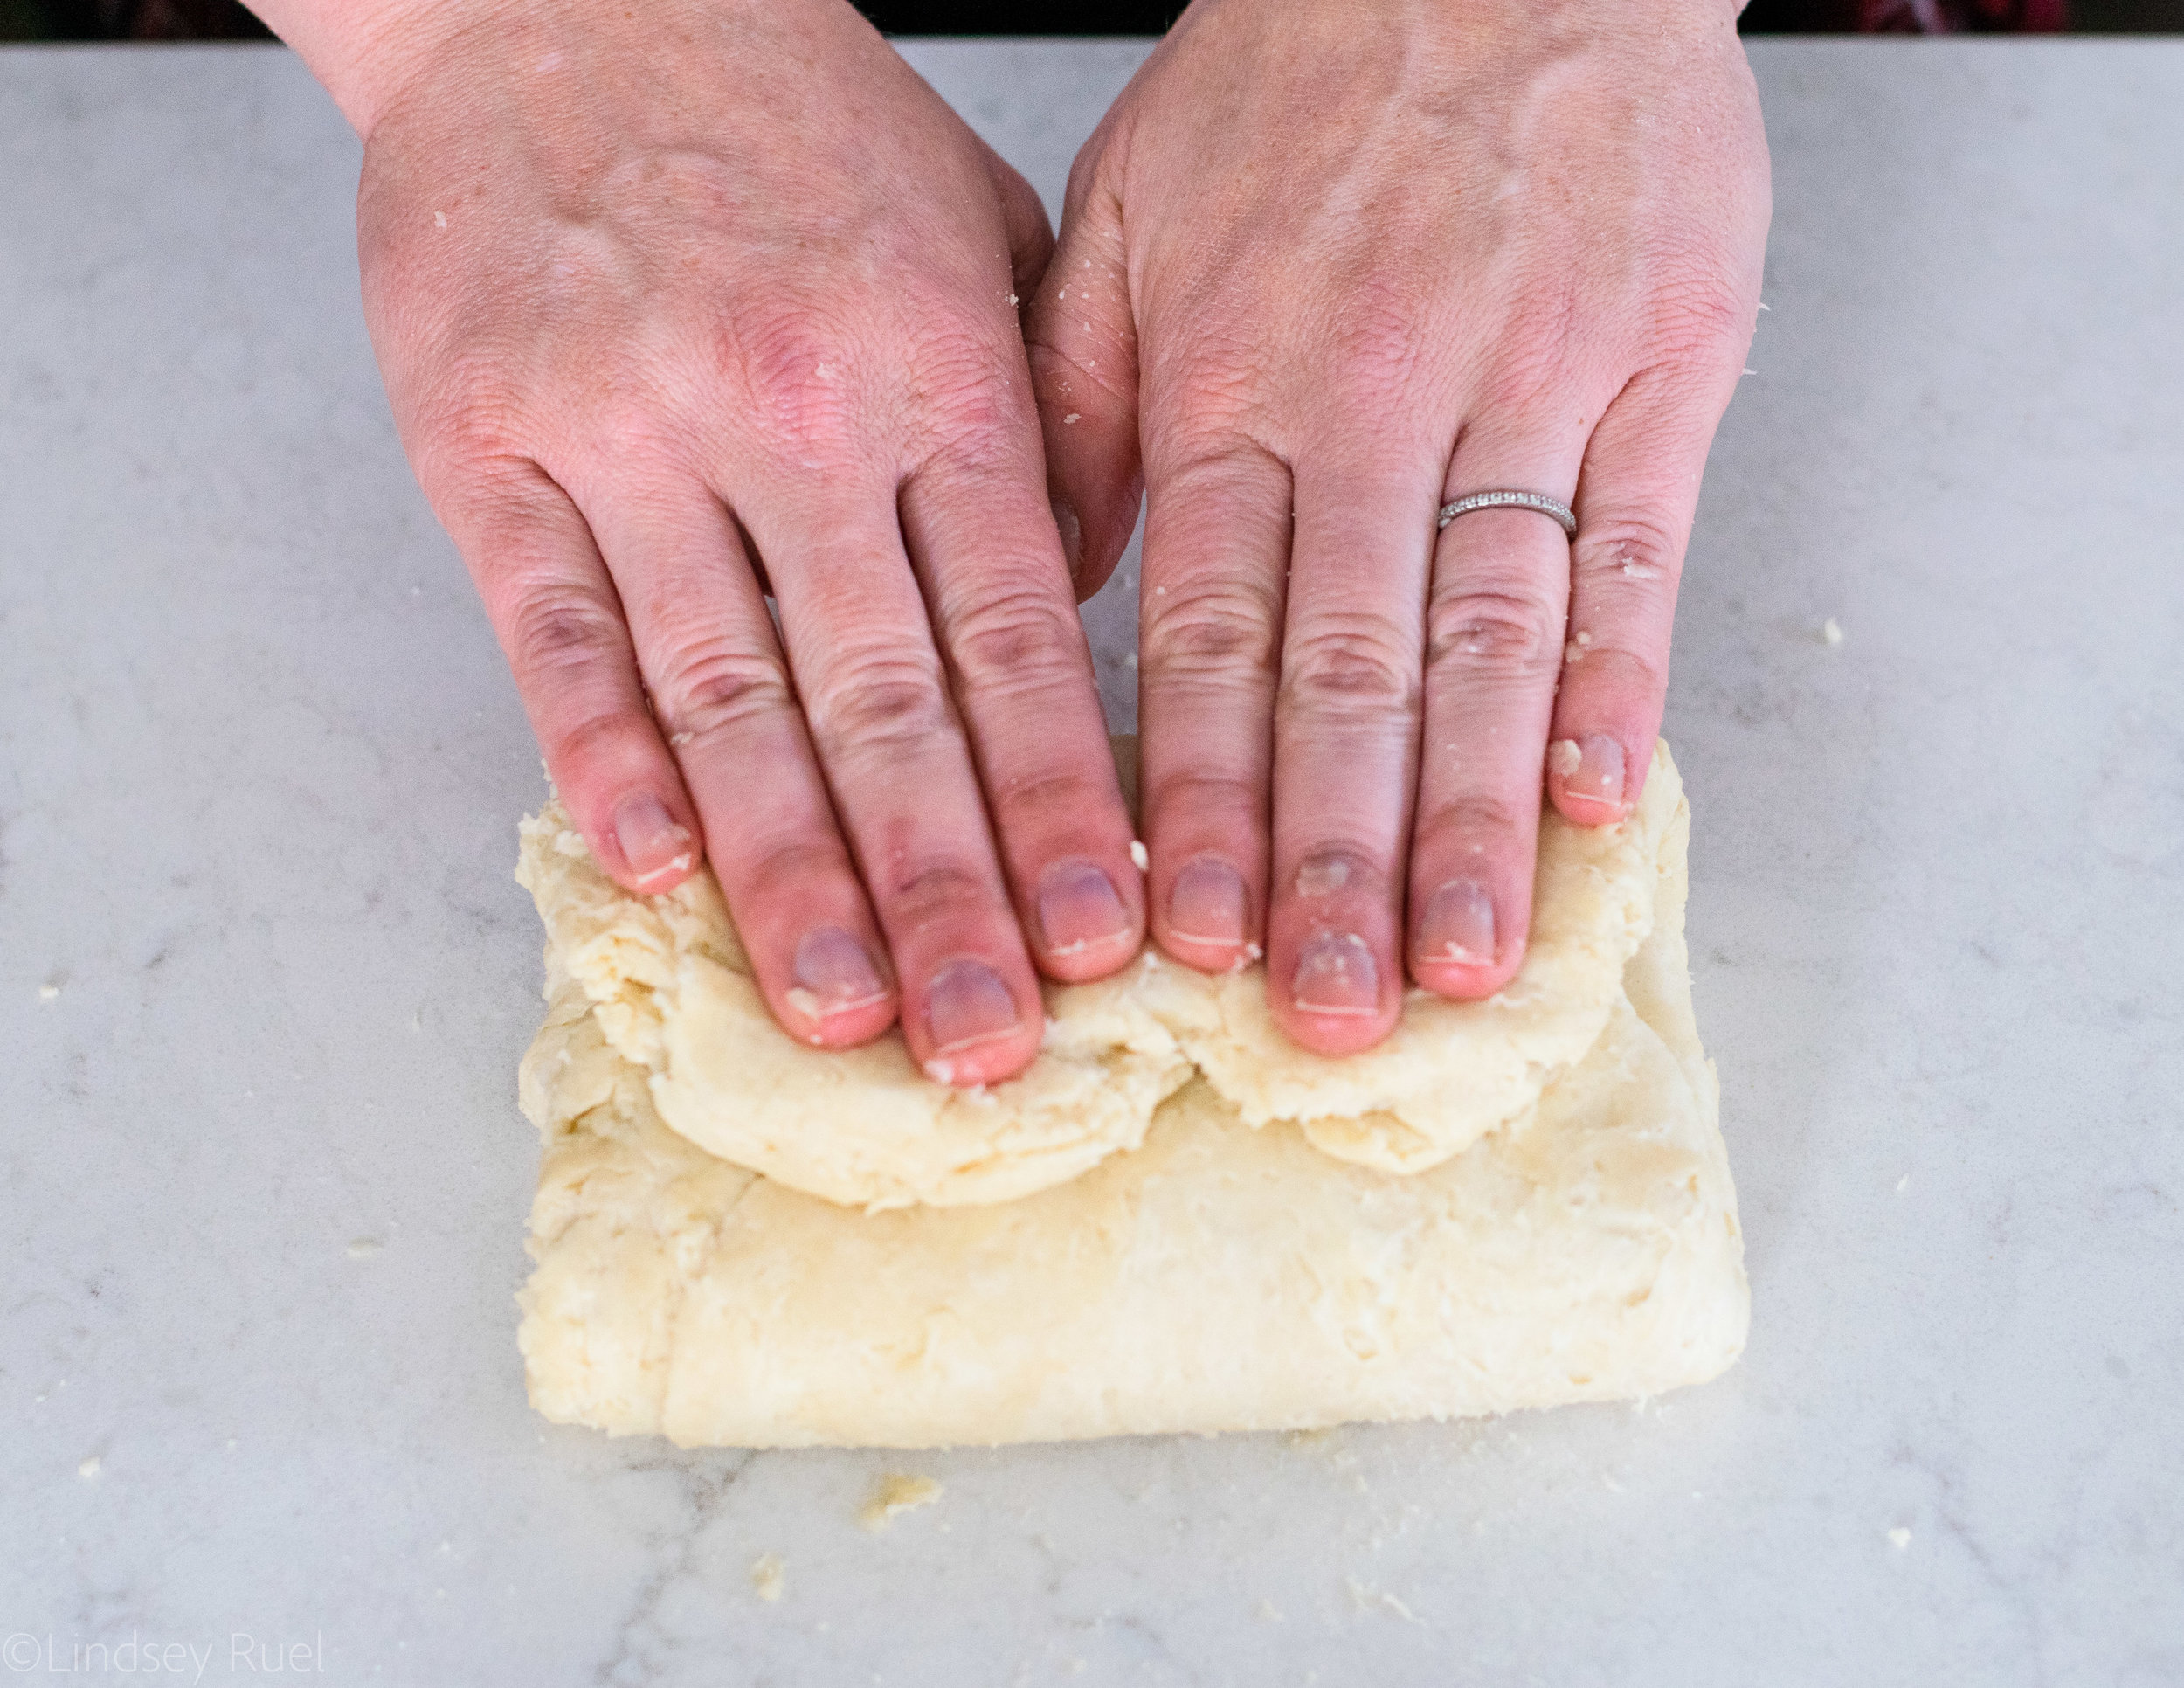
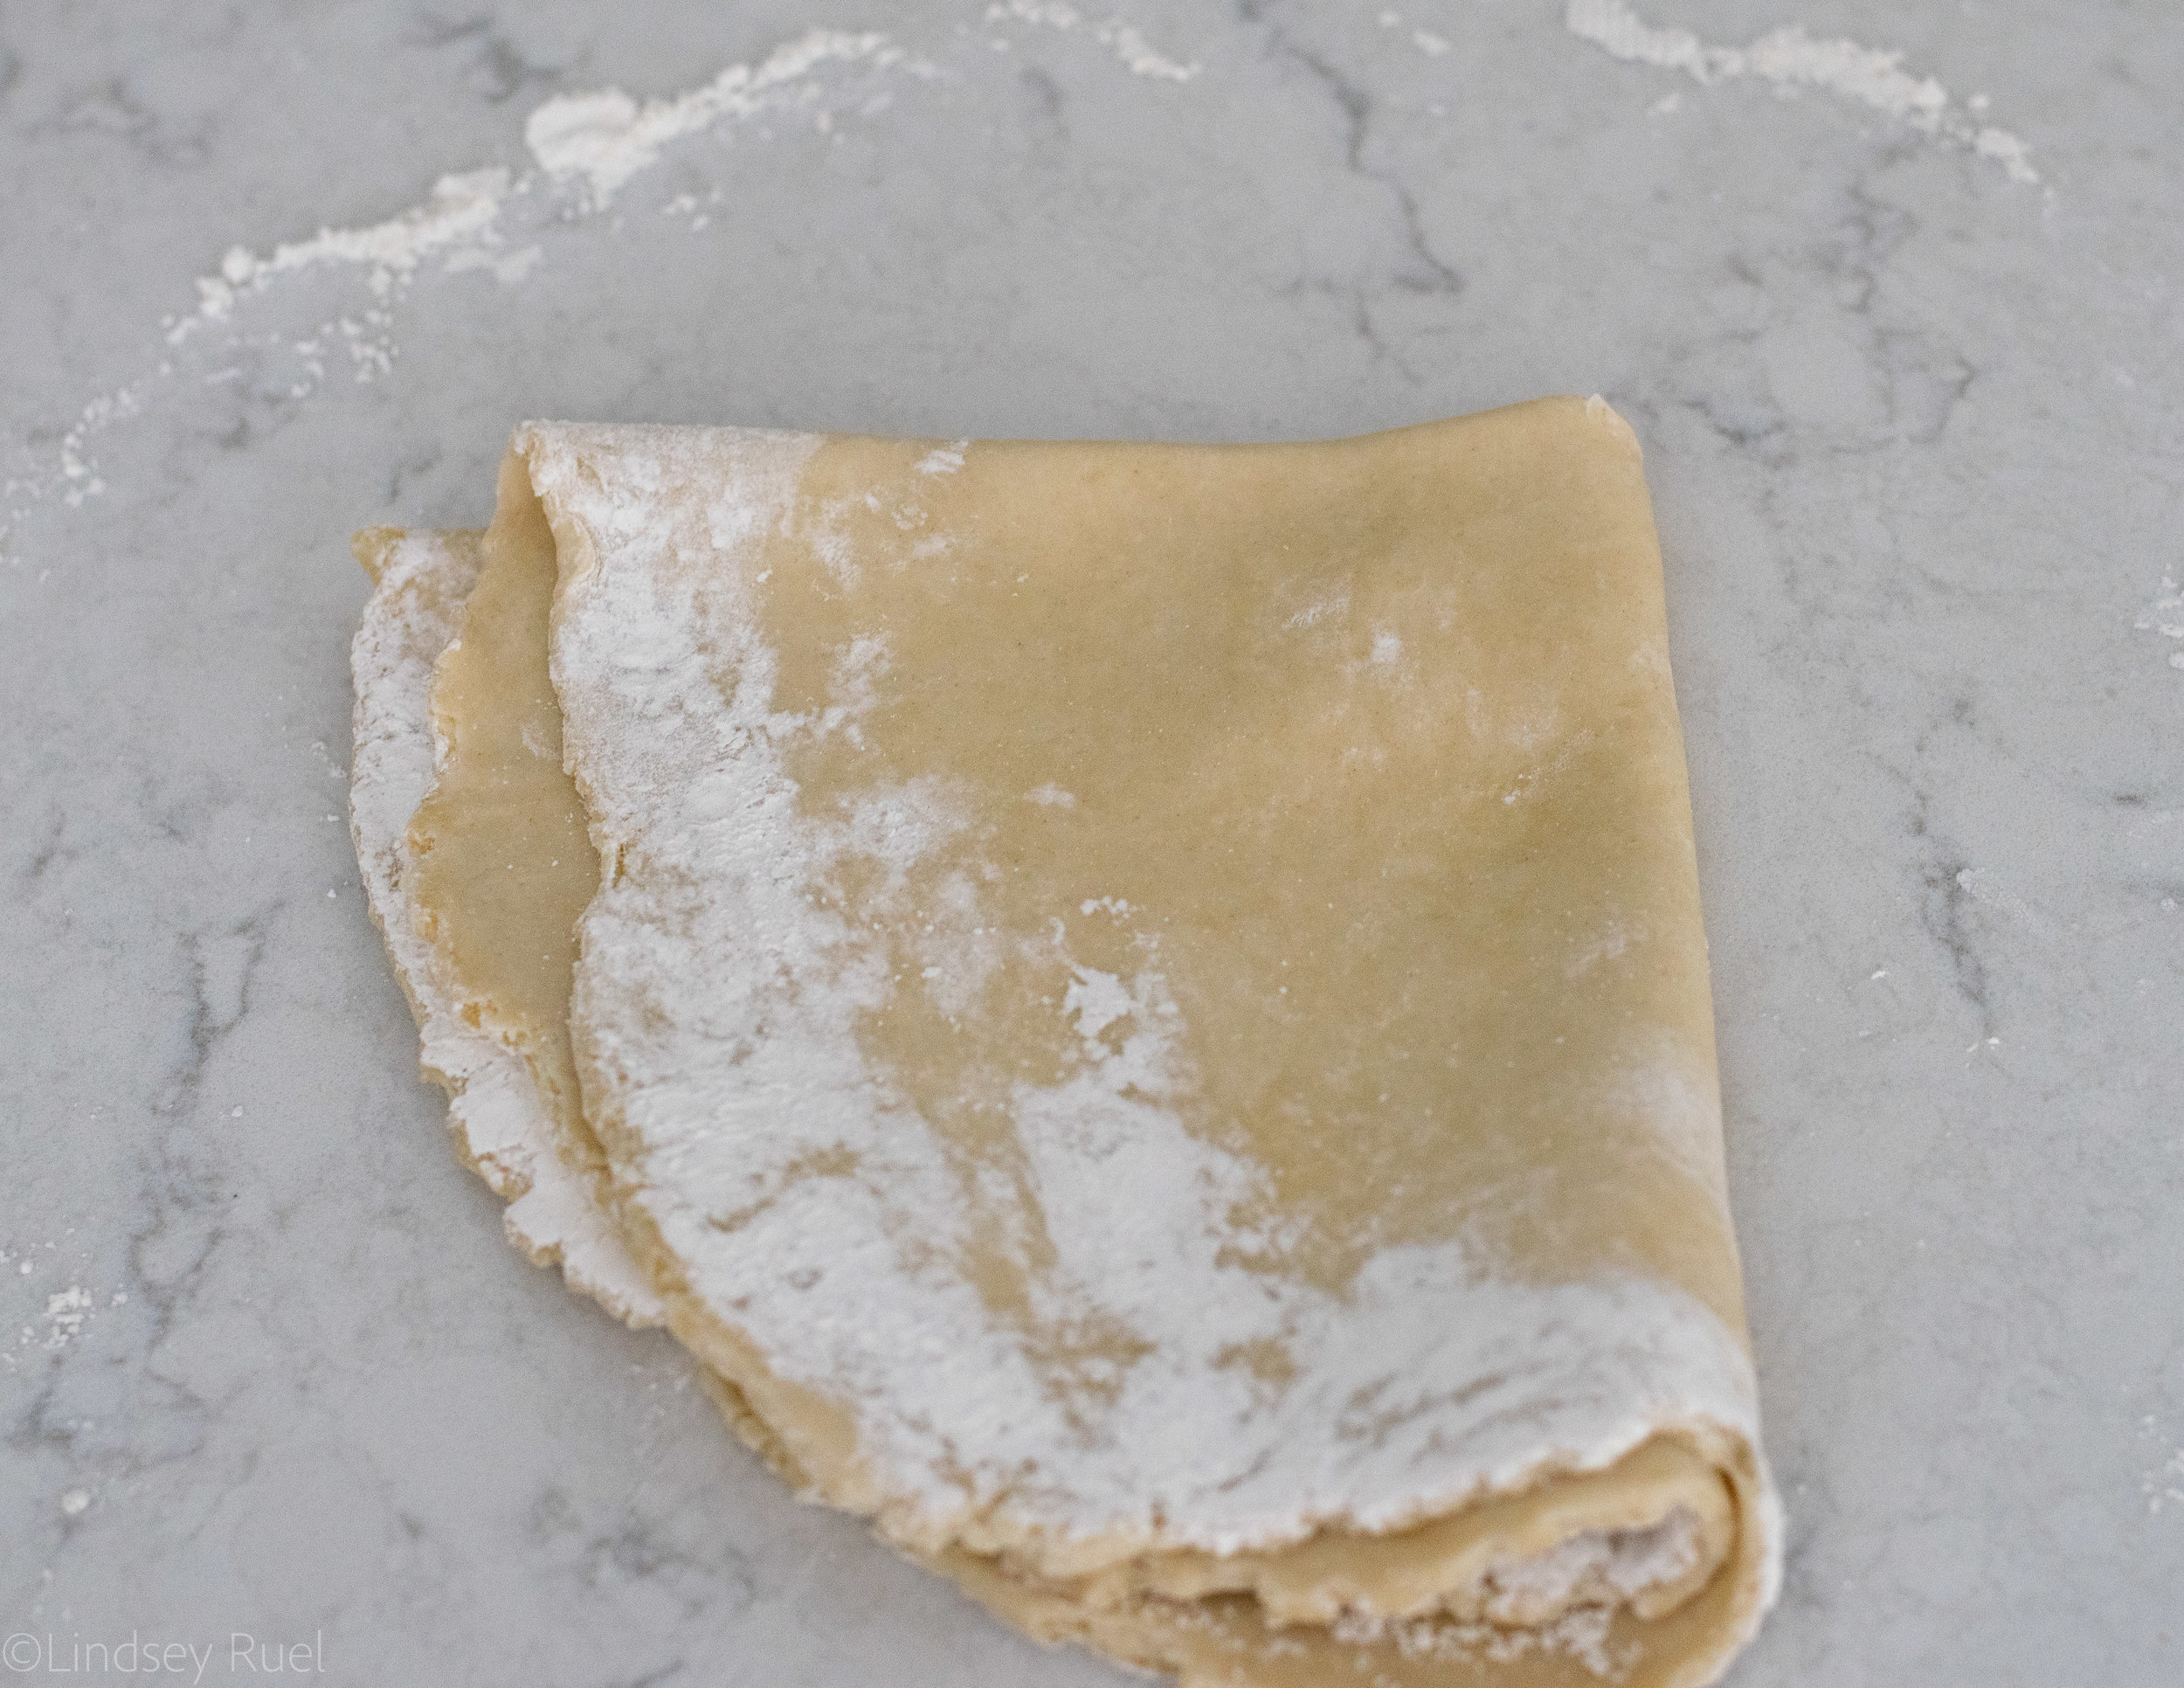
To do that, press the dough out into a flat disk. Then fold it in thirds like a letter. Flatten it again, and fold it the other direction in thirds.
You can keep going, but I think two times is enough to get a sufficient amount of flakiness.
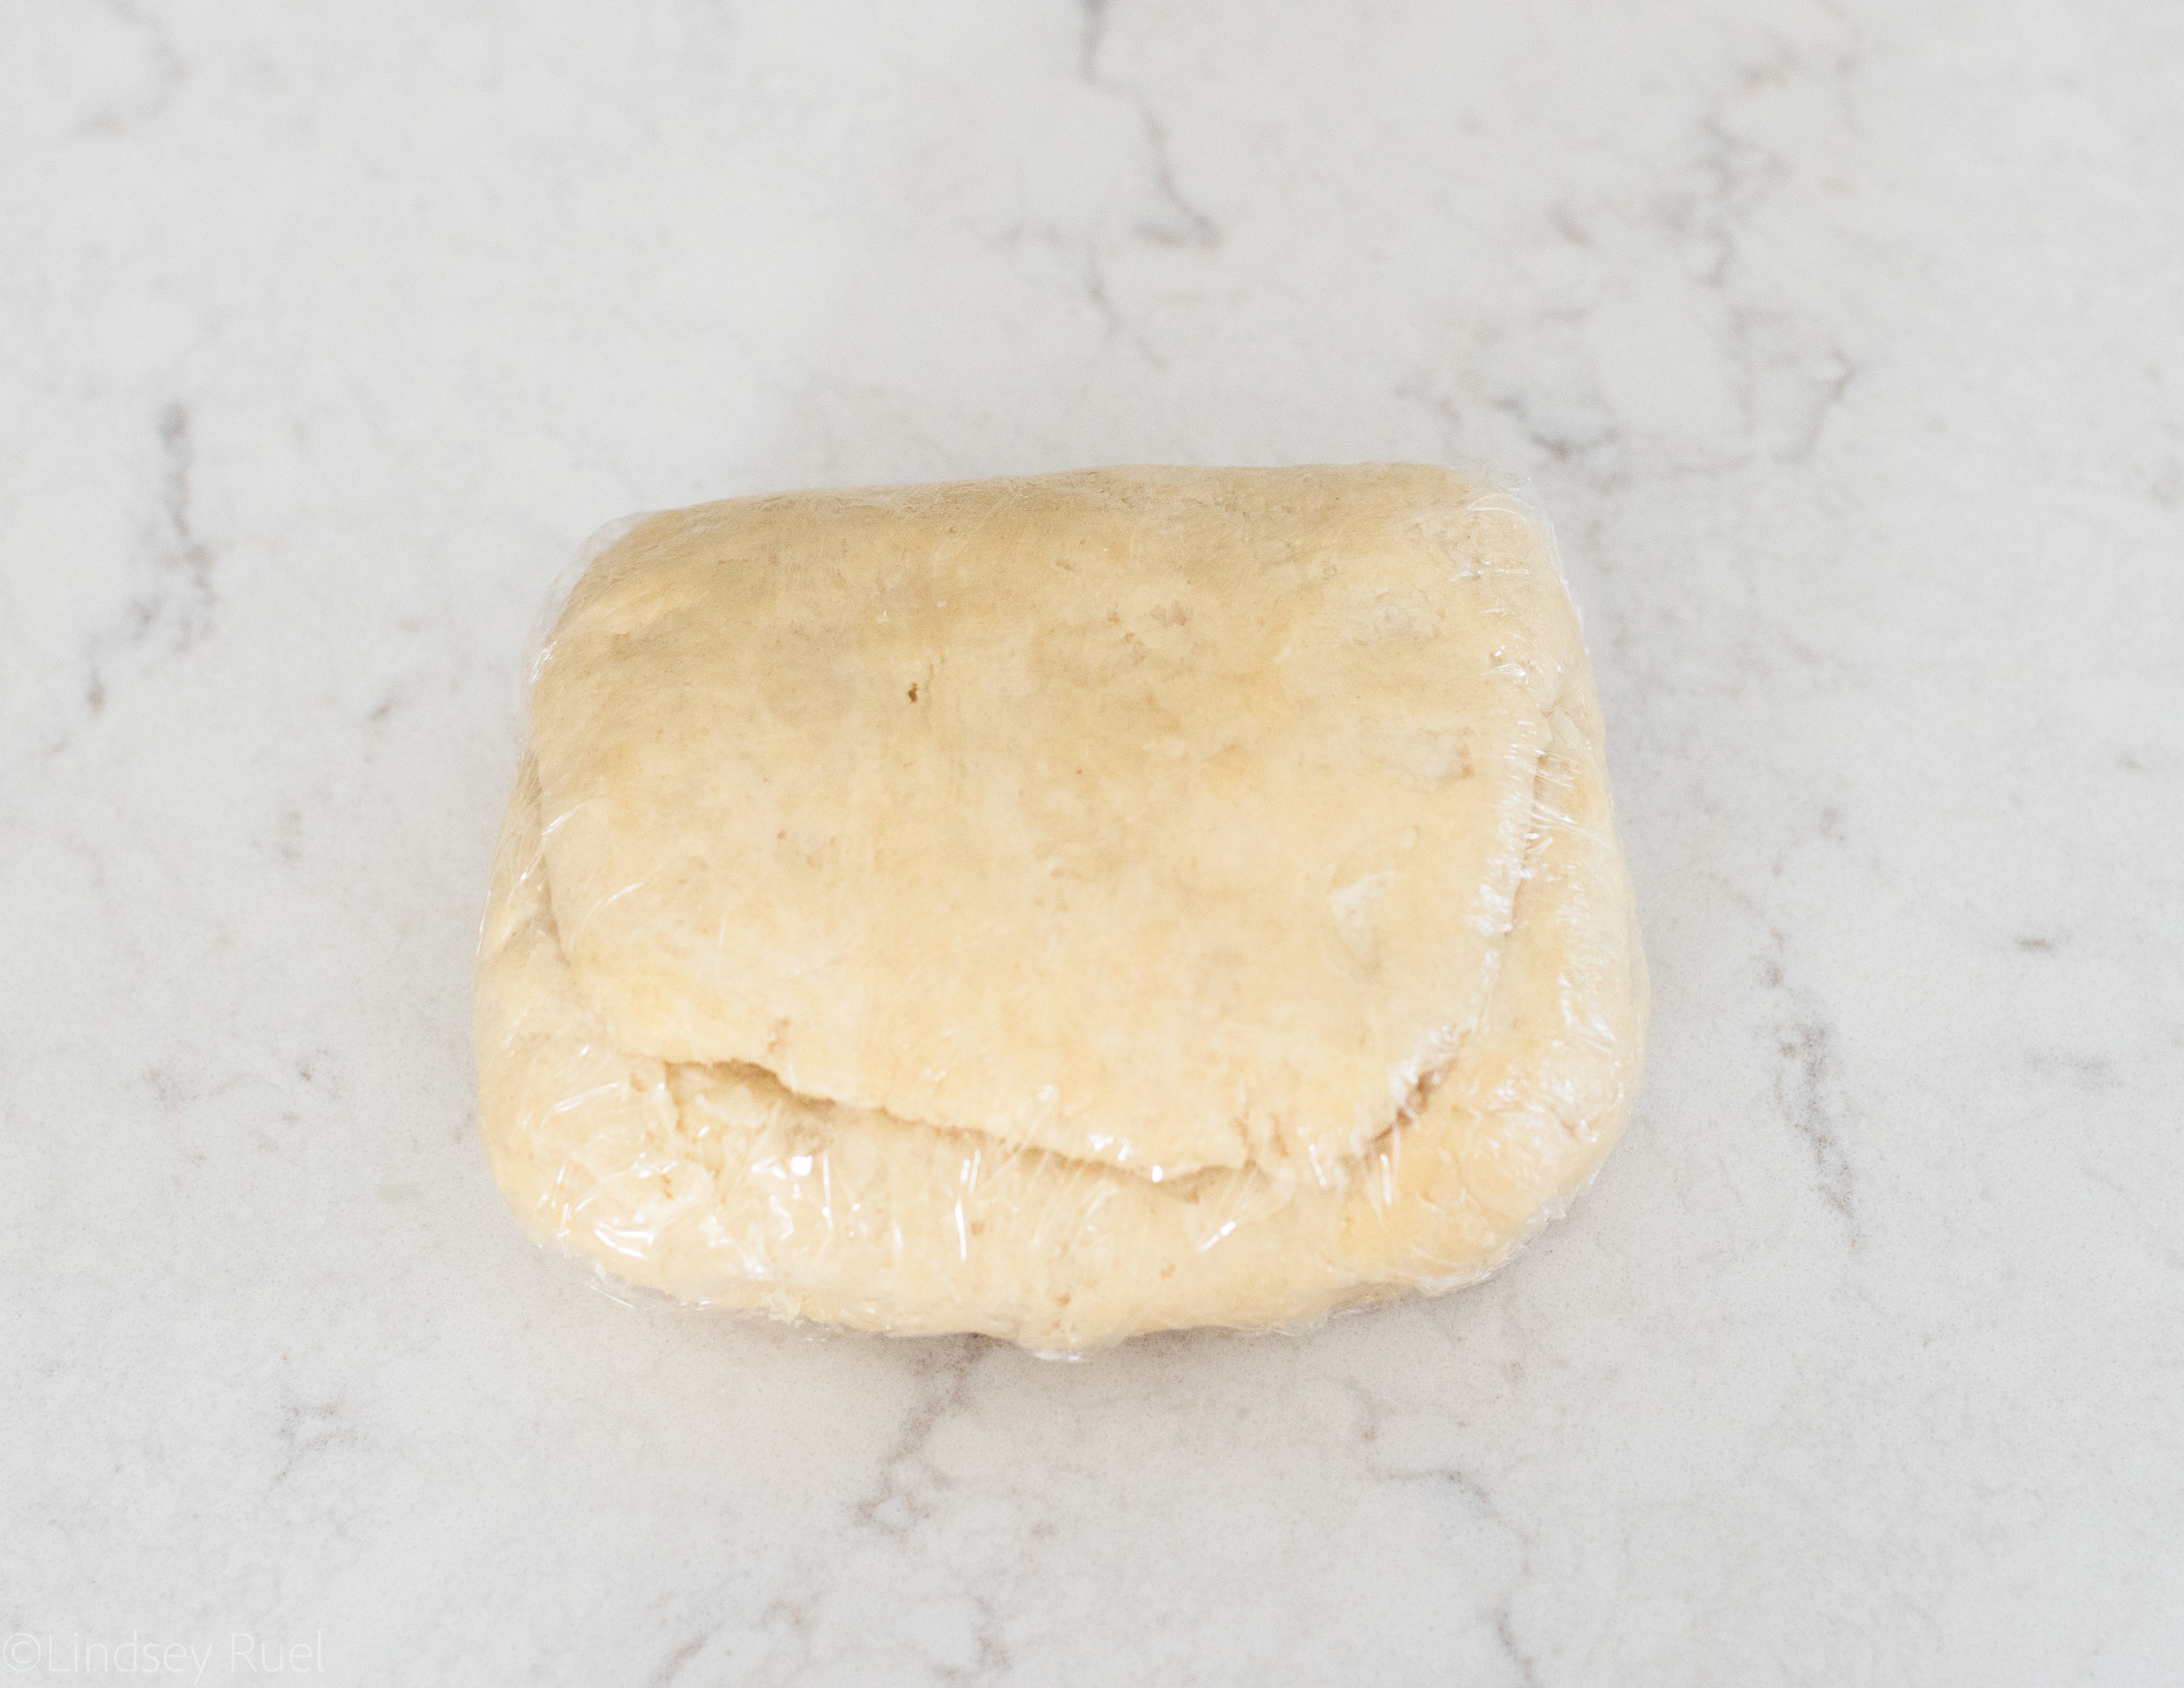
Then wrap up the dough in plastic wrap and refrigerate for at least an hour, but preferably overnight.
You can also freeze the dough and save it until you need it.
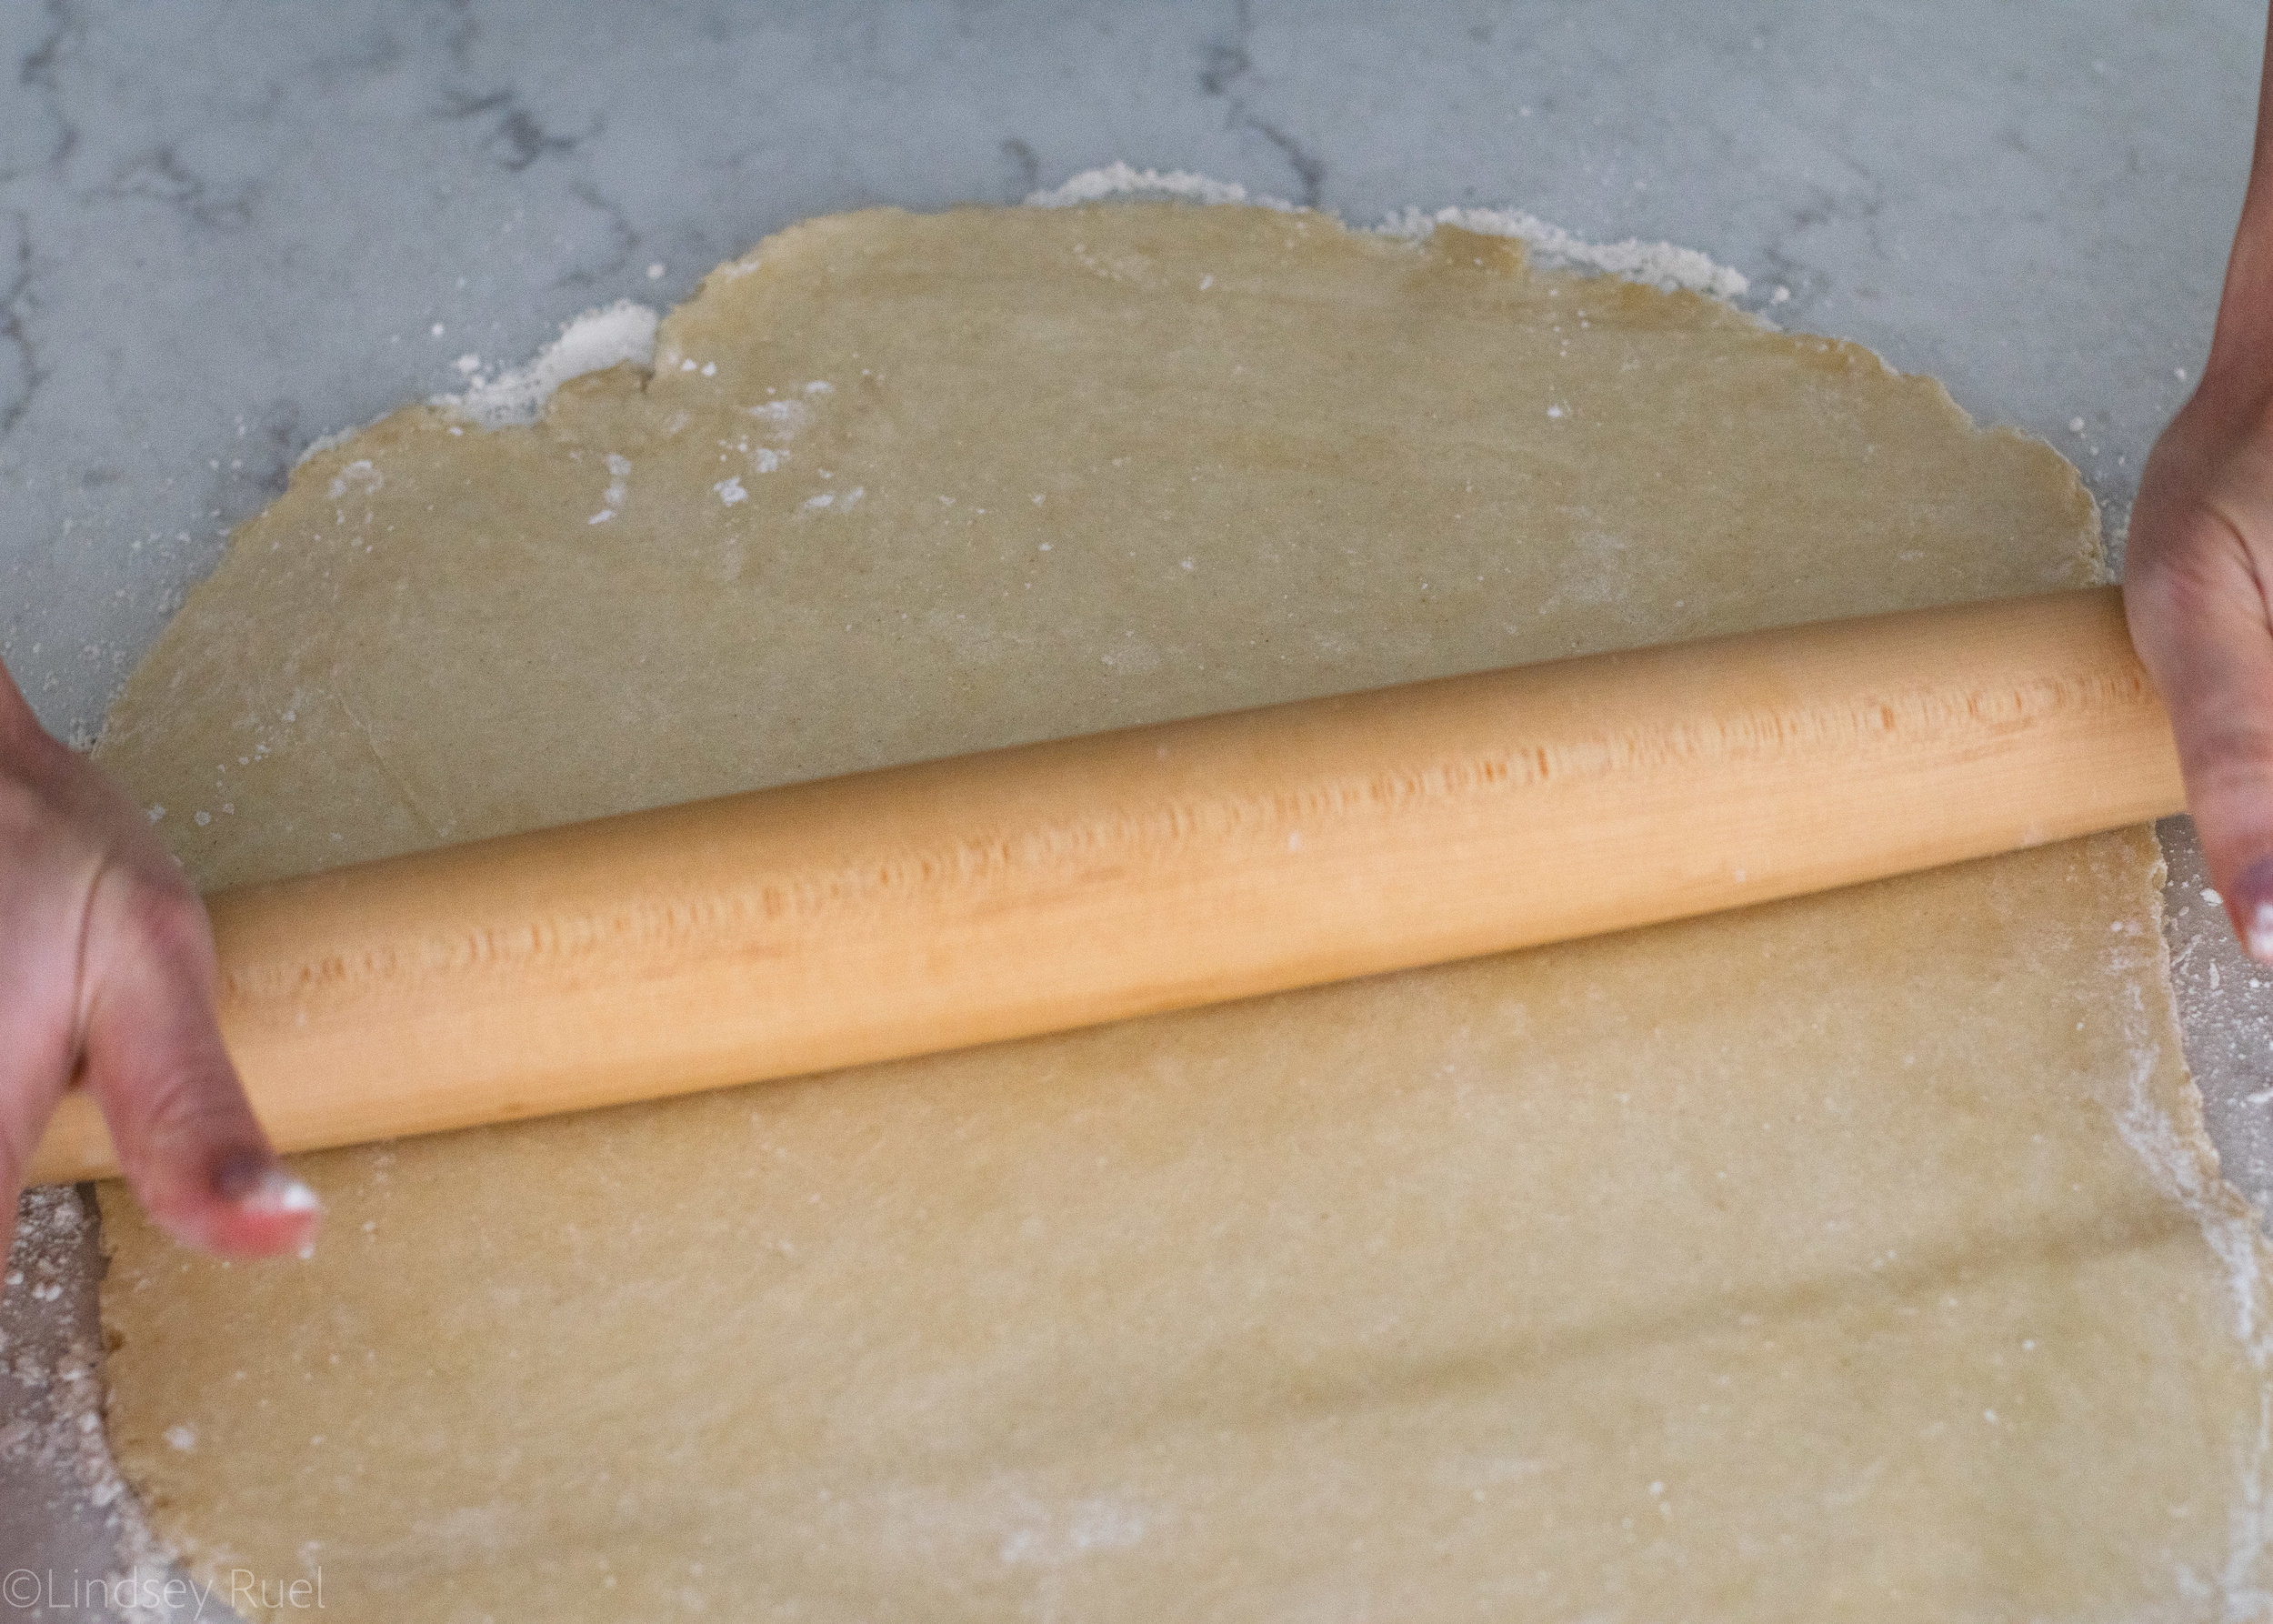
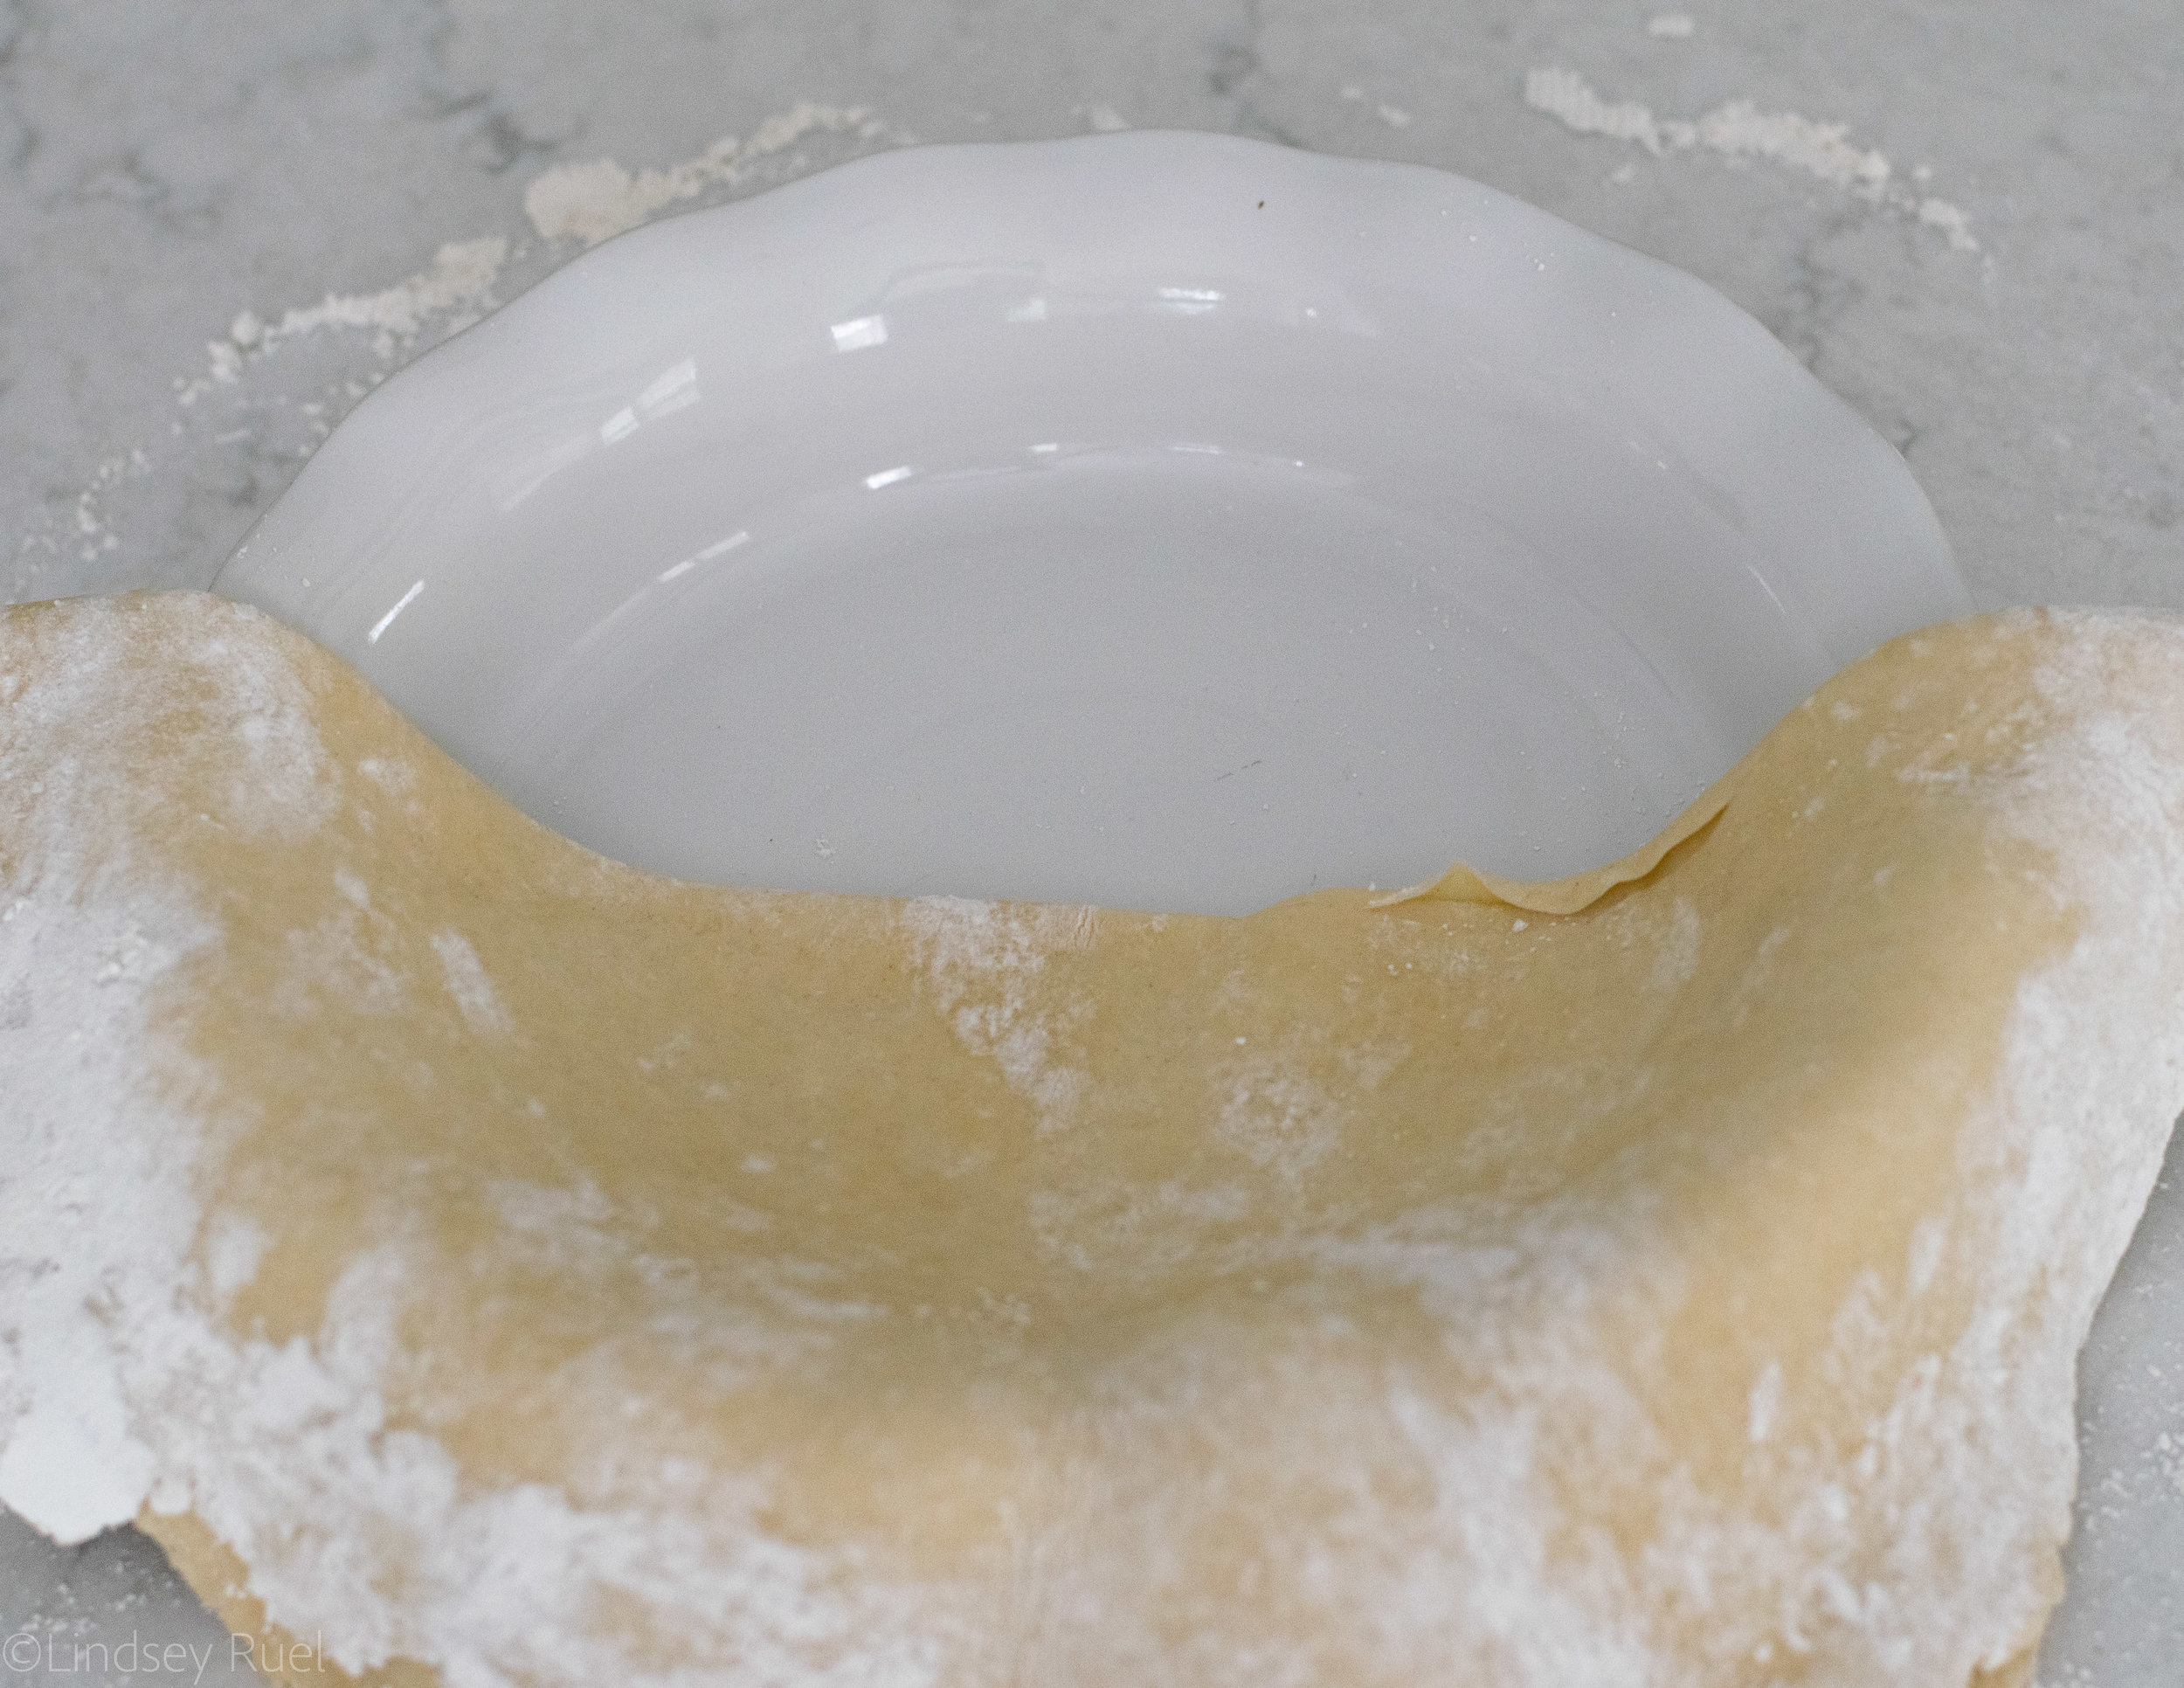
When you are ready, roll out the dough to about an eighth to quarter inch thick. Transfer the dough to your pie pan and press into the edges of the or the pan.
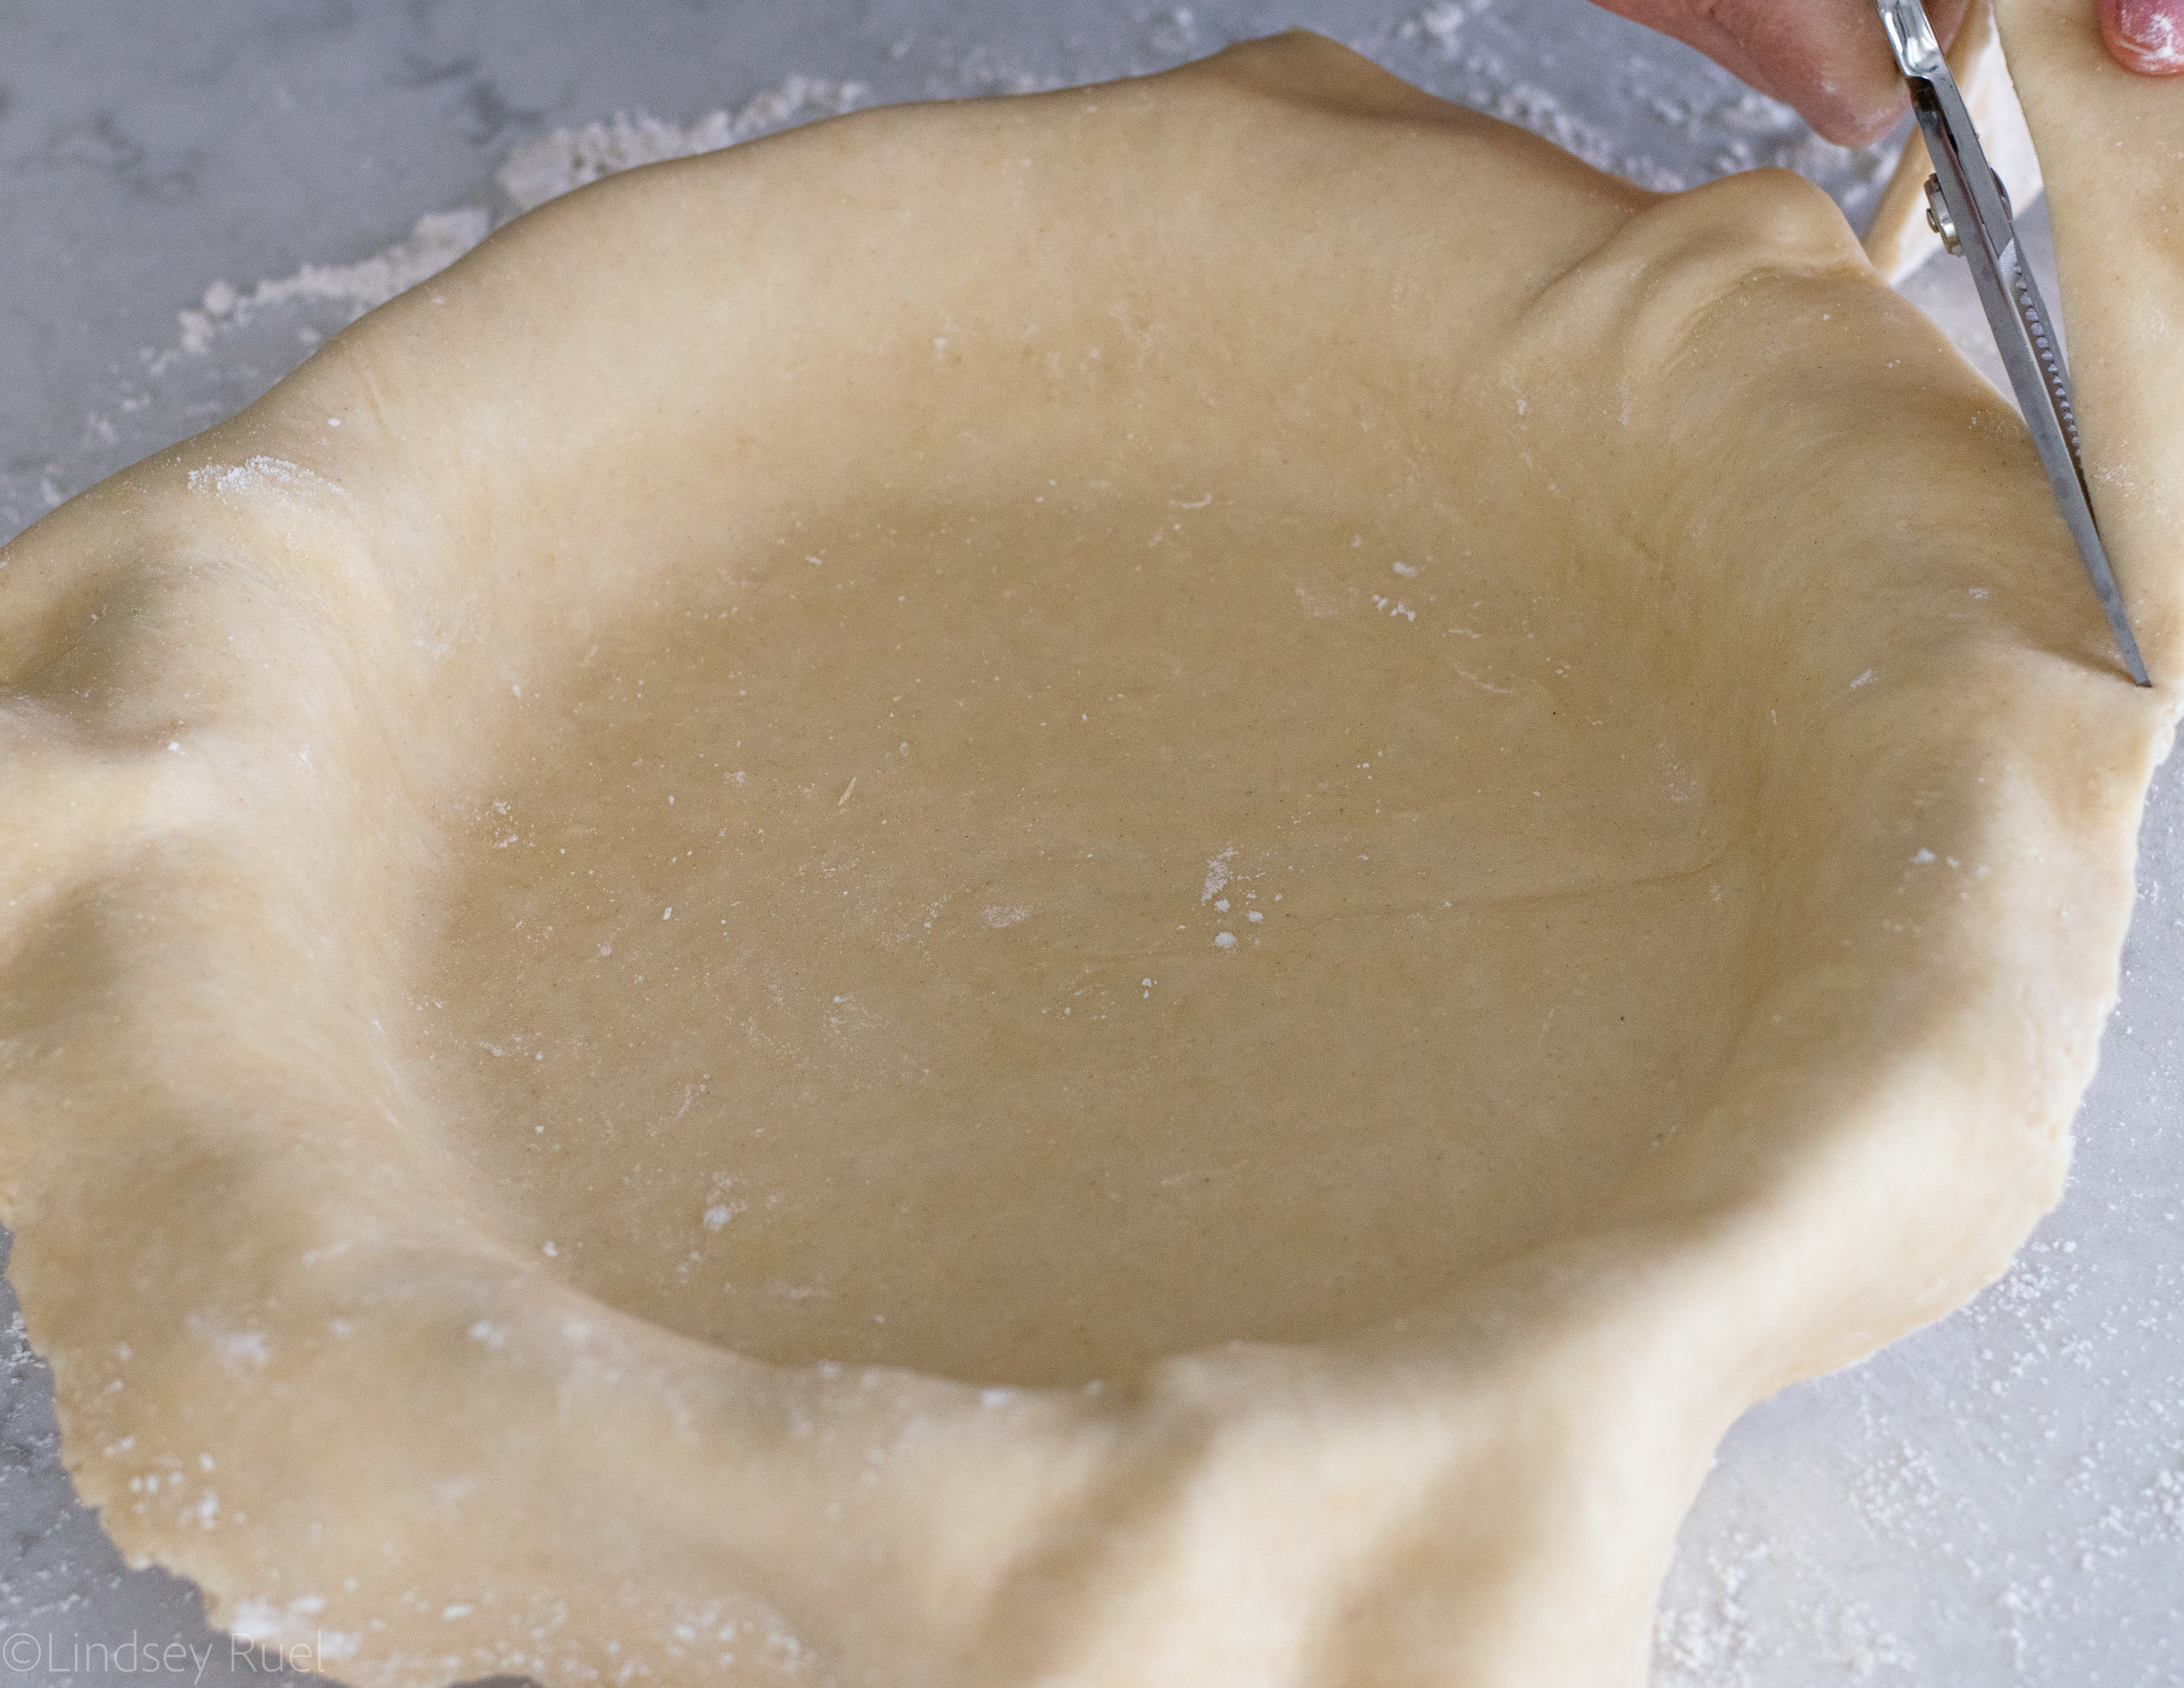
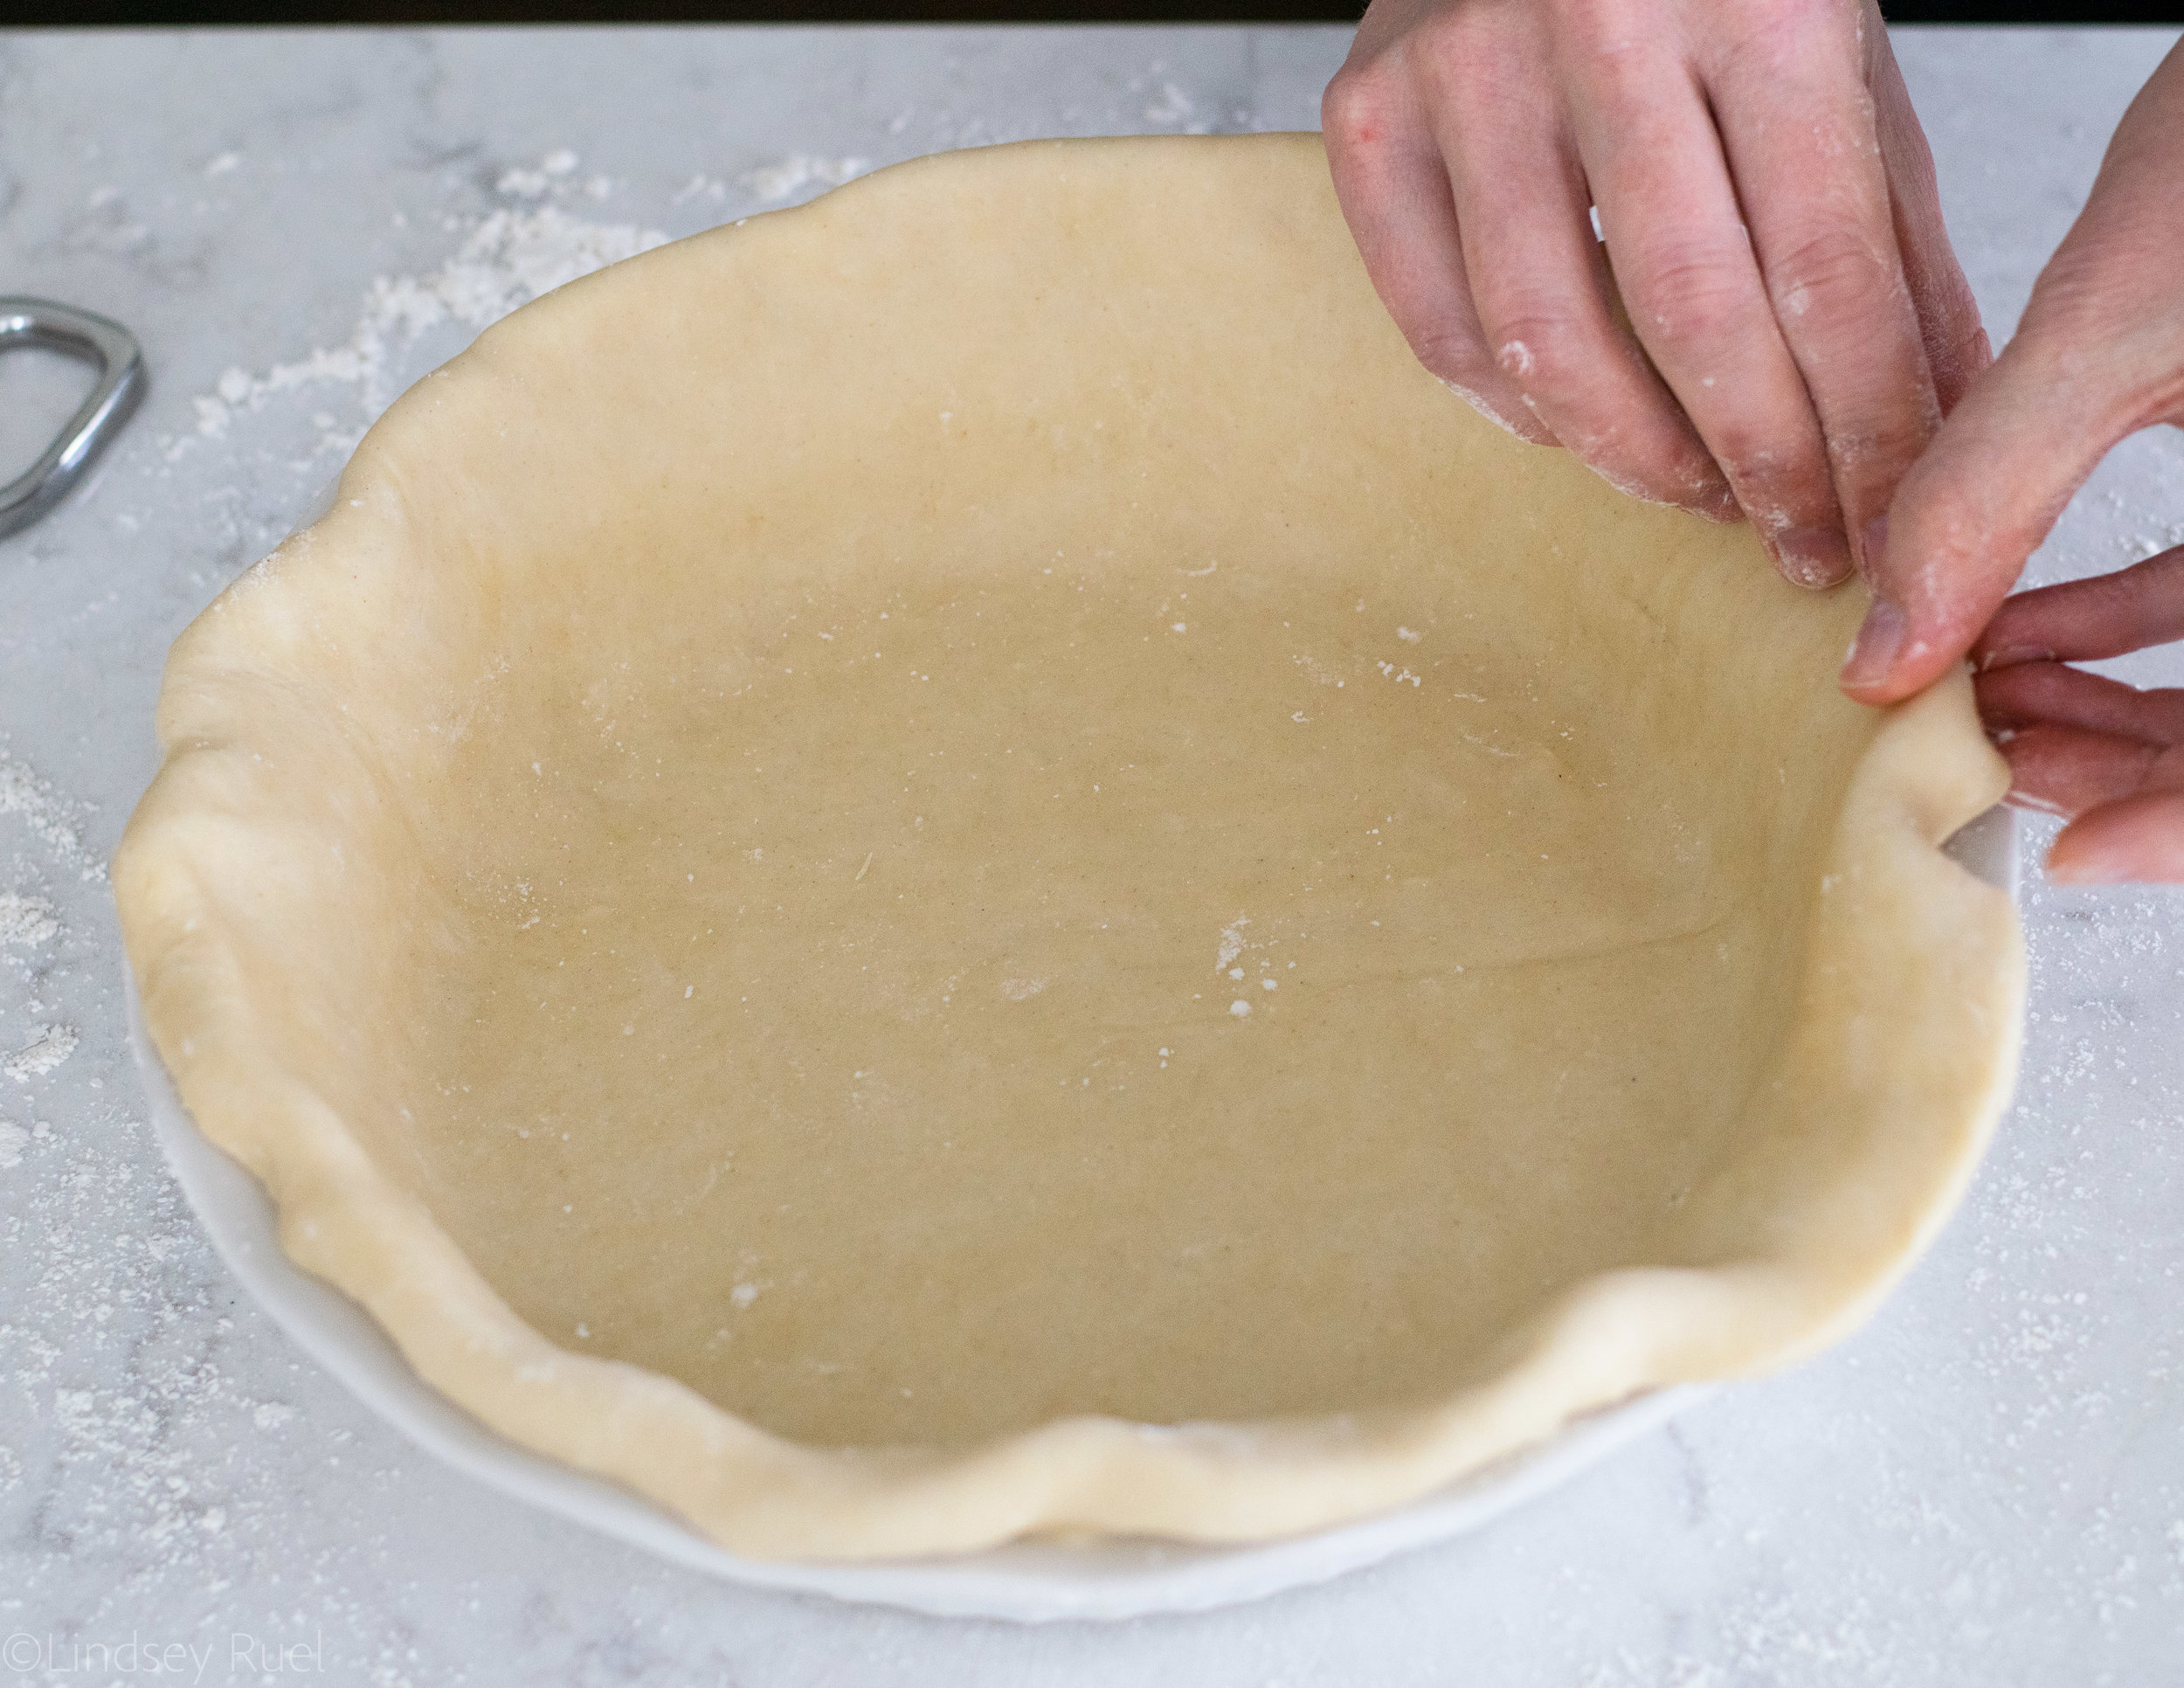
Cut the excess dough leaving about a half of an inch around. Fold the extra dough under the under the edge of the pie.
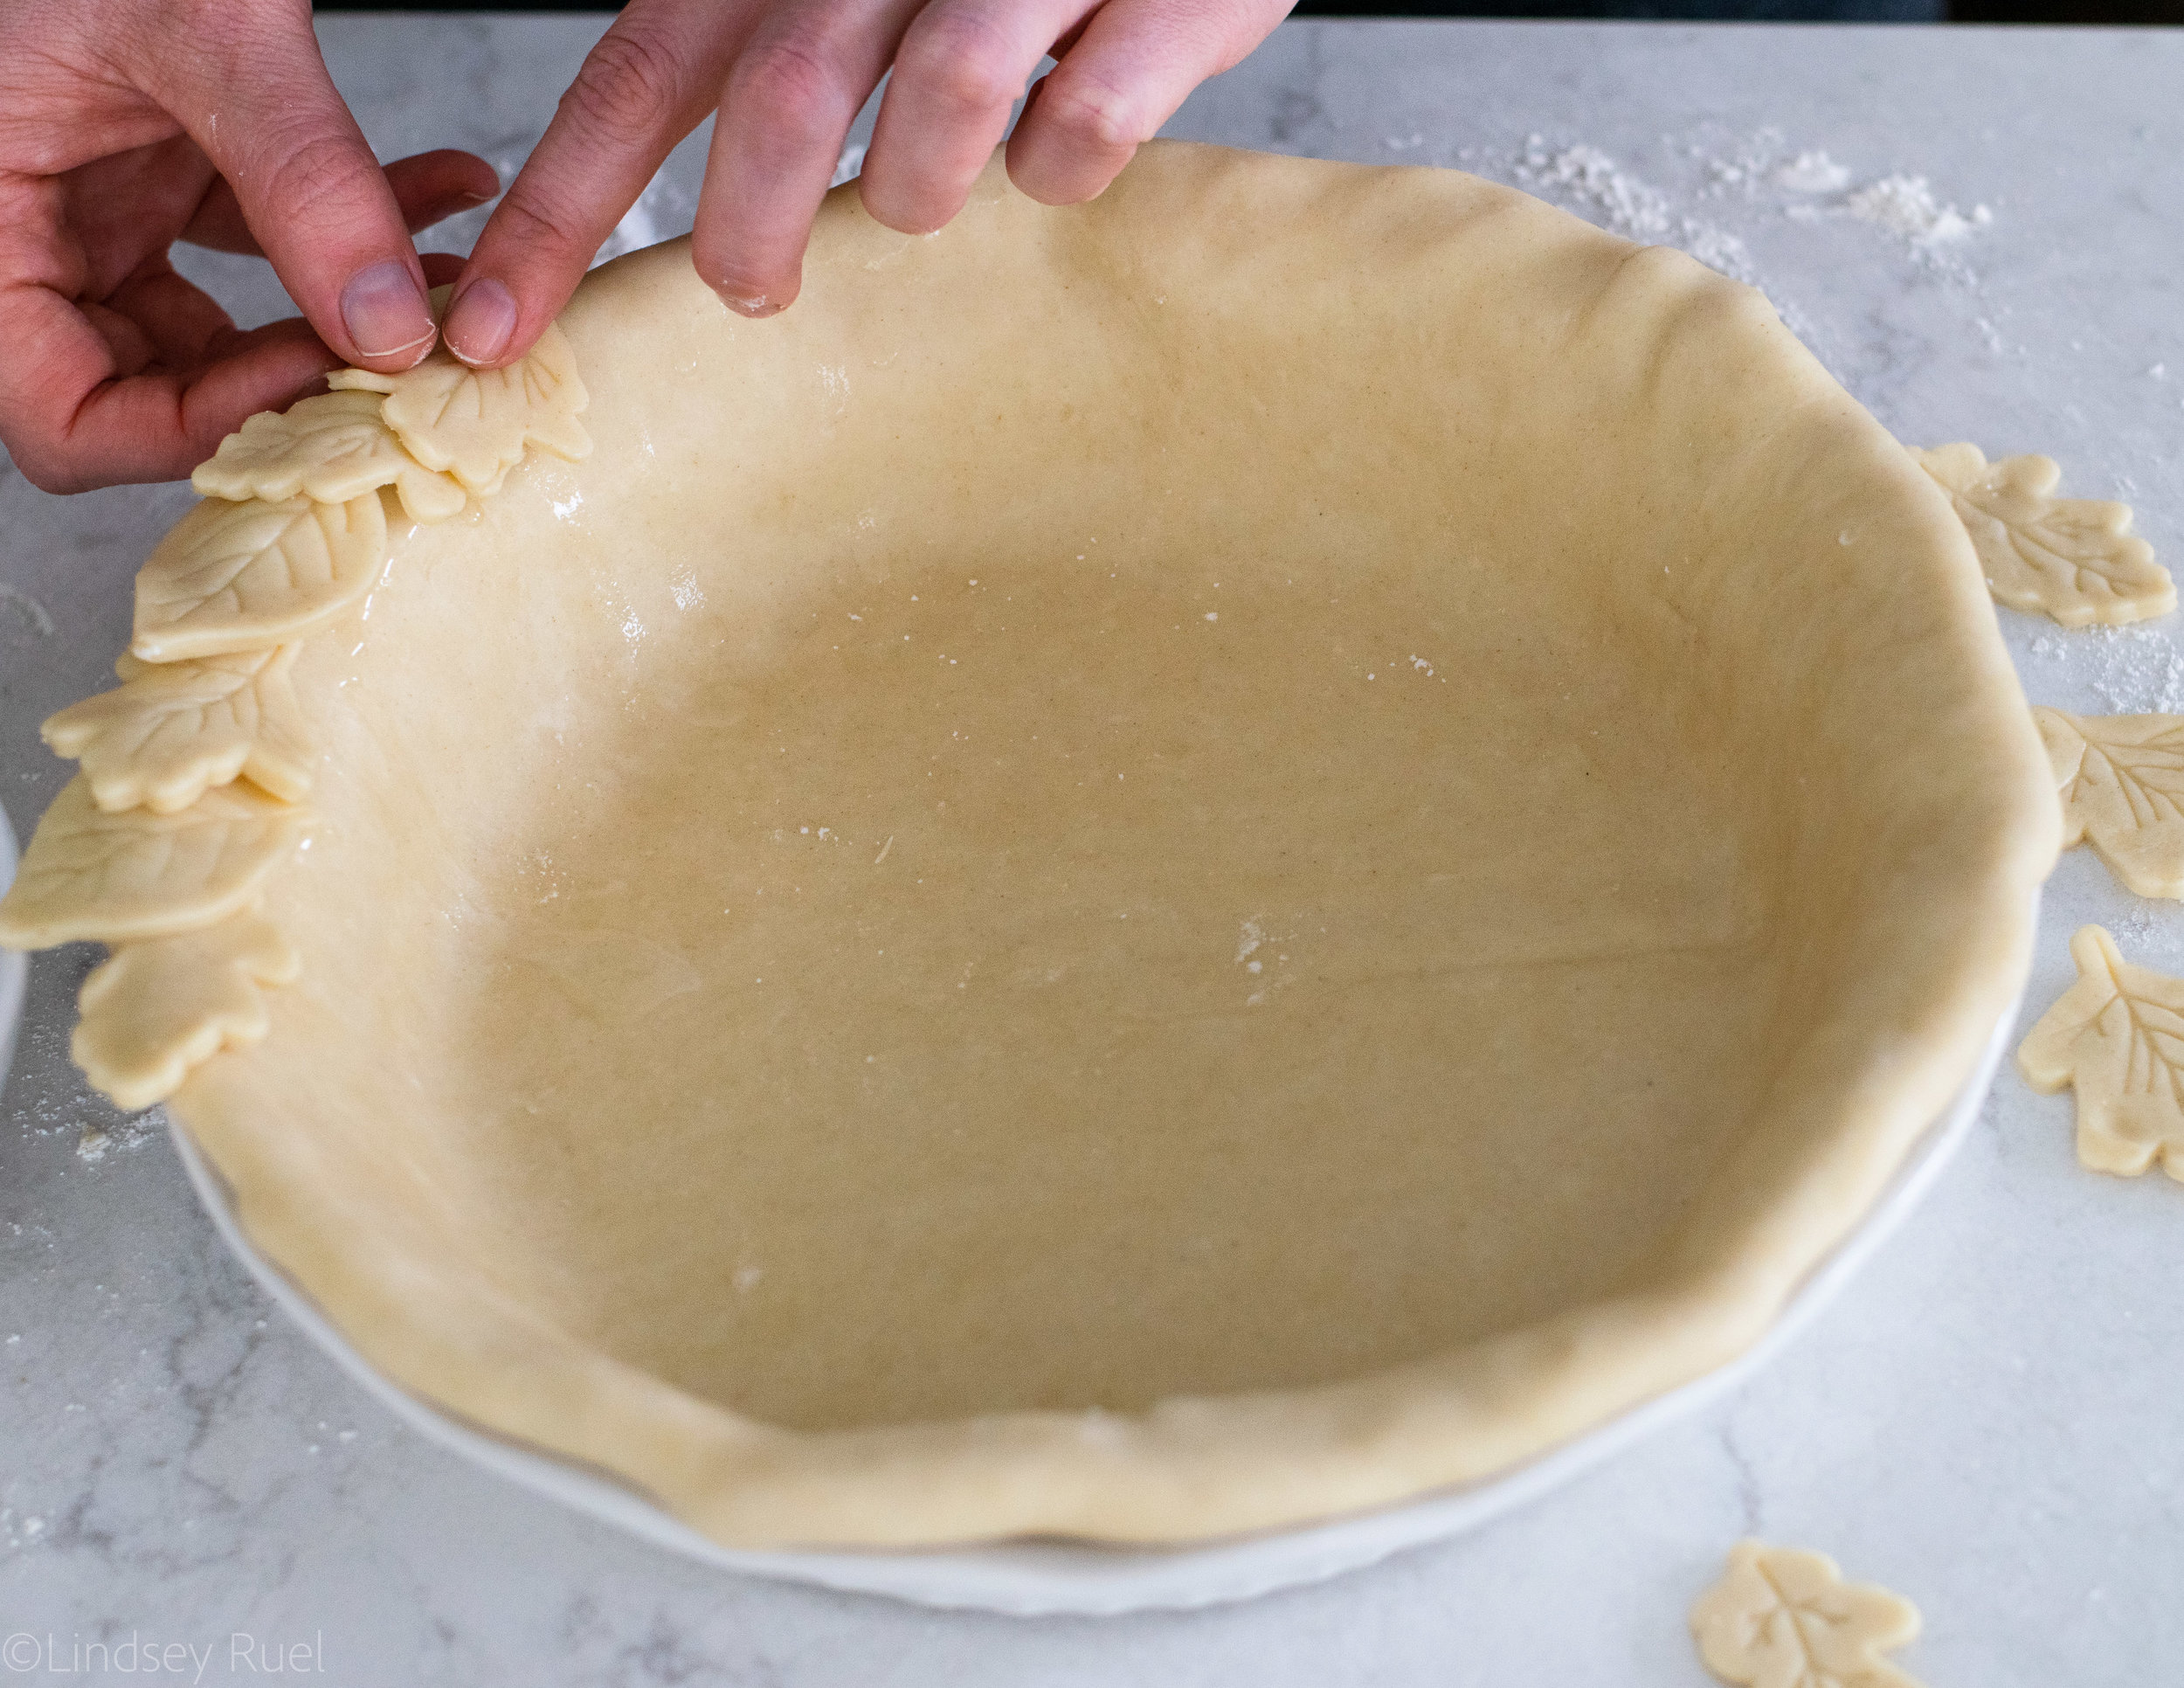
From here you can finish the crust how you want to. You can pinch or crimp the edges for that classic pie crust look, or you can add some extra flair with the extra pie dough.
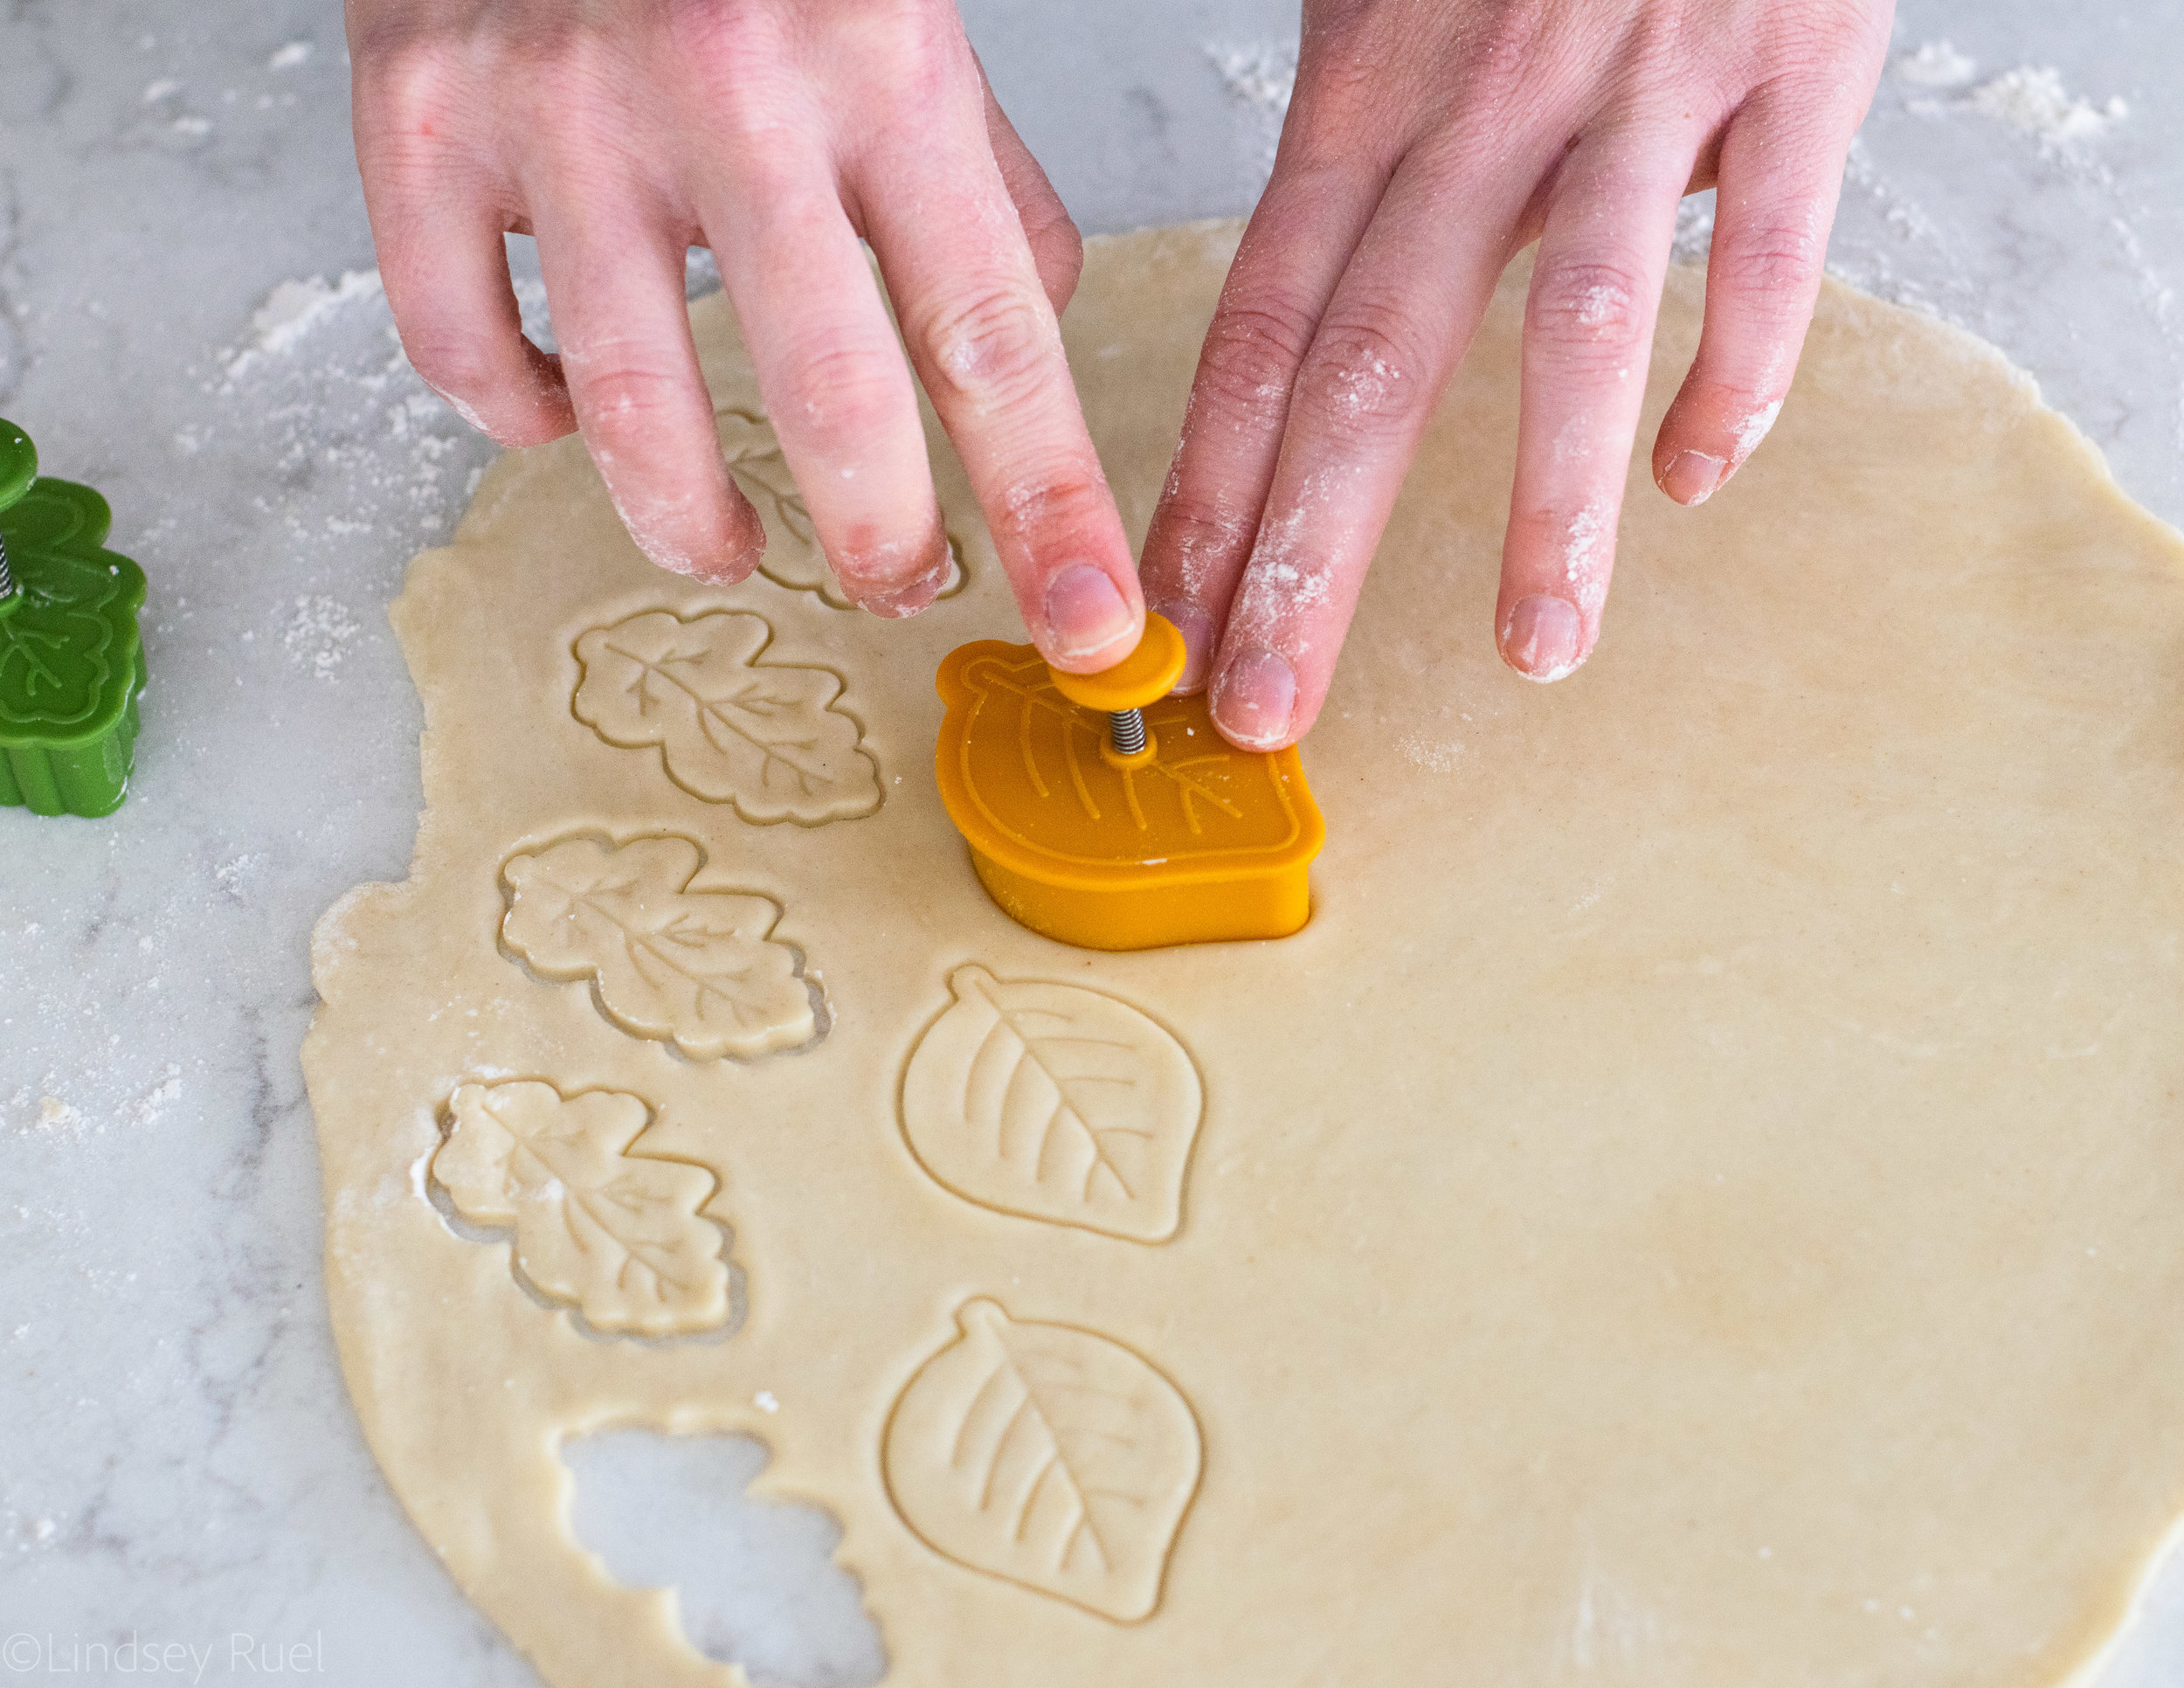
For Fall pies, I like the idea of adding fall leaves around the edge of the crust.
To do this, cut out small leaves with a pie crust cutter like these.
Attach them to the pie crust with a bit of egg wash. Then its ready to fill with your favorite pie filling. Pumpkin, pecan, apple. Whatever your favorite pie is.
Recipe
Prep Time: 15 minutes
Makes 2 crusts (bottom only), or 1 bottom and 1 top crust
Ingredients:
1 cup butter, chilled
2 1/2 cup all purpose flour
1 tbsp sugar
1 tsp salt
1/3 to 1/2 cup water, chilled
Instructions:
Using a cheese grater or box grater, grate the sticks of butter onto a piece of parchment or wax paper. Pour into a bowl and stick the bowl in the freezer while you prepare the other ingredients.
Add the flour, sugar, and salt to a large bowl. Whisk together for about 30 seconds to break up any lumps in the flour.
Pour the chilled butter shavings into the flour and use your fingers to work it into the flour until is a crumbly, sandy texture.
Slowly add in half of the water and work in using your hands. Keep adding more water until the dough is no longer dry and crumbly, but just comes together into a solid ball of dough.
Turn the dough out onto a clean work surface and press into a flat disc. Fold over in thirds, like a letter, in one direction. Then press back out into a flat disc and fold in thirds in the other direction. Wrap up the dough in plastic wrap and and refrigerate for at least an hour, or overnight.
When ready to bake, roll out dough to about a quarter of an inch thick and press into the pie pan. For wet pie fillings, par bake the crust at 350 degrees for about 15 minutes.


