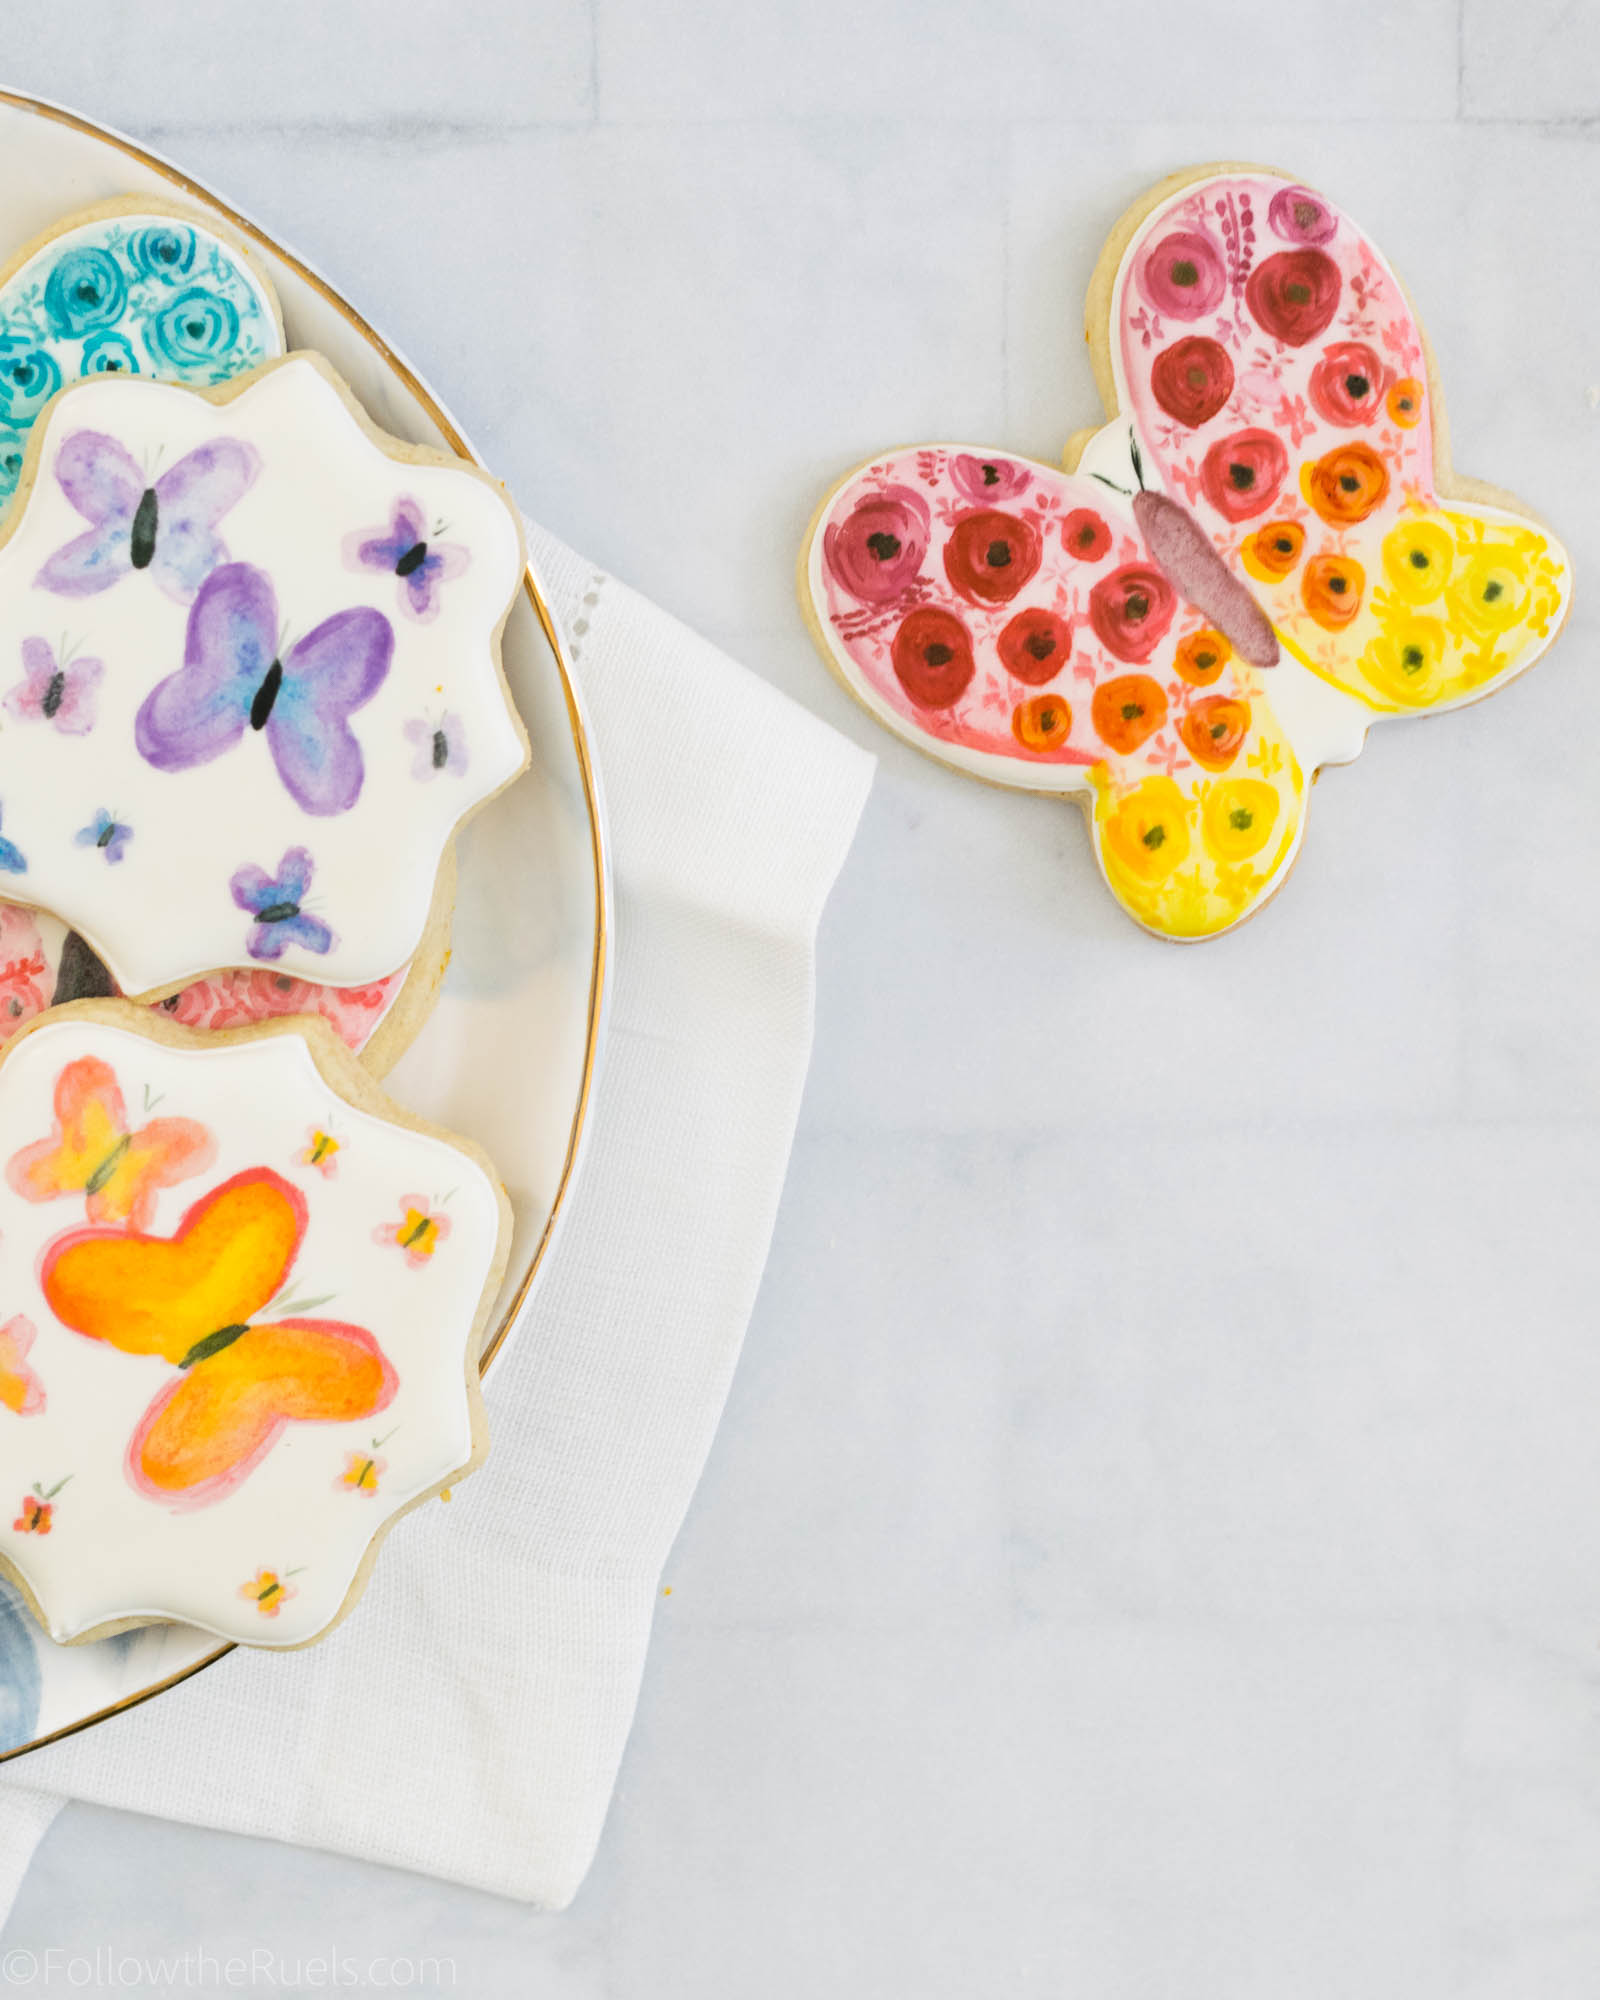
Watercolor Butterfly Cookies
Who doesn't love a pretty little butterfly? Or better yet, butterfly cookie!
I made these watercolor butterfly cookies for a couple of my best friends for Mother's Day. I love any excuse to send them, their husbands, and their kiddos cookies. And what better way to say "you're a totally awesome mom!" than with cookies!
Of course, I didn't share these before Mother's Day because I wanted my friends to see them first. But since there isn't an overly "Mother's Day" theme to these cookies, they would be perfect almost any time of year! Like a baby shower, bridal shower, birthday, graduation, or just to celebrate Spring!
How to Make Them
Of course, start by making your cookie dough. For these cookies, I actually flavored the dough with some orange zest and cardamom. Oh my were they heavenly. I actually share the exact recipe in my Christmas Cookie guide, even though this flavor is good year-round.
Cut out the cookies into your desired shape, in this case a butterfly, plaque, or any other standard shape (circles always work!), then bake them until they are barely golden brown around the edges.
Once the cookies have cooled, you can start to decorate!
First, outline and fill the entire cookie with flood consistency icing and leave it uncolored. Let the icing dry completely (overnight is preferred) so that they will be at their best for painting.
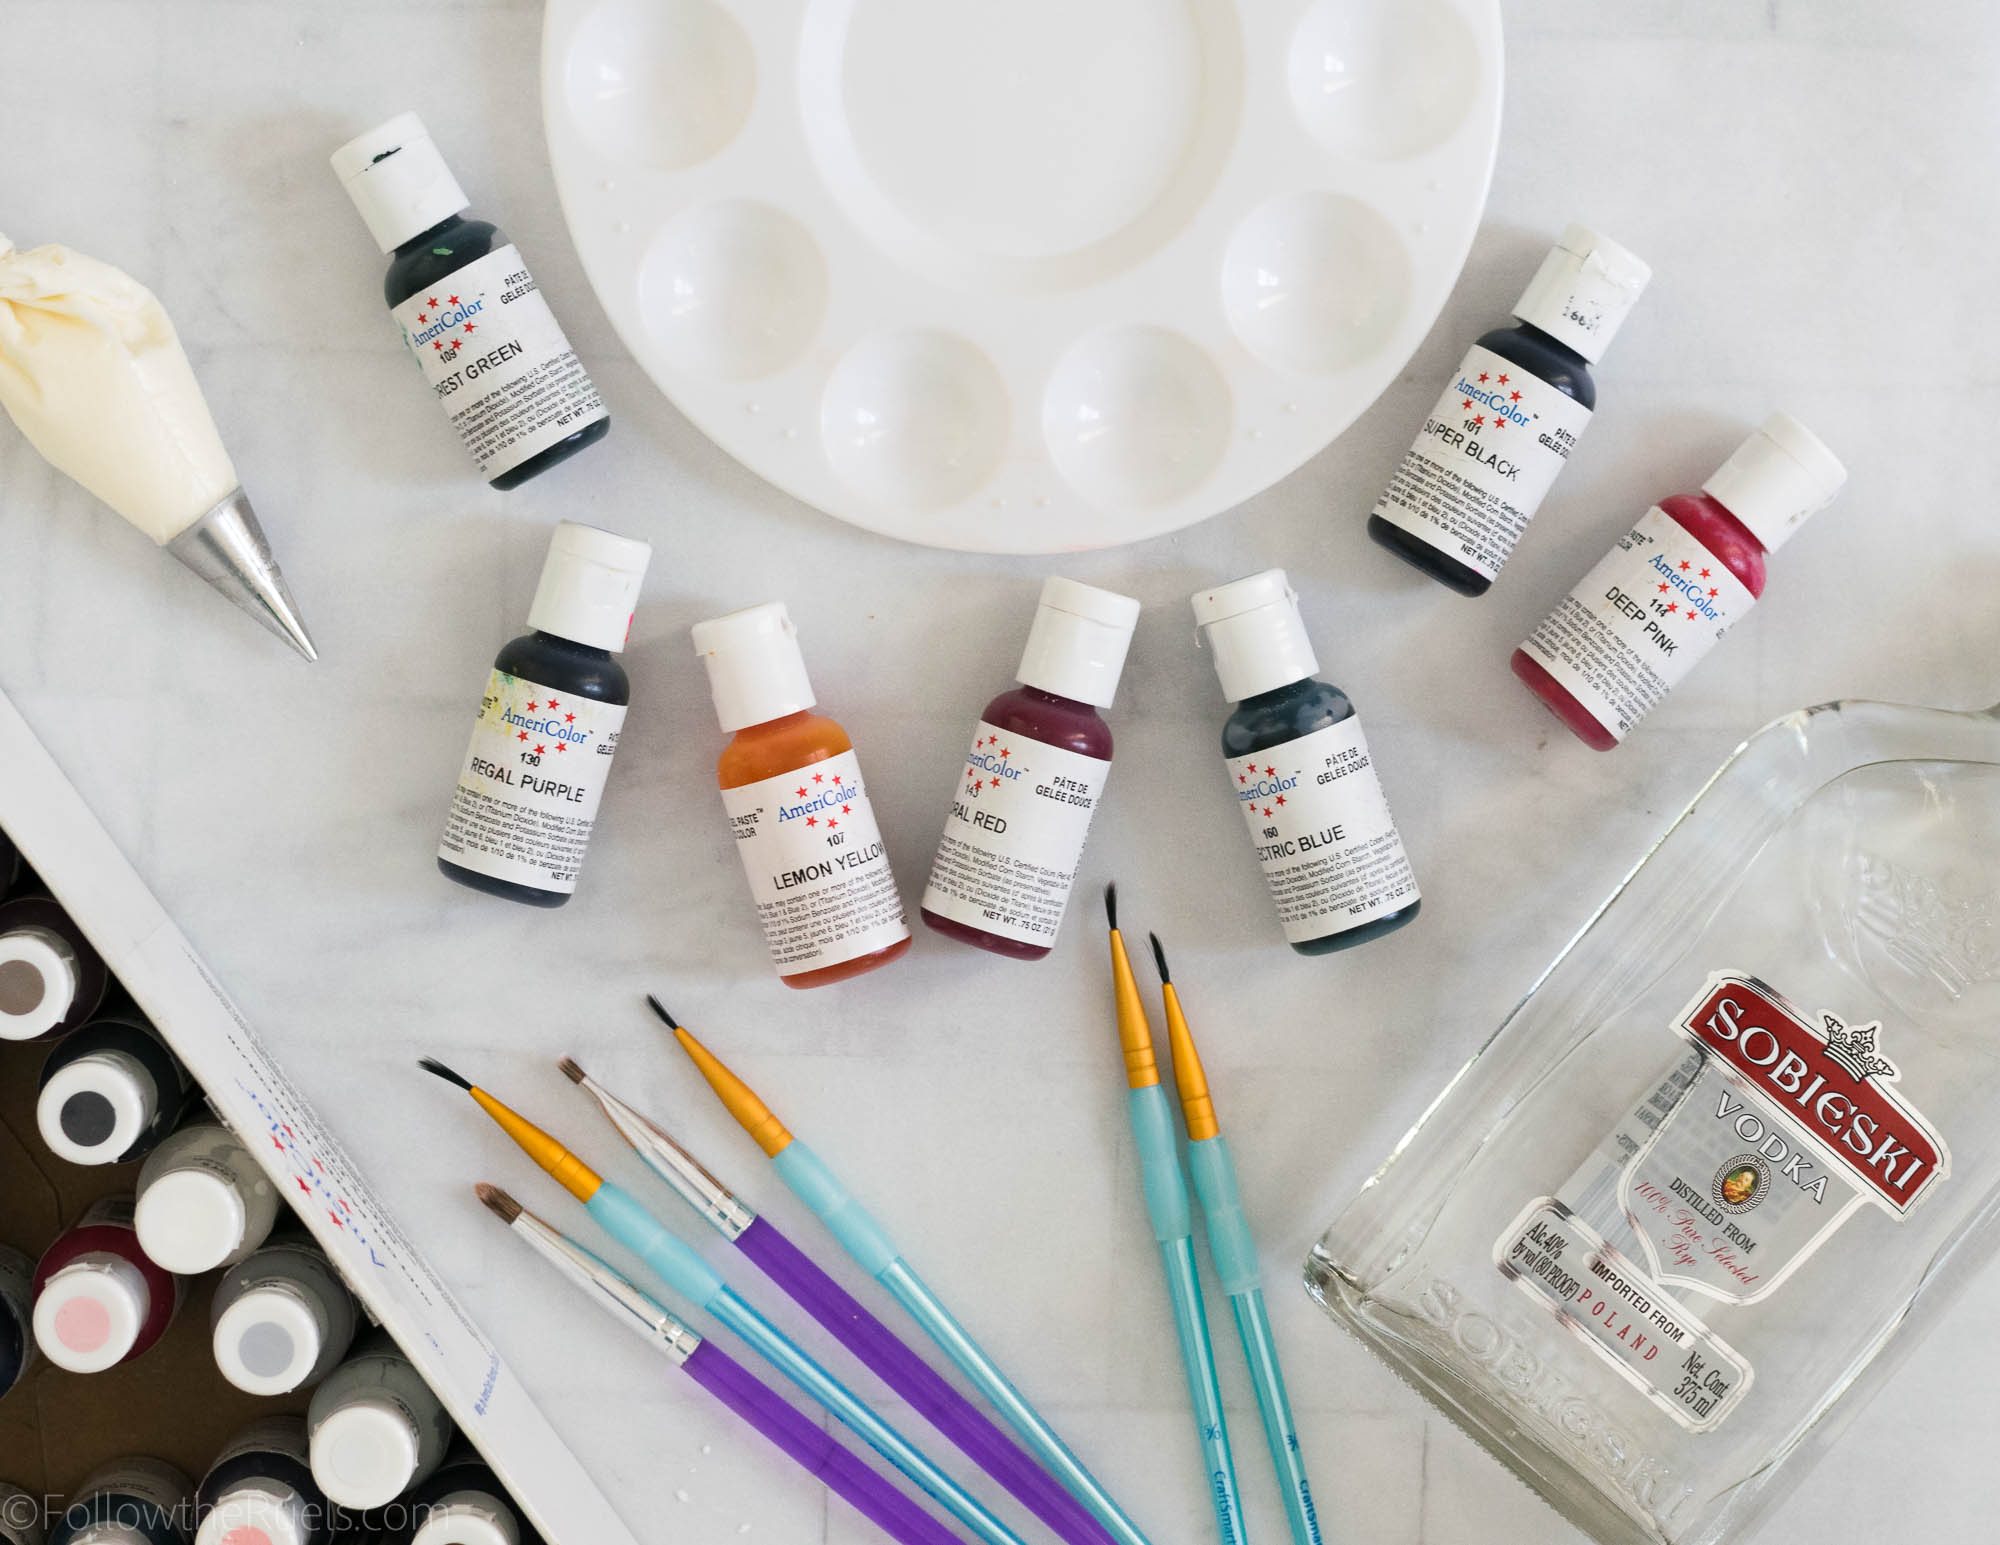
To prepare for the painting, dilute 1-2 drops of gel food coloring with a clear alcohol, like vodka, then paint on top of the cookie. The more vodka added the more diluted the color will be. I like to leave one well very pigmented, then add another little well of plain alcohol which I can use to create a more diluted shade of the color.
Finally, you are ready to paint away! There isn't a lot of rhyme or reason for painting, other than make sure you aren't painting with a water-soaked brush. Between colors, clean your brush off in a glass of water, but then brush off all excess water before dipping back into the paint. The water will degrade the icing leaving little craters all across your cookie. Not cute!
The paint only takes a few minutes to dry, so once you are done you can pack the cookies into bags or set out to eat!
Supplies
Like all my watercolor and painted cookies, the supplies for these cookies are pretty standard: food coloring, alcohol, and paint brushes.
For the gel food coloring, I used all the bright colors in my collection: purple, pink, orange, yellow, and blue. I diluted the food coloring with some cheap vodka that I picked up at the liquor store. If you don't keep vodka in your house or don't have access to it, you can also use a clear extract, like almond extract.
Now for the paint brushes. I stress this in every post, but it is important to use clean (i.e. never used with paint) brushes. Wilton makes paint brushes specifically for baking, but I use normal craft brushes that I clean with dish soap before using.


