Lemon Elderflower Cake
What can I say about this lemon elderflower cake? Other than it didn't turn out at all like I had expected. But, in the best way possible!
If you follow me on Instagram, then you already saw a sneak peek of this cake last week. In the comment, I mentioned that this is not what I had planned on the cake looking like. In my head, before I started, I had planned on this being a cake completely covered in a layer lemon buttercream frosting then topped with white and yellow buttercream flowers complete with buttercream leaves.
Now, I am often overly ambitious when it comes to my baking projects which often leads to a last minute change of plans. In this case, it was just poor planning. I simply didn't make enough buttercream! I couldn't even cover the whole dang cake!
Whoops!
But in the end, I think the lack of buttercream led to this beautiful, simple, and rustic cake that perfectly embodies the actual cake within. The lemon elderflower cake layers are just that. Beautiful, simple, rustic, and delicious! The lemon flavor is dominant, but not overpowering and there is a hit of that sweet elderflower with each bite thanks in large part to the elderflower simple syrup that I drizzled over each layer.
If you have never had elderflower flavored anything, then you may be a bit skeptical. Not to worry, it's not an overly floral taste, like rose or lavender, so you won't think you are eating soap. It really just provides an extra layer of sweetness and perfectly compliments the lemon.
However, if you are just not into elderflower at all, ditch it! Just make a lemon cake! It will still be wonderful!
How to Make It
The first step to making this cake, and any cake, really, is to sift the dry ingredients together. I used to skip this step, but now I know that this simple step really changes the texture of a cake. Sifting the flour creates a much lighter, less dense cake.
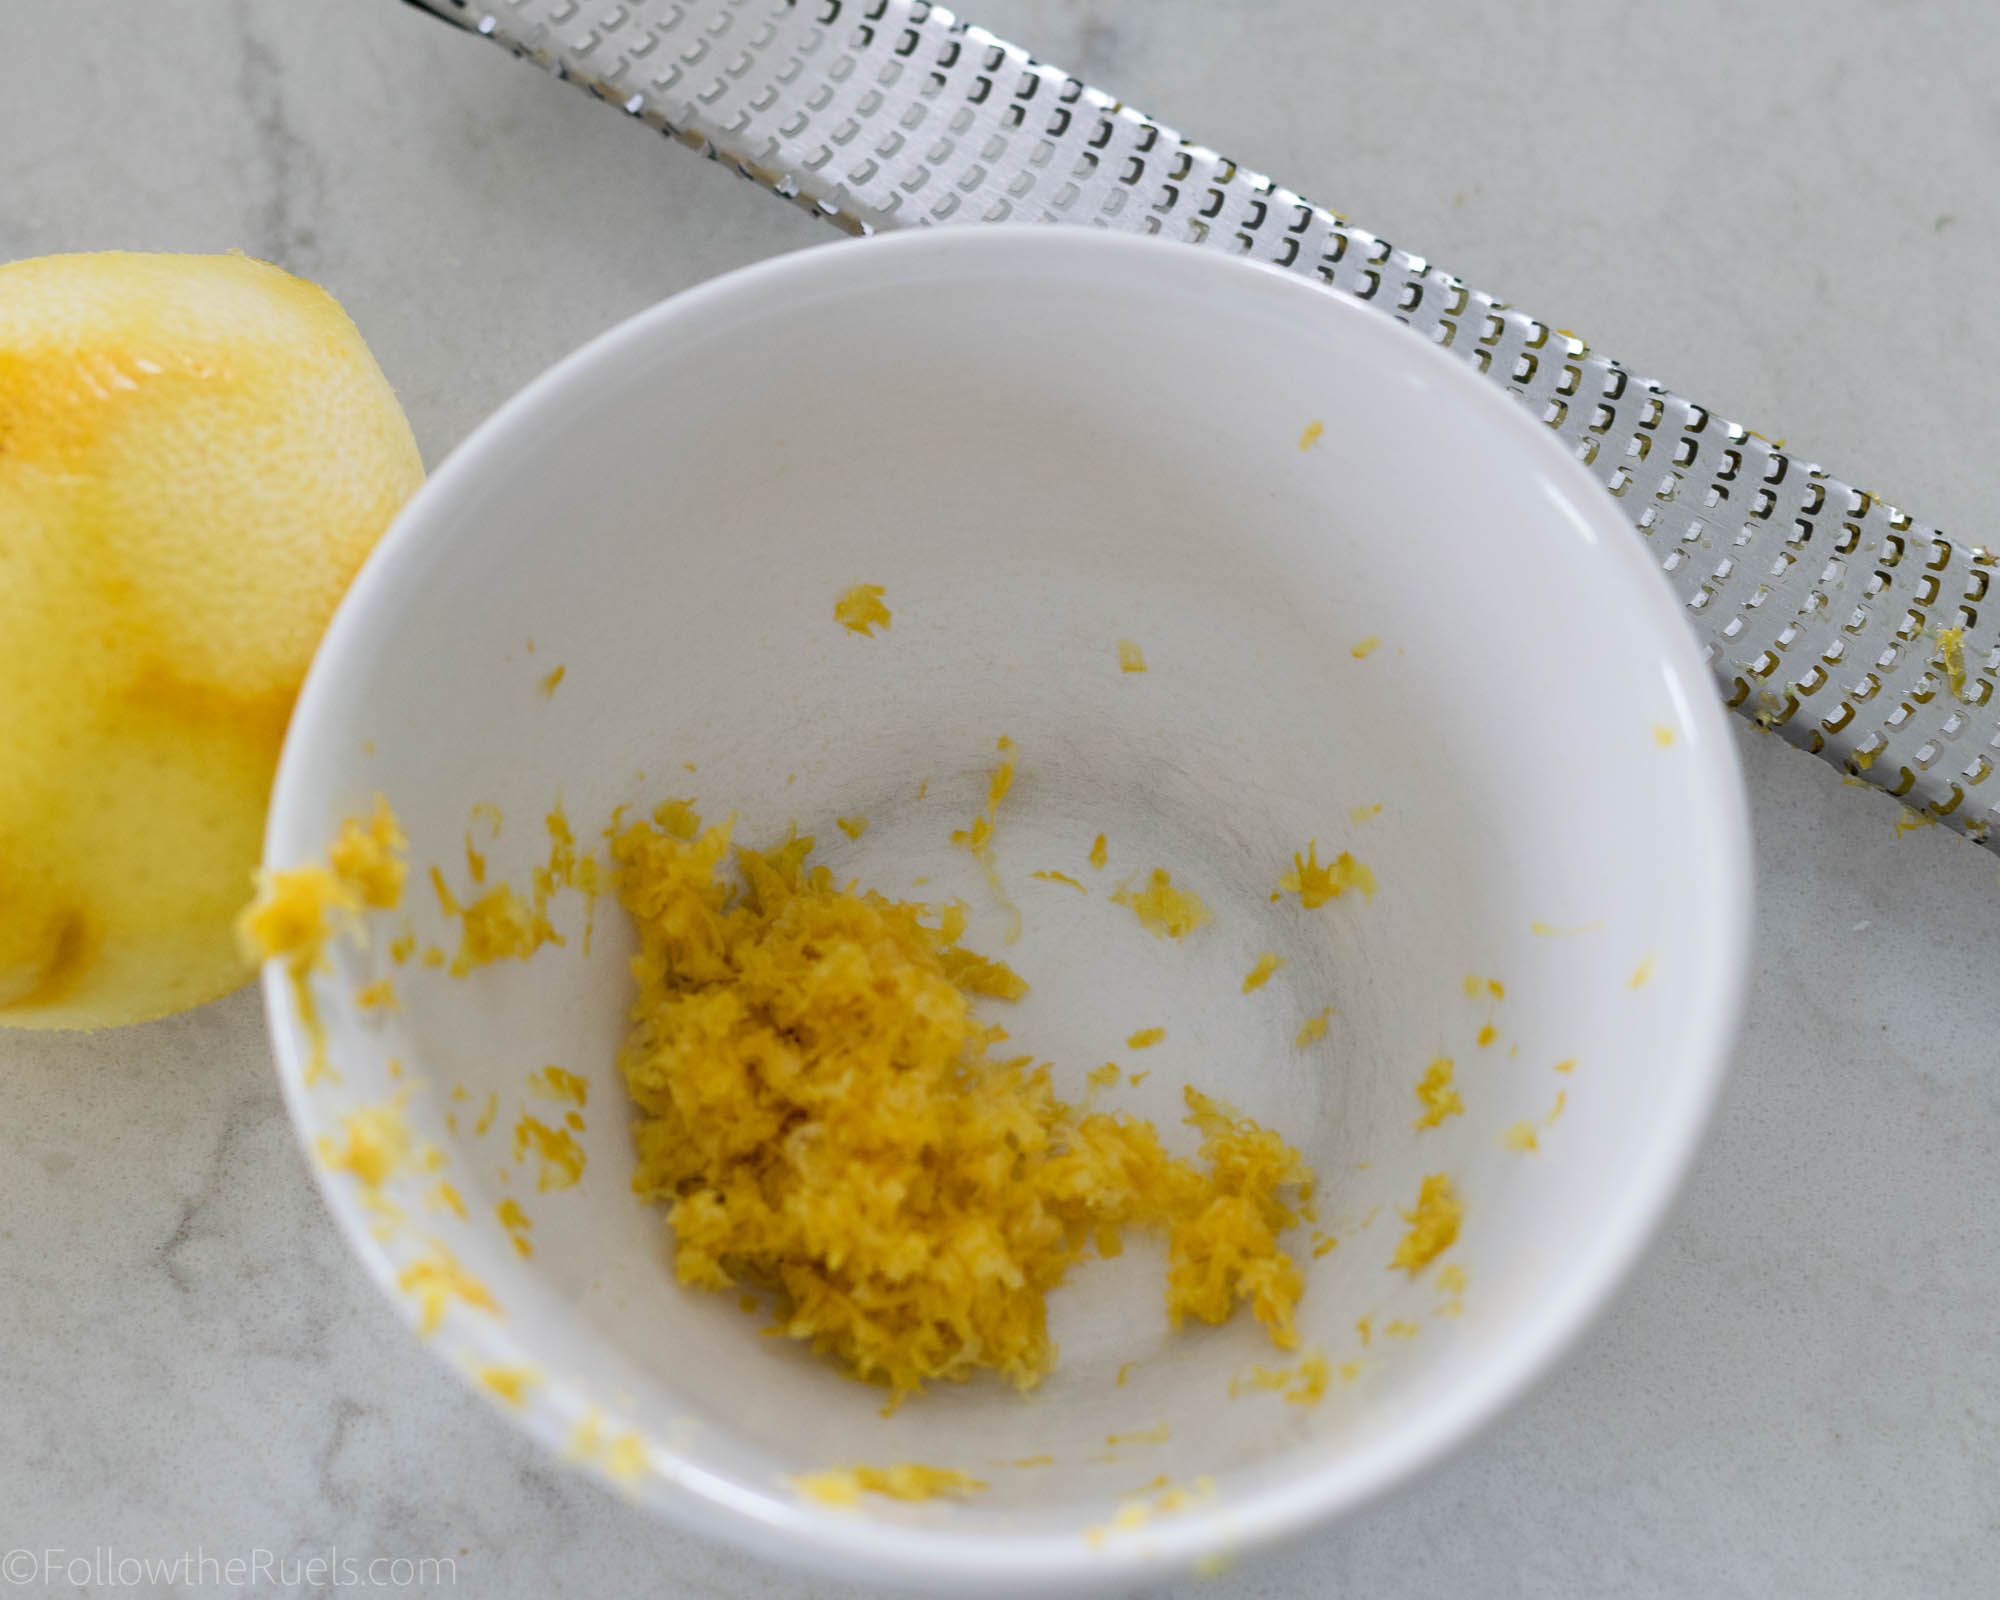
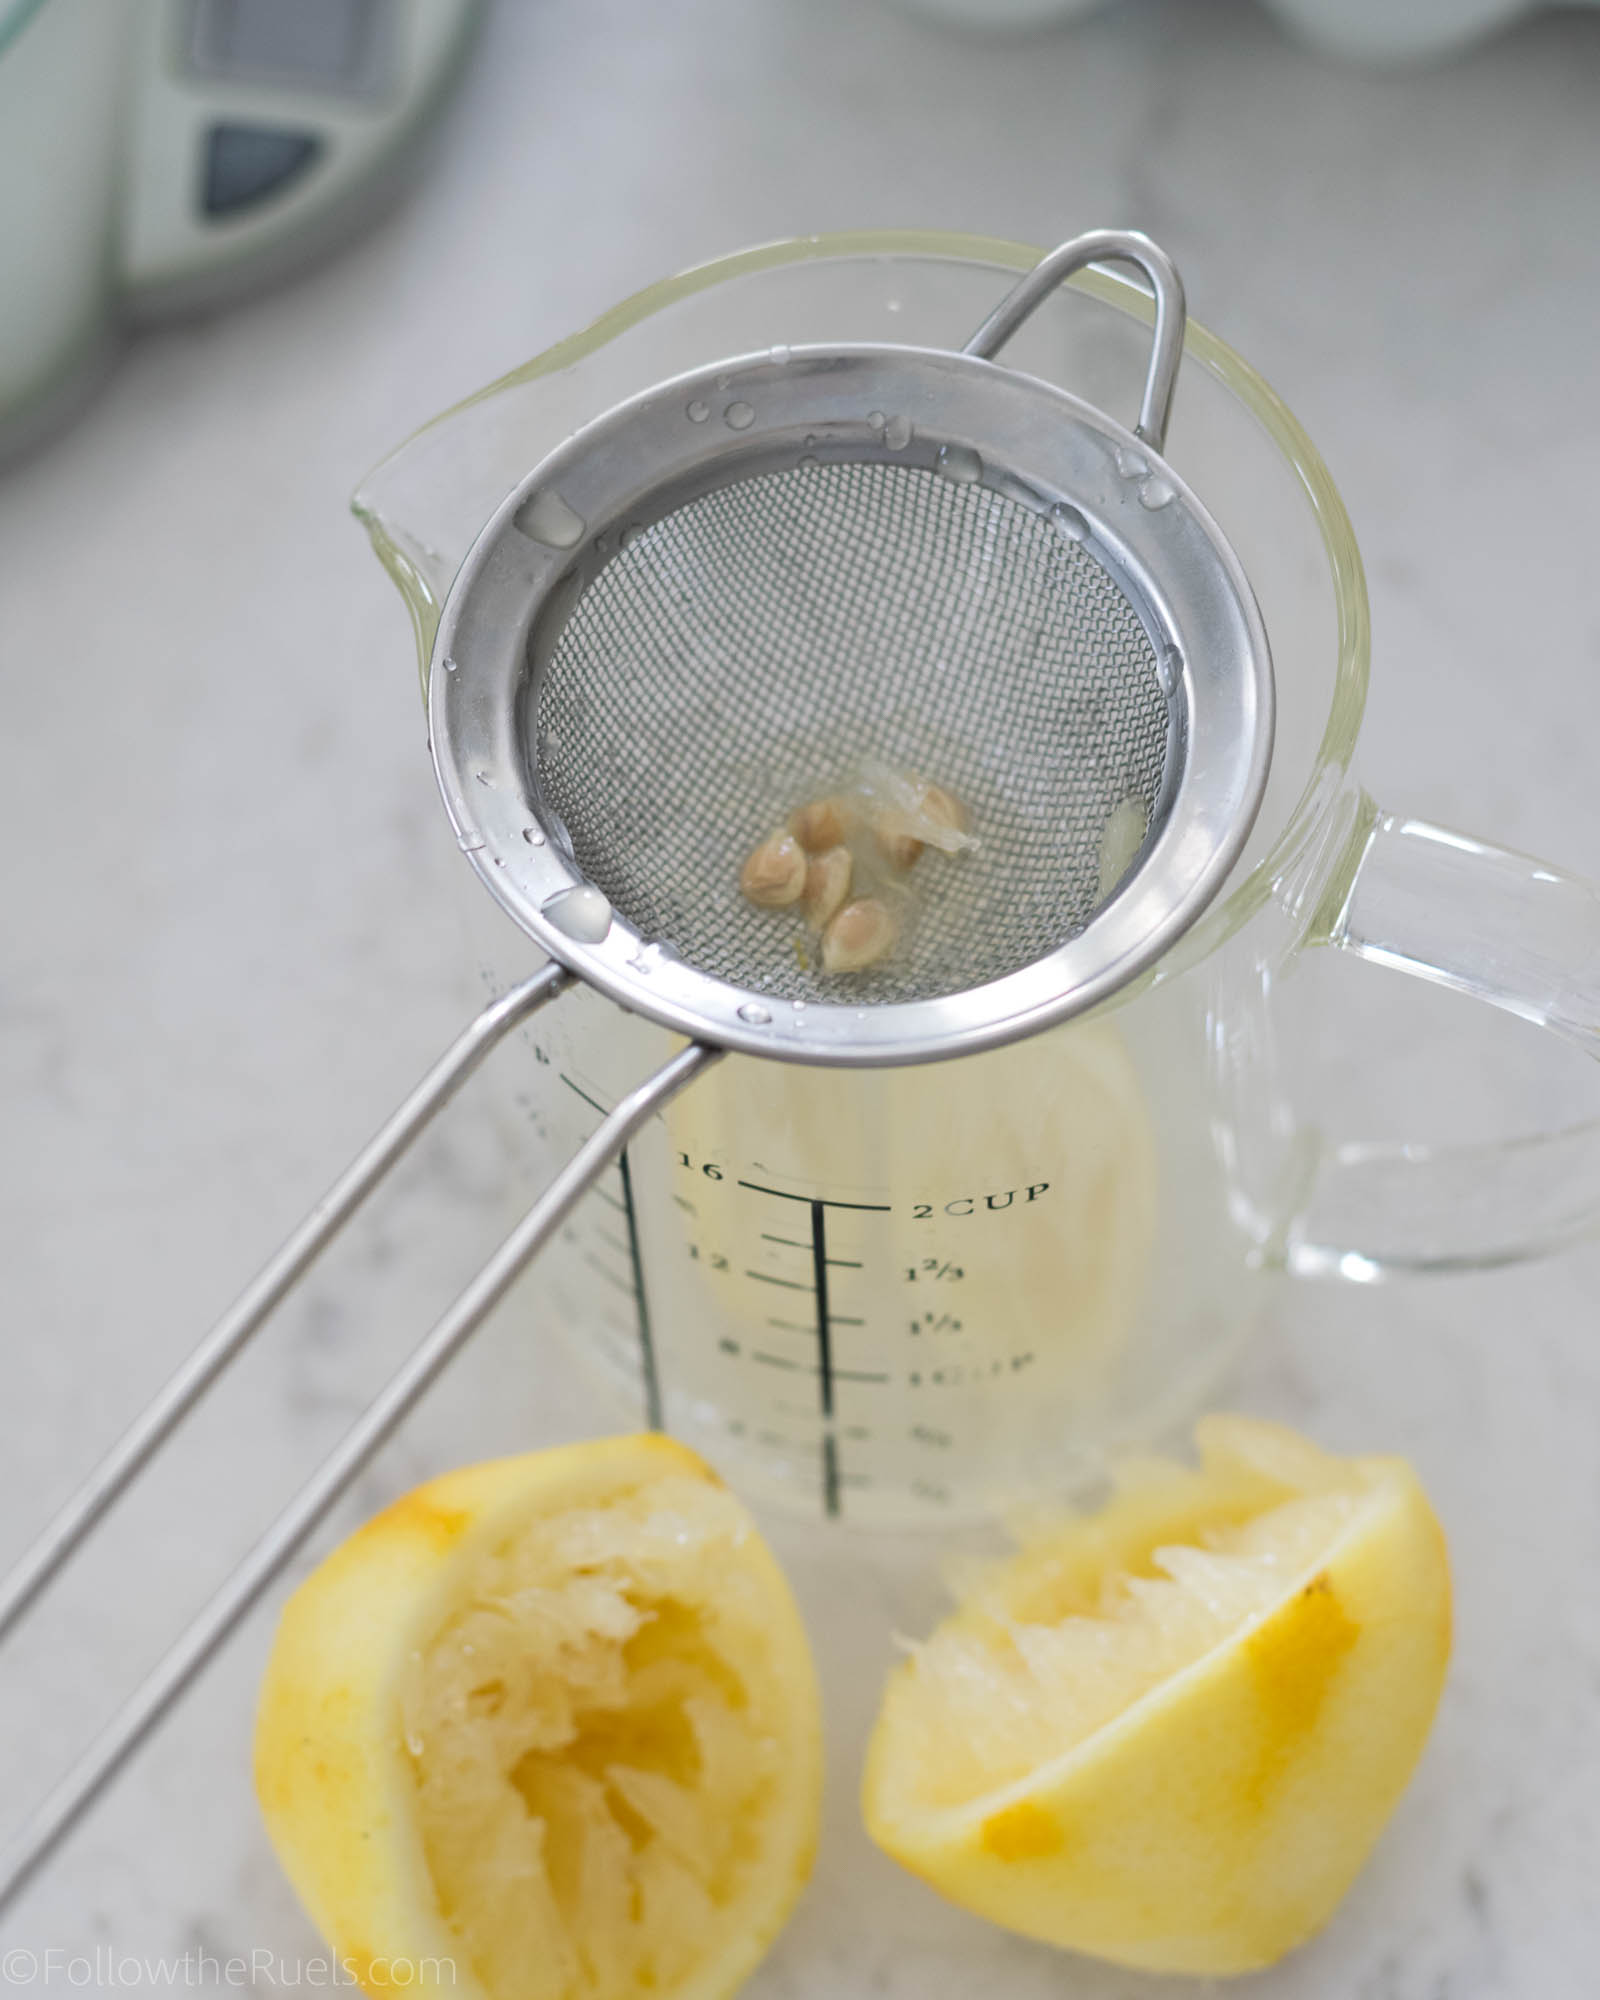
Set the flour aside and move on to the lemon. First zest one or two lemons until you have about 2 tablespoons of zest. Then squeeze the juice out of the lemon. You will be adding the lemon juice to the milk along with the elderflower liquor.
Speaking of which, if you have never had elderflower liqueur in a drink before, it is delicious! I don't drink a lot to begin with, so I didn't have any elderflower liqueur on hand. But I did find mini bottles at my local liquor store. I highly recommend just getting 1-2 mini bottles instead of 1 big bottle unless you plan on drinking the rest of it.
Now that we have that covered, lets move on to making the batter.
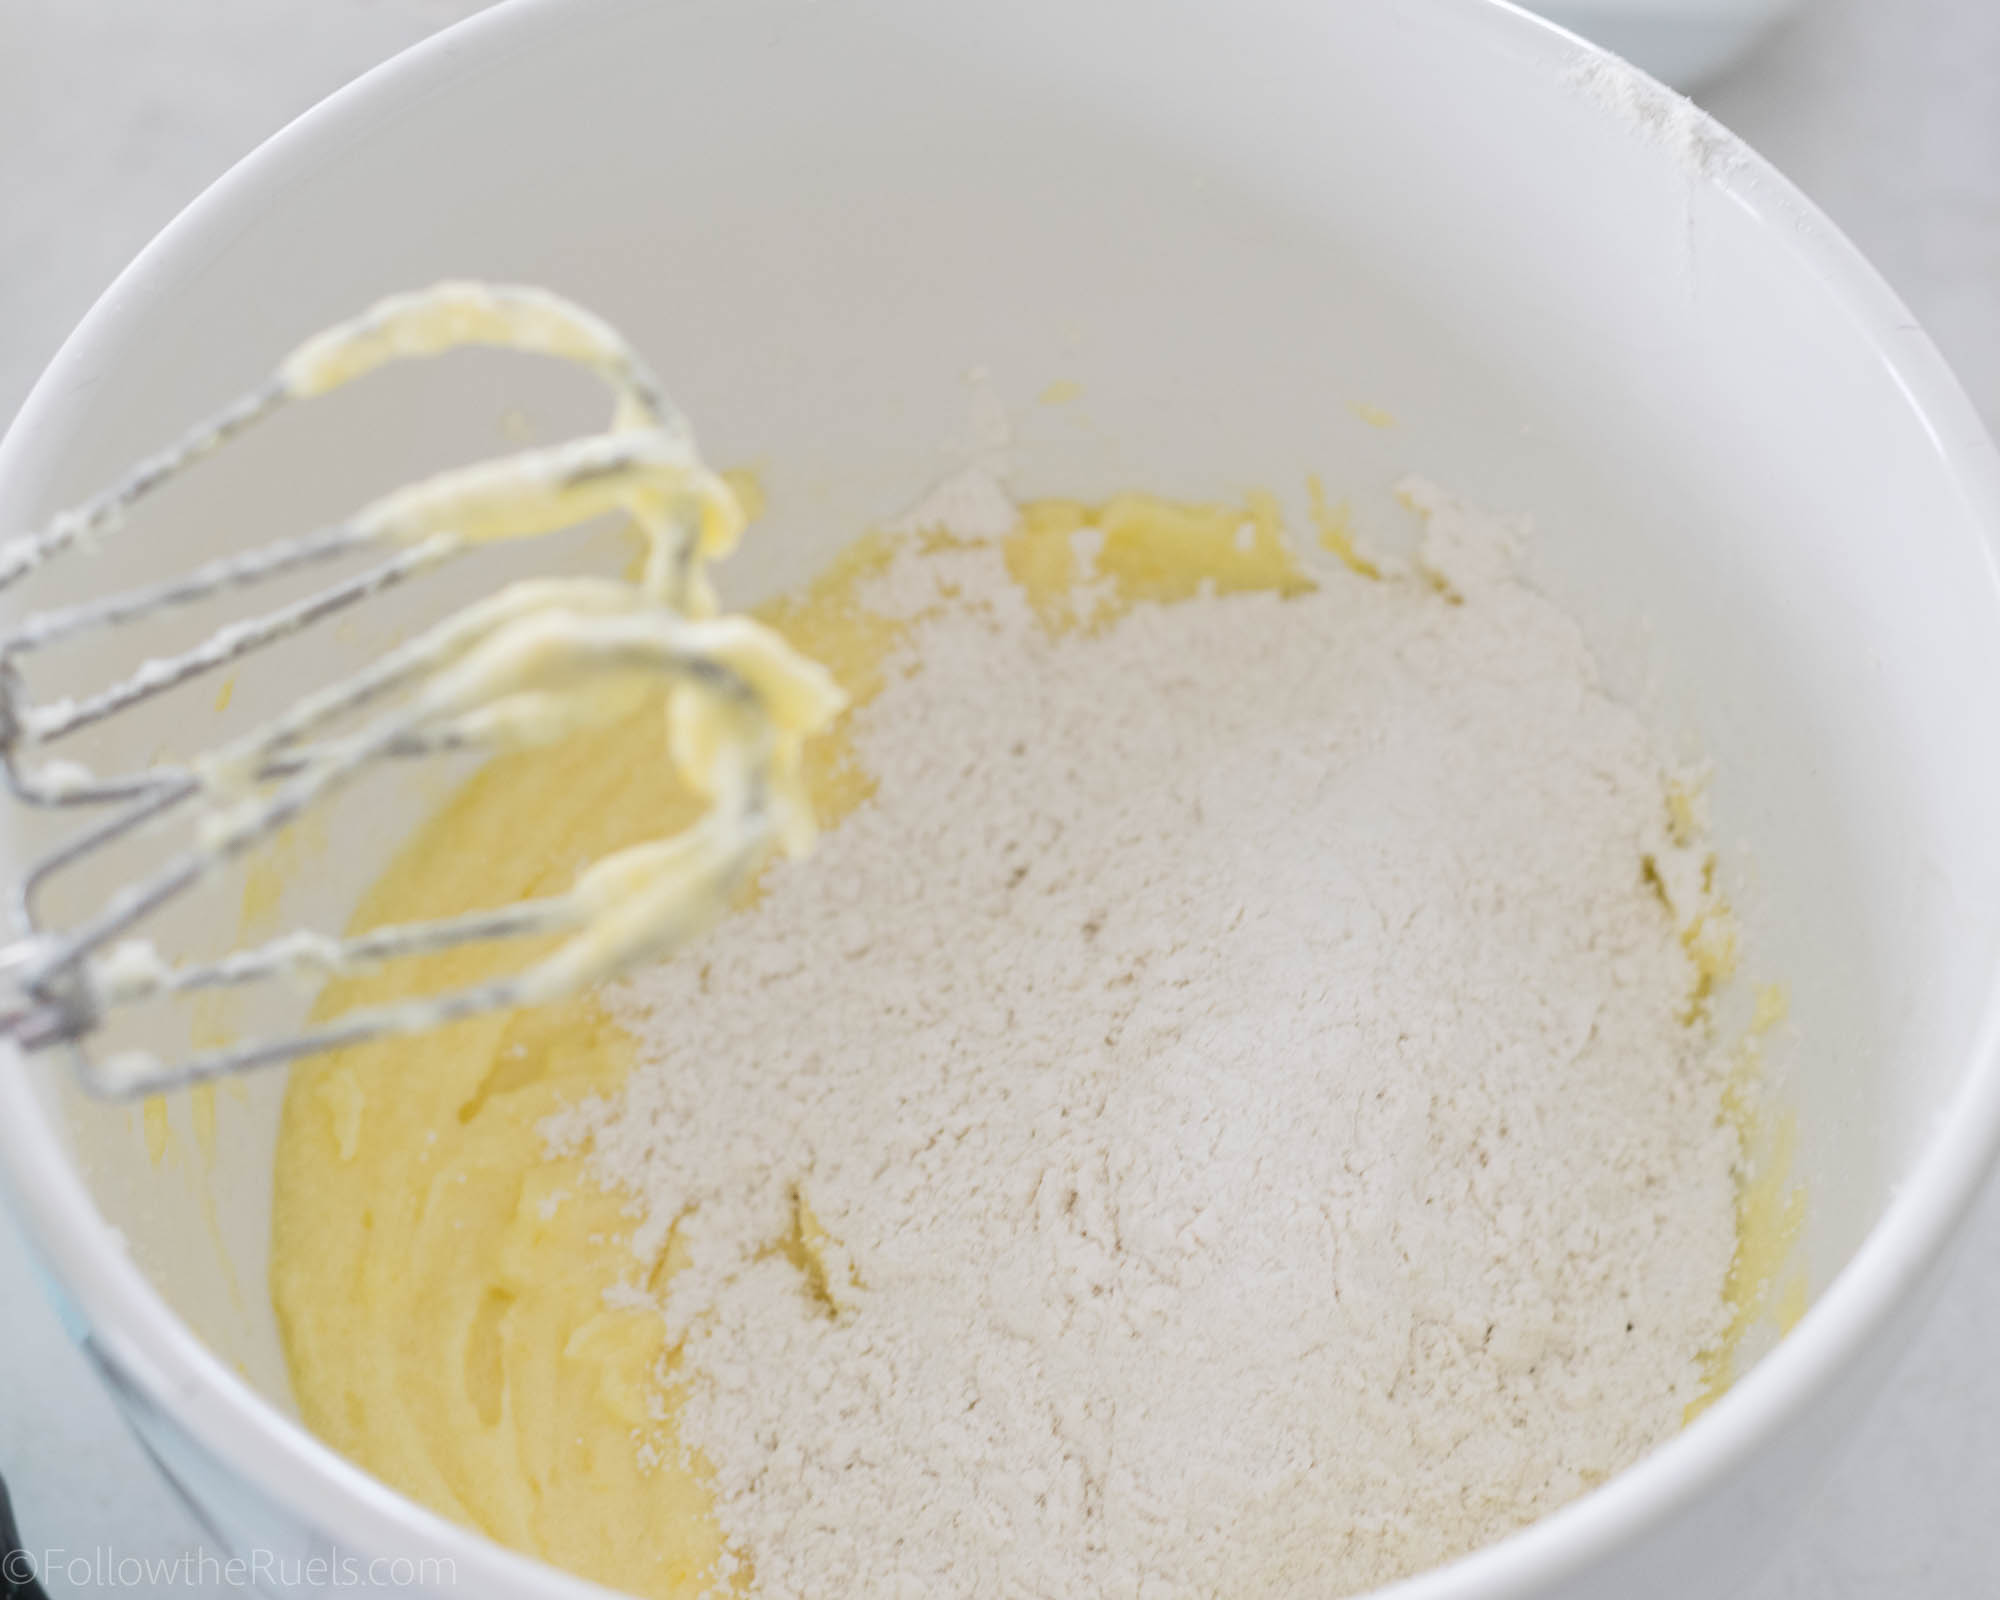
Cream together the butter and sugar then add in the lemon zest.
Mix in the eggs one at a time until they are completely incorporated into the butter. You don't want the egg-butter mixture looking likes it's separated or curdled.
Now mix in the dry and wet ingredients, alternating between the two. I like to add the dry ingredients in three parts and the wet ingredients in two. So it looks something like this: dry, wet, dry, wet, dry. Always start and end with dry.
One of my biggest cake tips I have for you is to line the bottom of the cake pay with parchment paper! This will make getting the cake out super easy even if the cake is still warm. I still recommend spraying the pans with baking spray, too. But this is just added insurance.
Then portion the batter between the cake pans. I like to use a scale to make sure that the amount of batter in each one is pretty even. But that may be overkill. You can just eyeball it.
A new thing I tried with these cakes is using the Wilton Bake-even strips. Then insulate the cake pan so that ideally your cakes bake evenly on top (no weird dome that you have to slice off), and they don't caramelize around the edges.
Verdict: They sort of helped. One cake was very even, but slightly caramelized. One cake wasn't as even but not at all caramelized. Overall, they turned out better than they would have without the strips, so it was well worth the money for these!
How to Assemble and Decorate the Cake
Then the cakes come out of the oven and they magically stack and decorate themselves! Isn't that a fun trick!
Actually, this is where I really dropped the ball and stopped taking photos. I think because I was in such a tizzy over the buttercream that I didn't get any photos of the actual decorating process. What a horrible blogger I am!
I did capture part of the decorating process, and that is the little flowers that I did manage to make!
These little guys were so easy to make with my #107 piping tip. You just press the tip to a sheet of parchment paper, squeeze, and turn your wrist slightly which produces the cute little drop flowers. Then I just dotted the center with a little yellow buttercream.
I put these in the freezer to harden while I worked on the rest of the cake.
Actually, the rest of the cake was pretty easy to assemble.
Step 1: Cut the cake into two layers for four total layers (if you want, you can leave it as a two layer cake).
Step 2: Brush elderflower simple syrup over each of the cake layers (recipe and directions below)
Step 3: Spread a thin layer of buttercream on the first layer, top with some lemon curd (optional), then top with another cake layer. Repeat until all layers have been added.
Step 4: Spread buttercream all over the top and sides of the cake, then use an offset spatula or bench scraper to scrape the sides of the cake to create a naked cake look. Leave a thin layer of buttercream on top.
Step 5: Pour some lemon curd over the top of the cake and spread out to cover the top, pushing some of the curd over the edges. You may need to heat up your lemon curd to make it more liquid if you are using a store bought version.
Step 6: Add the flowers in whatever arrangement you like. Because they are frozen, they are easy to peel off the parchment and stick onto the cake.
Step 7: Admire your handy work!
Truly, this cake wasn't hard to decorate and assemble once I realized my mistake and that I wouldn't have enough buttercream to achieve the look I was after.
And, making naked cakes is really easy for even those with no cake decorating experience because you don't have to worry about your frosting being perfect! Actually, you want it to look imperfect!
I, for one, like the limited buttercream on this cake because it lets the lemon elderflower cake shine through.
Of course, if you are a frosting lover, you may want to double up on the buttercream recipe so you can cover your whole cake like I was supposed to!
Tools
Recipe
Prep Time: 15 minutes
Cook Time: 30-40 minutes
Makes a 4 tier 6" cake, or a 2 tier 8-9" cake
Ingredients
Cake
- 2 1/4 cup all purpose flour (295 g), sifted
- 1 1/2 tsp baking powder (5 g)
- 1/4 tsp baking soda (2 g)
- 3/4 tsp salt (4g)
- 1 1/2 cups granulated sugar (326 g)
- 3/4 cup unsalted butter, softened (169 g)
- 2 tbsp lemon zest (14 g), approximately 1-2 lemons
- 3 large eggs
- 3/4 cup whole milk
- 1/4 cup lemon juice
- 2 tbsp elderflower liquor
Simple Syrup
- 1/2 cup sugar
- 1/4 cup elderflower liquor
- 1/4 cup water
Buttercream
- 1-2 batches of Swiss meringue buttercream
- 1 tbsp lemon zest
Lemon Curd
- 4 egg yolks
- 1/2 cup sugar
- 1/3 cup lemon juice
- 1 tbsp grated lemon zest
- 5 tbsp unsalted butter
Instructions
Preheat oven to 350 degrees (conventional). Line the bottom of two cake pans with parchment paper, spraying the bottoms and sides with baking spray. Set aside.
- In a large bowl, whisk together flour, baking soda, baking powder, and salt. Set aside.
- In another large bowl, cream together butter and sugar until light and fluffy. Mix in the lemon zest, then mix in the eggs one at a time and mix until eggs and butter have emulsified and no longer appear separated.
- In a small measuring cup, combine milk, lemon juice, and elderflower liquor.
- Spoon about a third of the flour mixture into the butter and egg mixture and mix until flour is almost completely incorporated. Pour in half of the liquid ingredients and mix until combined. Repeat with half of the remaining flour and the rest of the liquid, mixing the rest of the flour into the batter at the end.
- Portion the batter between the two cake pans then bake for 30 to 45 minutes, or until a toothpick inserted into the center of the cake comes out clean. Baking time will vary depending on the size and depth of the cake.
- While the cakes bake, make the simple syrup. Combine all the ingredients in a small sauce pan over medium heat. Cook until sugar is completely dissolved then transfer to another bowl or measuring cup to cool.
- After cakes have baked, allow them to cool to room temperature before wrapping and placing in the fridge or freezer to chill (about 1-3 hours).
- While the cakes chill, make the lemon curd. Combine the yolks, sugar, lemon juice, and lemon zest in a sauce pan then place over medium heat. Whisk the mixture constantly until it starts to slightly thicken. Then add the butter and continue to whisk until butter is melted. Once the mixture starts to bubble remove from the heat (mixture should be thick enough to coat the back of a spoon) and pour through a strainer into a bowl. Cover with plastic wrap and let cool to room temperature. You will want the curd to still be slightly liquid to pour over the cake, so don't refrigerate right away.
- Once cakes are chilled, level the cakes using a serrated knife and cut in half forming 4 total layers. Brush the top of each layer generously with the simple syrup so that the tops of the cake are visibly moist.
- Mix the lemon zest into the buttercream, then spread a layer of buttercream on top of the first layer of cake. Spoon some of the curd on top, then top with another layer of cake. Repeat until you get to the top layer of cake. Then spread buttercream over the top and sides of the cake until the cake is mostly covered. Use an offset spatula or bench scraper to scrape the sides of the cake revealing parts of the cake layers. Leave a thin layer of buttercream on the top of the cake, and flatten with an offset spatula. Let chill in the fridge for 15 minutes.
- With any remaining buttercream, divide a small amount into a bowl and tint yellow. Add to a piping bag fitted with a #2 round tip. Place the rest of the white (uncolored) frosting into another piping bag fitted with a #224 or #107 drop flower tip. On a baking sheet lined with parchment, pipe small drop flowers. Place in the freezer to harden for 5-10 minutes.
- Remove the cake from the fridge, Spoon the curd on the top of the cake, pushing some over the sides to drizzle down. Remove the flowers from the freezer and place the flowers around the top of the cake. If the start to softened, place back in the freezer. Continue until you are happy with the amount of flowers covering the cake.


