
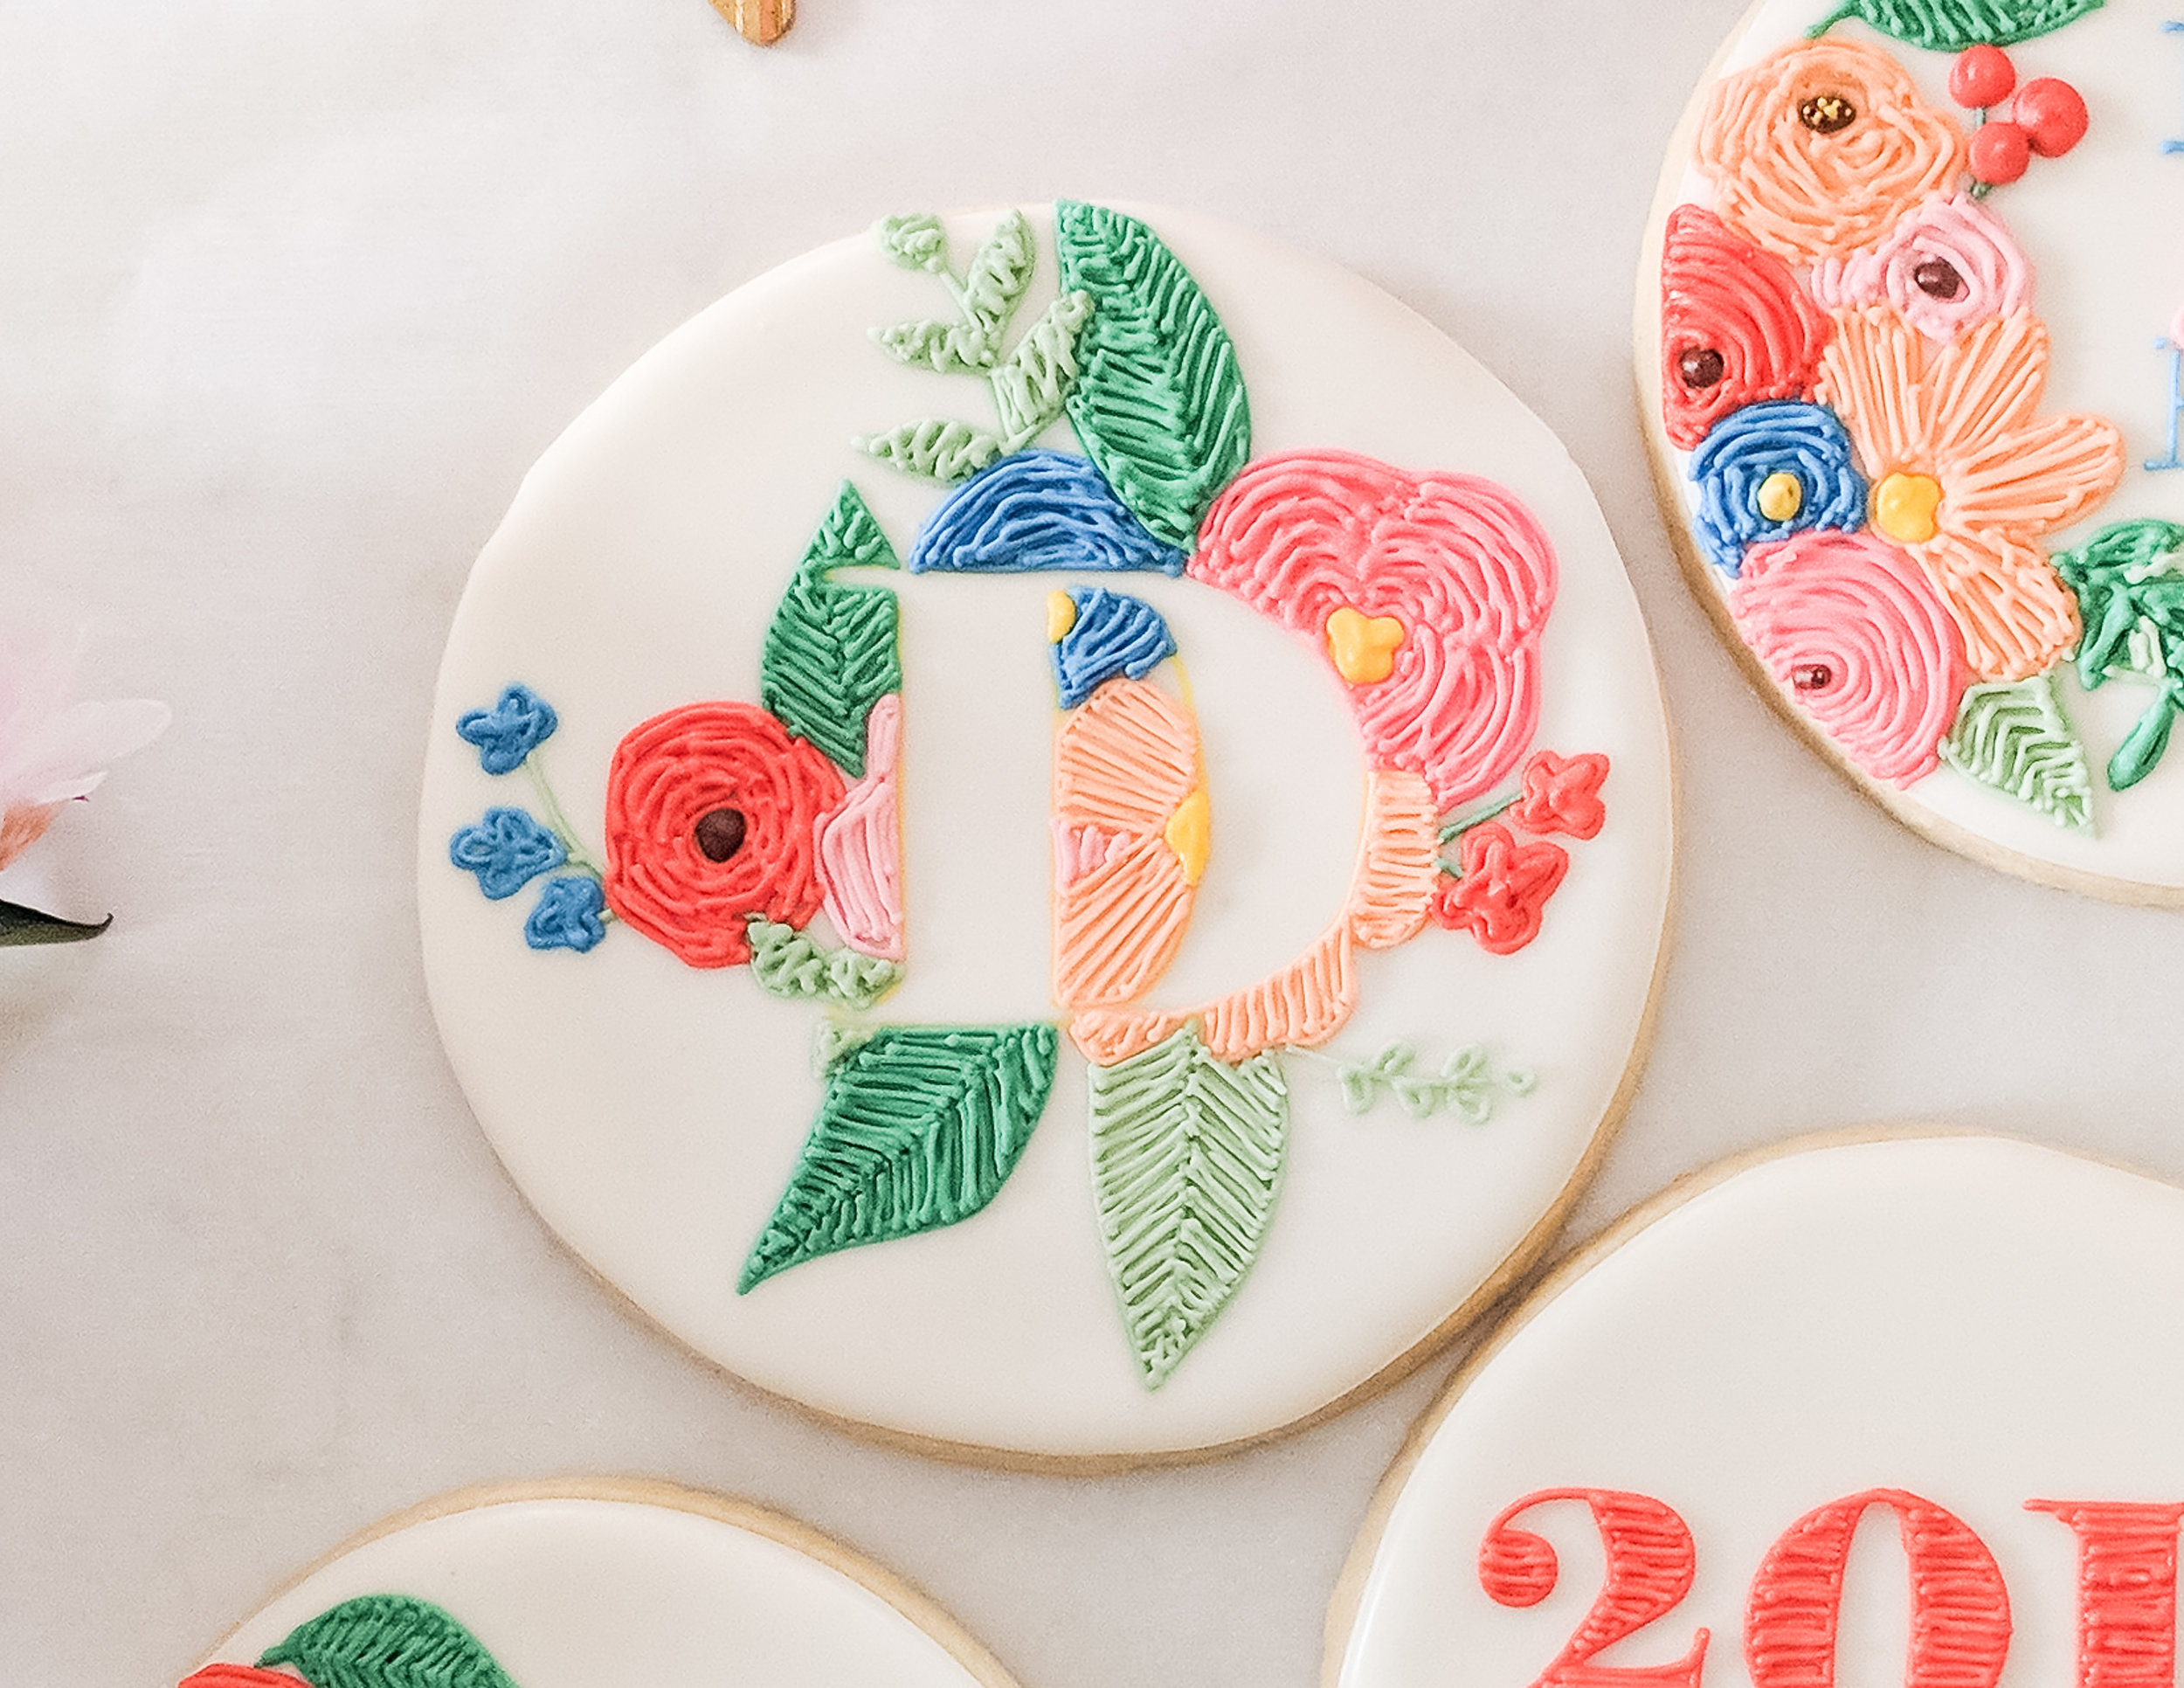
How to Create Negative Space Design on a Cookie

This negative space design may be my favorite new cookie design! I absolutely love it and you guys seem to love it, too!
There are just so many ways to use this design technique! I used to first with a single initial. For the video below, I used it with a simple word, like “HI”. But you could do a full monogram for a baby shower or wedding. Even a longer word (although I wouldn’t do more than 4-5 letters) like in this fun cross stitch pattern.
What You Need
First, bake your cookies in whatever shape you like. Then outline and fill the cookies with flood consistency royal icing (preferably white) and let dry completely.
For the details of your cookie, I recommend using a thick piping consistency icing, like a 20-second consistency. Because you are most likely working in small sections, this thicker icing will help prevent craters.
Once your cookies are baked and iced in the first layer of icing, round up the following supplies.
One item I recommend, but it isn’t necessary is a projector. You will see that I use it to outline my design and use it to trace my writing. It’s helpful for someone like me who can’t draw. If you don’t have a projector, you can use the tracing method I demonstrate in this blog post.
Finally, mix your icing into the colors you want for your design. It may only be a few colors, or it may be a lot! Once the colors are mixed, put them into your piping bag.
How to Make Them
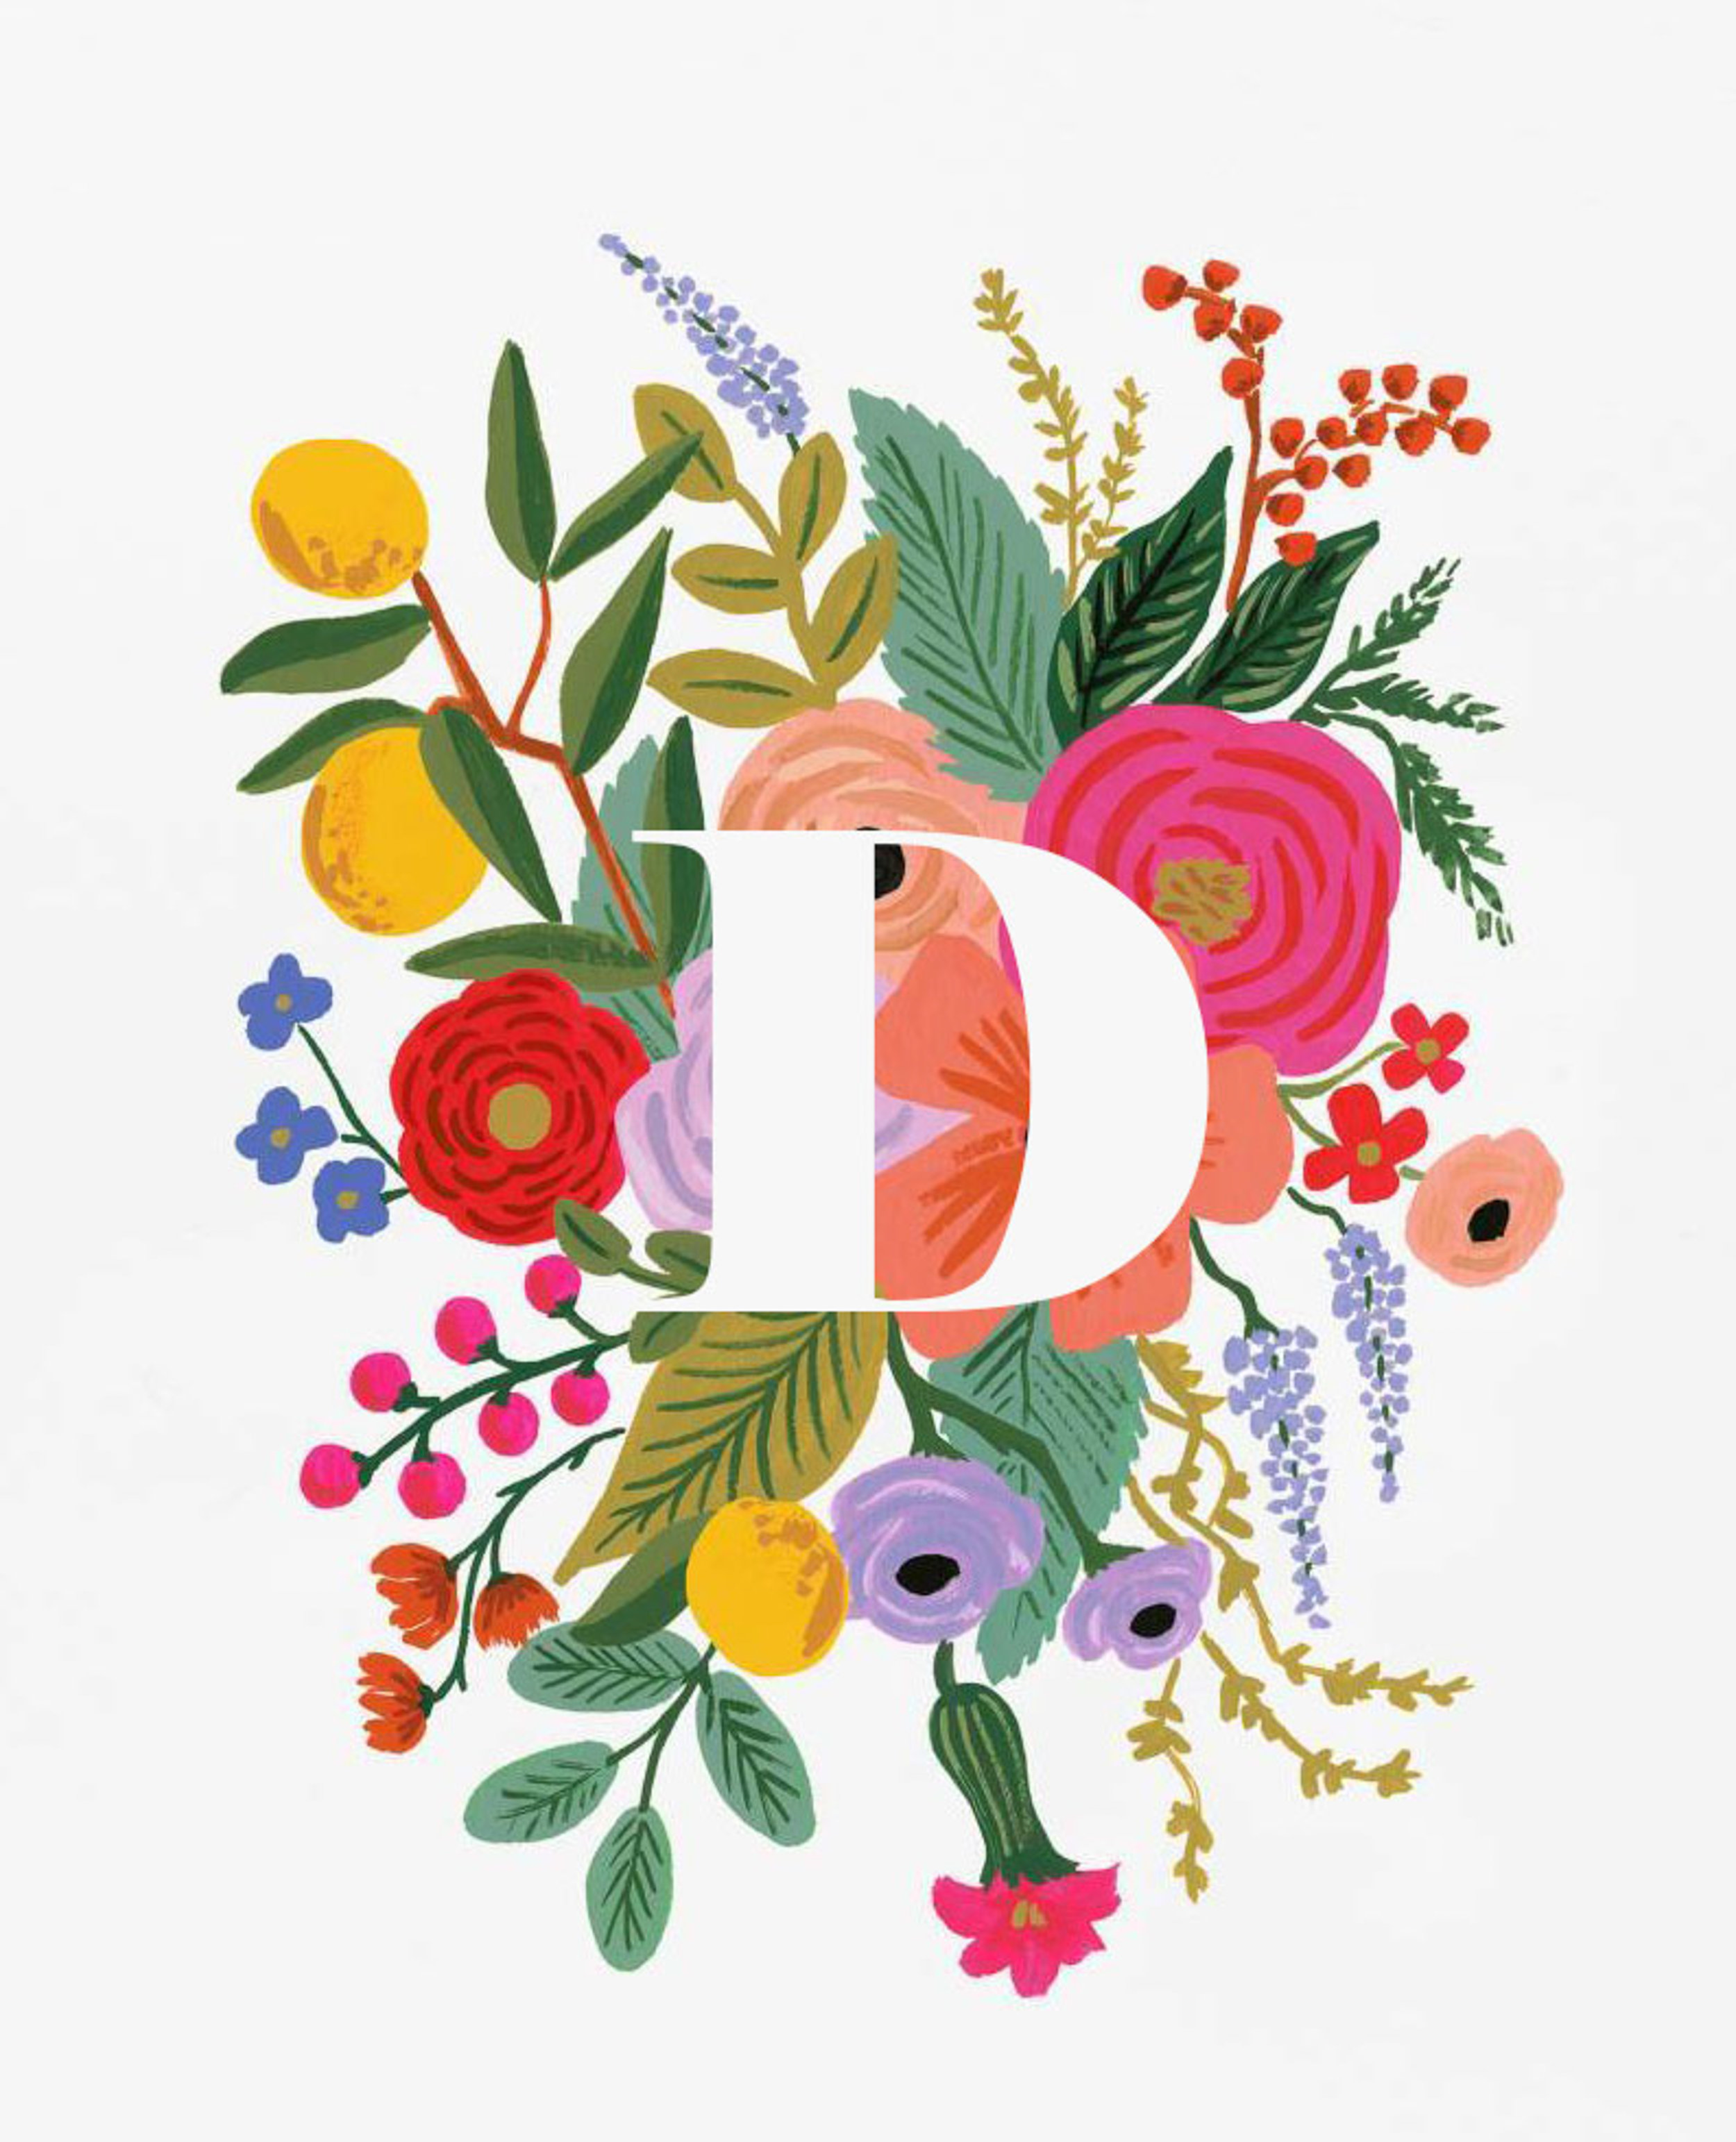

Let’s first start with the design itself. I created my design in Photoshop first (very simply by typing “HI” over the Rifle Paper floral pattern I wanted to replicate). But you could instead mark out your letters on the cookie, then take a design and trace it around the letters, just making sure not to cross over the letters you already blocked out.
You could do the same process in almost any application like Microsoft Word or PowerPoint by typing letters and placing them over an image. If you are projecting onto the cookie, convert that into a photo first so that the projector can easily project it. If you are printing and tracing, you can print as is.
Now onto the good part!
As always, I would love to see how you guys utilize this technique so don’t be afraid to send or share your cookies via email or Instagram!