
Easter Egg Truck Cookie

If you follow me on Instagram then you may have heard the little back story on the inspiration for these cookies. I was inspired to make a little Easter egg truck cookie from a mug. Not a mug that I saw in person, but I mug someone else picked up in a Home Goods-type store and shared on Instagram Stories.
I immediately took a screen shot of the mug and vowed to turn it into a cookie because it was just so darn cute! The only thing my little cookie is missing is a bunny in the drivers seat but I just didn’t think there was enough room to fit him in.
I paired the Easter egg truck cookie with a few Easter egg cookie that I simply painted in the same manner I did the truck - a dab of gel food coloring diluted with some clear alcohol (I use Everclear) to make a paint.
A little disclaimer/reassurance - while the food coloring is mixed with alcohol, it evaporates almost immediately when applied to the cookie so you do not have to worry about feeding your children cookies with alcohol on them.
What You Need

If you want to make these yourself, here are a few things that you will need:
some sugar cookie dough, preferably homemade and a recipe that won’t spread in the oven. If you need one, I’ve got a great recipe! These cookies were made using my Strawberry-Almond sugar cookie dough which is DELICIOUS!
royal icing in just one consistency (15-second flood consistency) and in one color (uncolored). That’s the thing I love about painting cookies…no coloring the icing a million different colors.
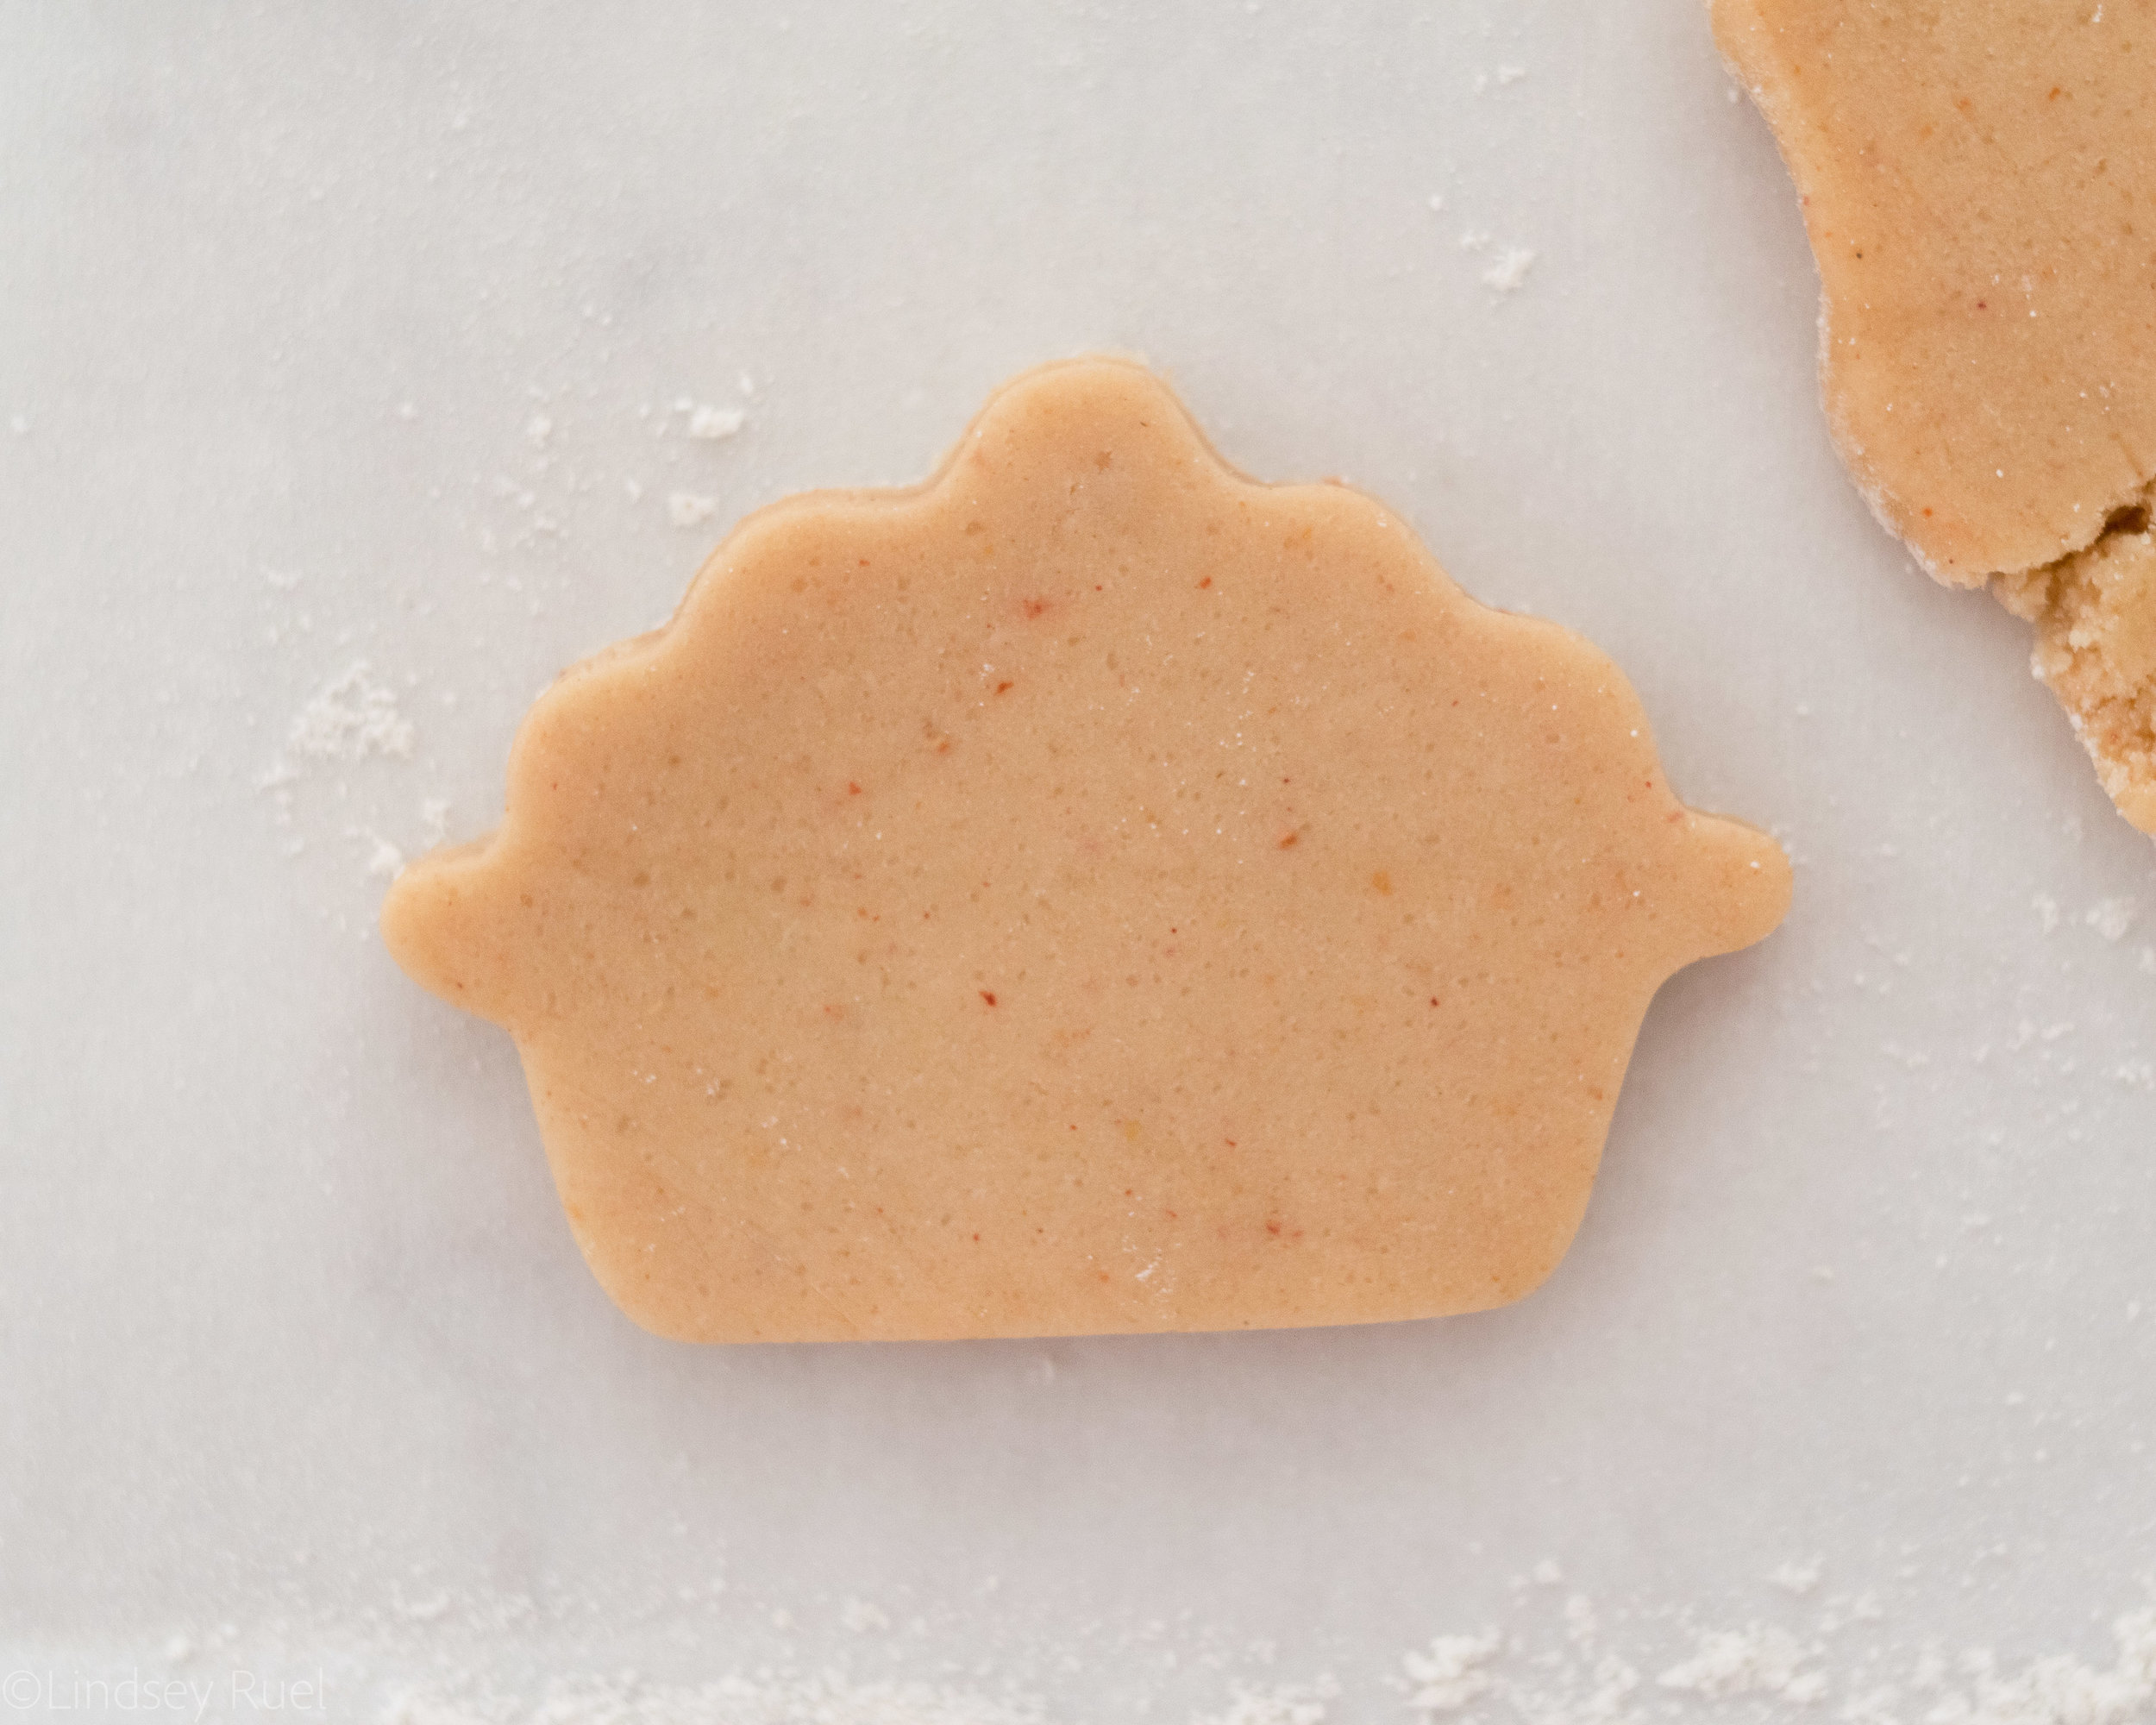
cookie cutters in the shape of a truck and something that looks like a pile of eggs. I used this Christmas tree truck cookie cutter and cut out the tree then added the top of a pie on top to create the stack of eggs. If you don’t have any of these cookie cutters, then you can cut it out by hand using a small knife or pen blade.
gel food coloring in a few different colors. I used navy blue and wedgewood for the truck; mint, sky blue, light pink, egg yellow, and violet for the eggs; warm brown for the wood planks; ash and black for the accents; and maroon for the rust.
paint brushes in a couple different sizes. I like having a small, dense brush for a lot of the painting and then a very fine tip brush for adding details.
food coloring markers aren’t a necessity, but they helped me add some dimension and just mark out areas where I wanted the paint to go.
How to Make Them
The first thing to do before baking your cookies is to create the shape of the Easter egg truck. As I mentioned above, I pieced together parts of two different cookies: a Christmas tree truck and a pie.
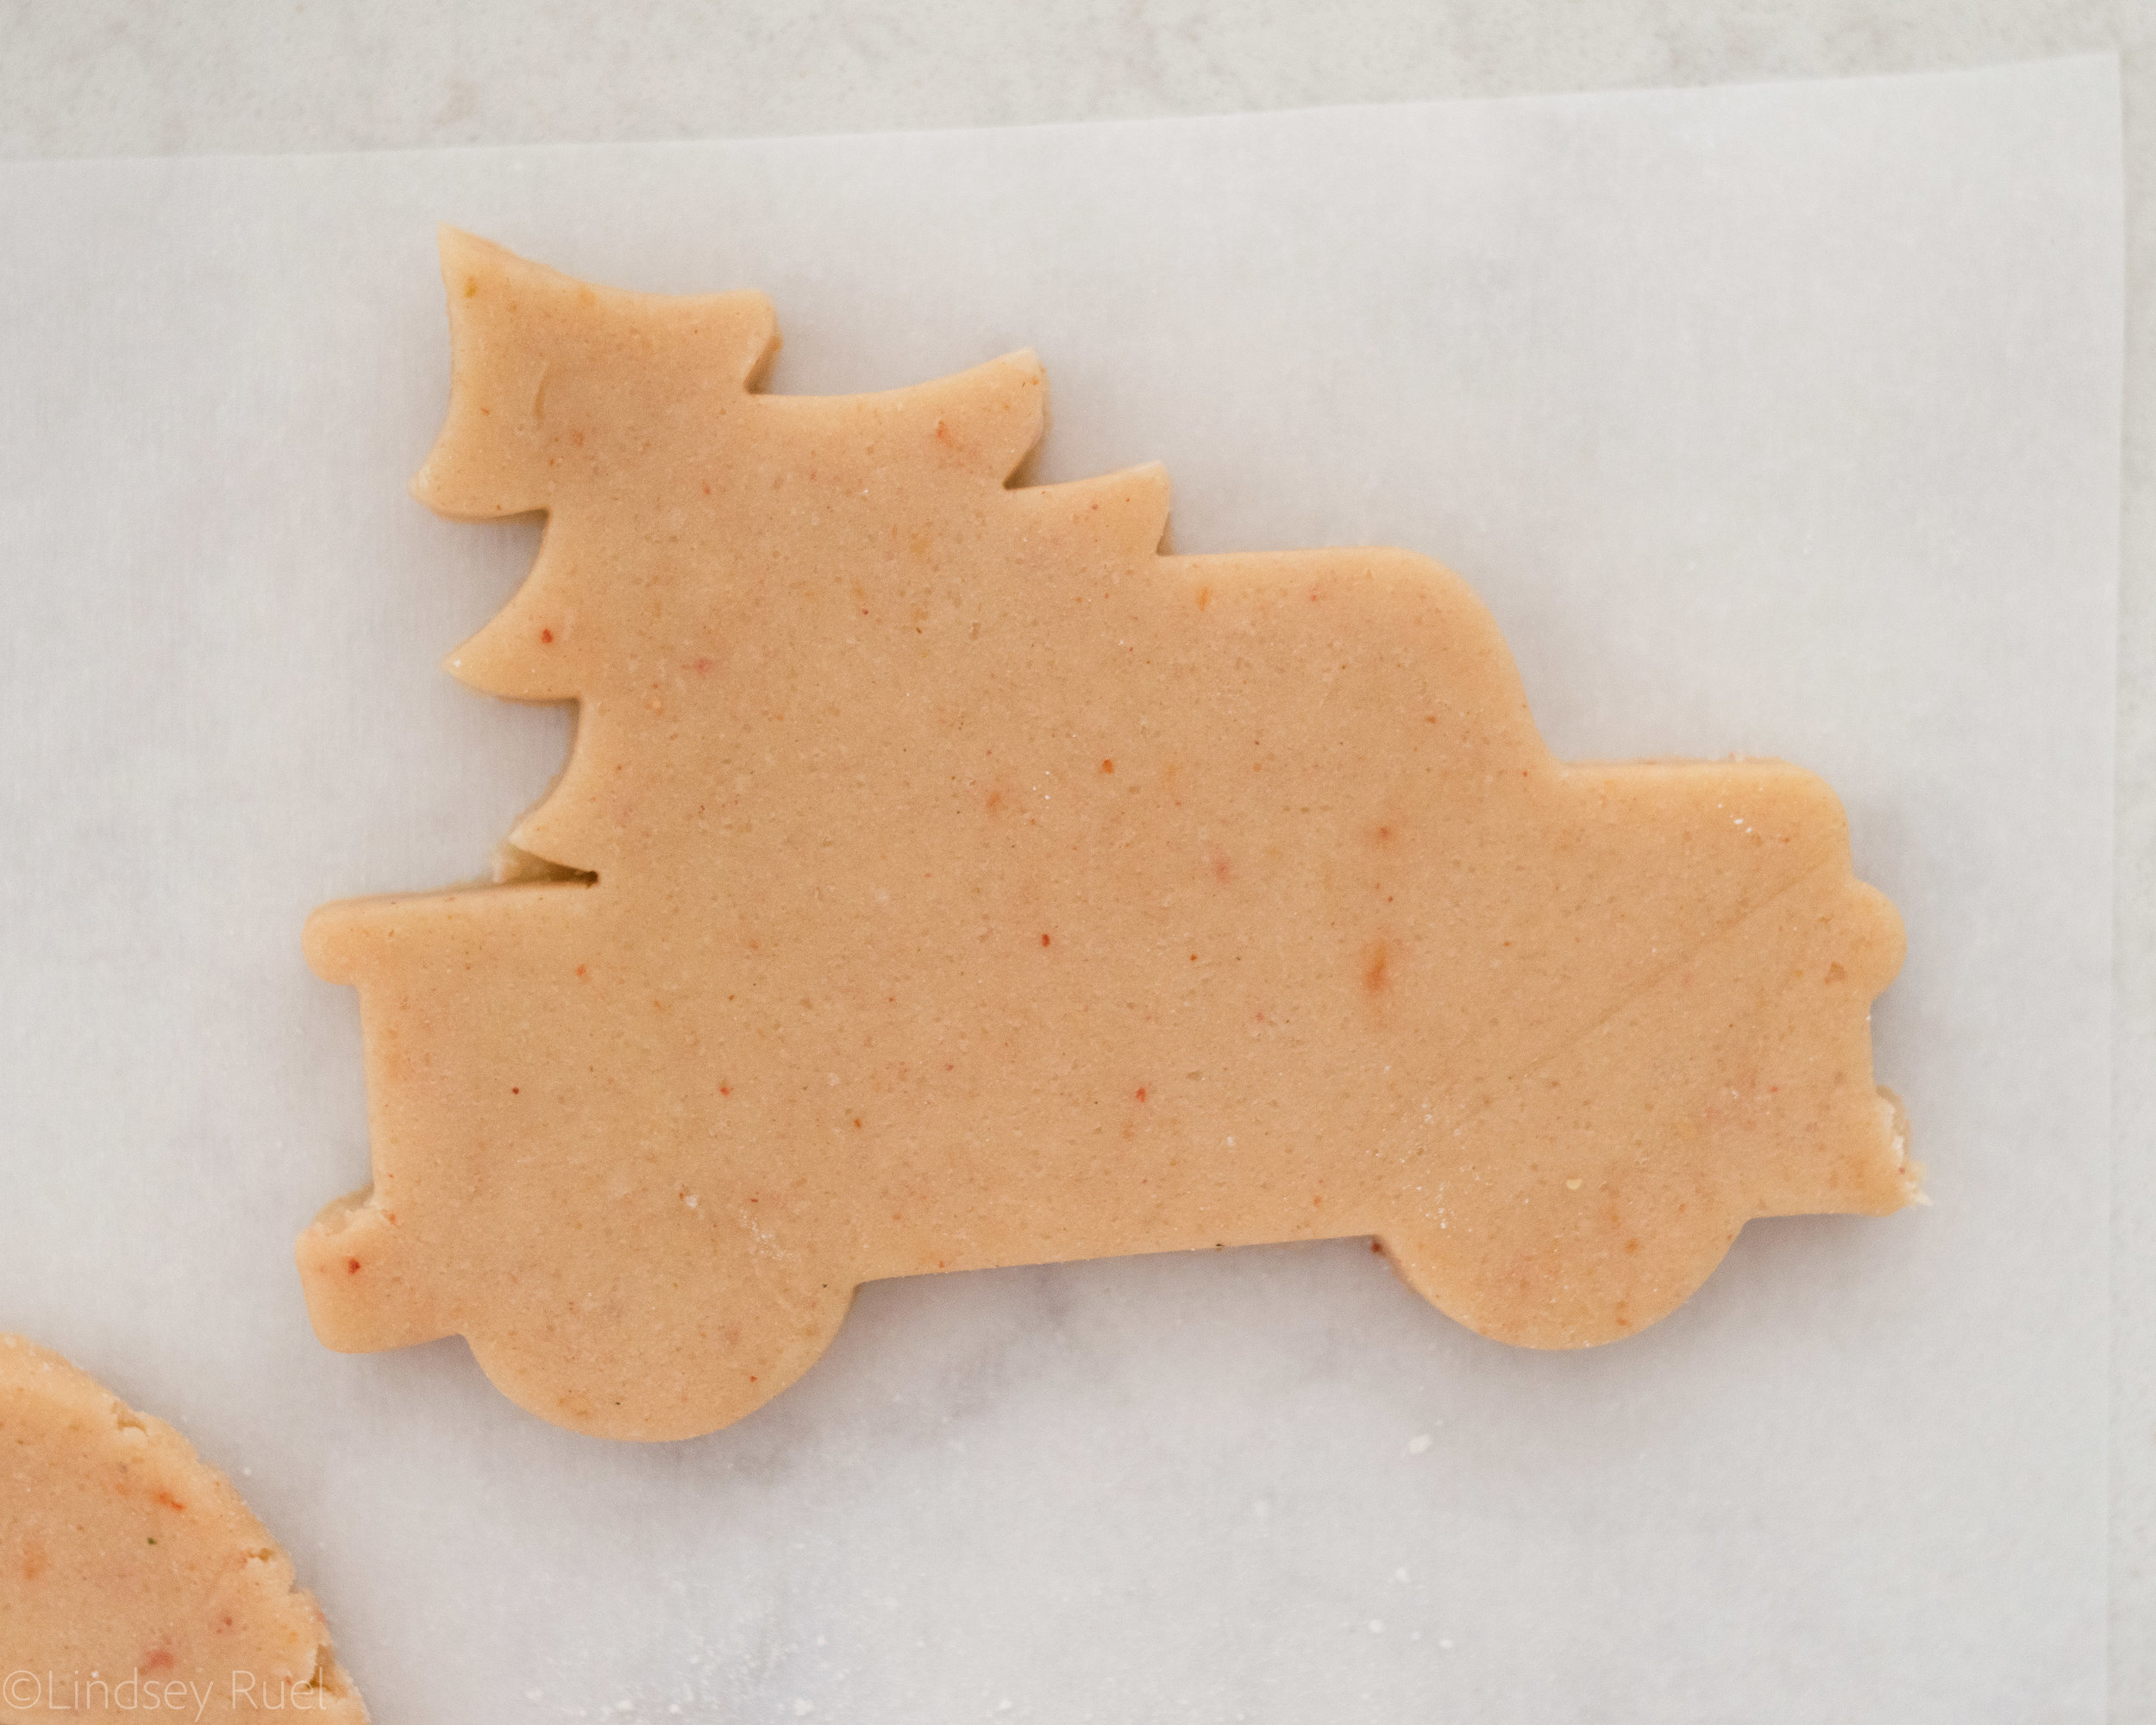
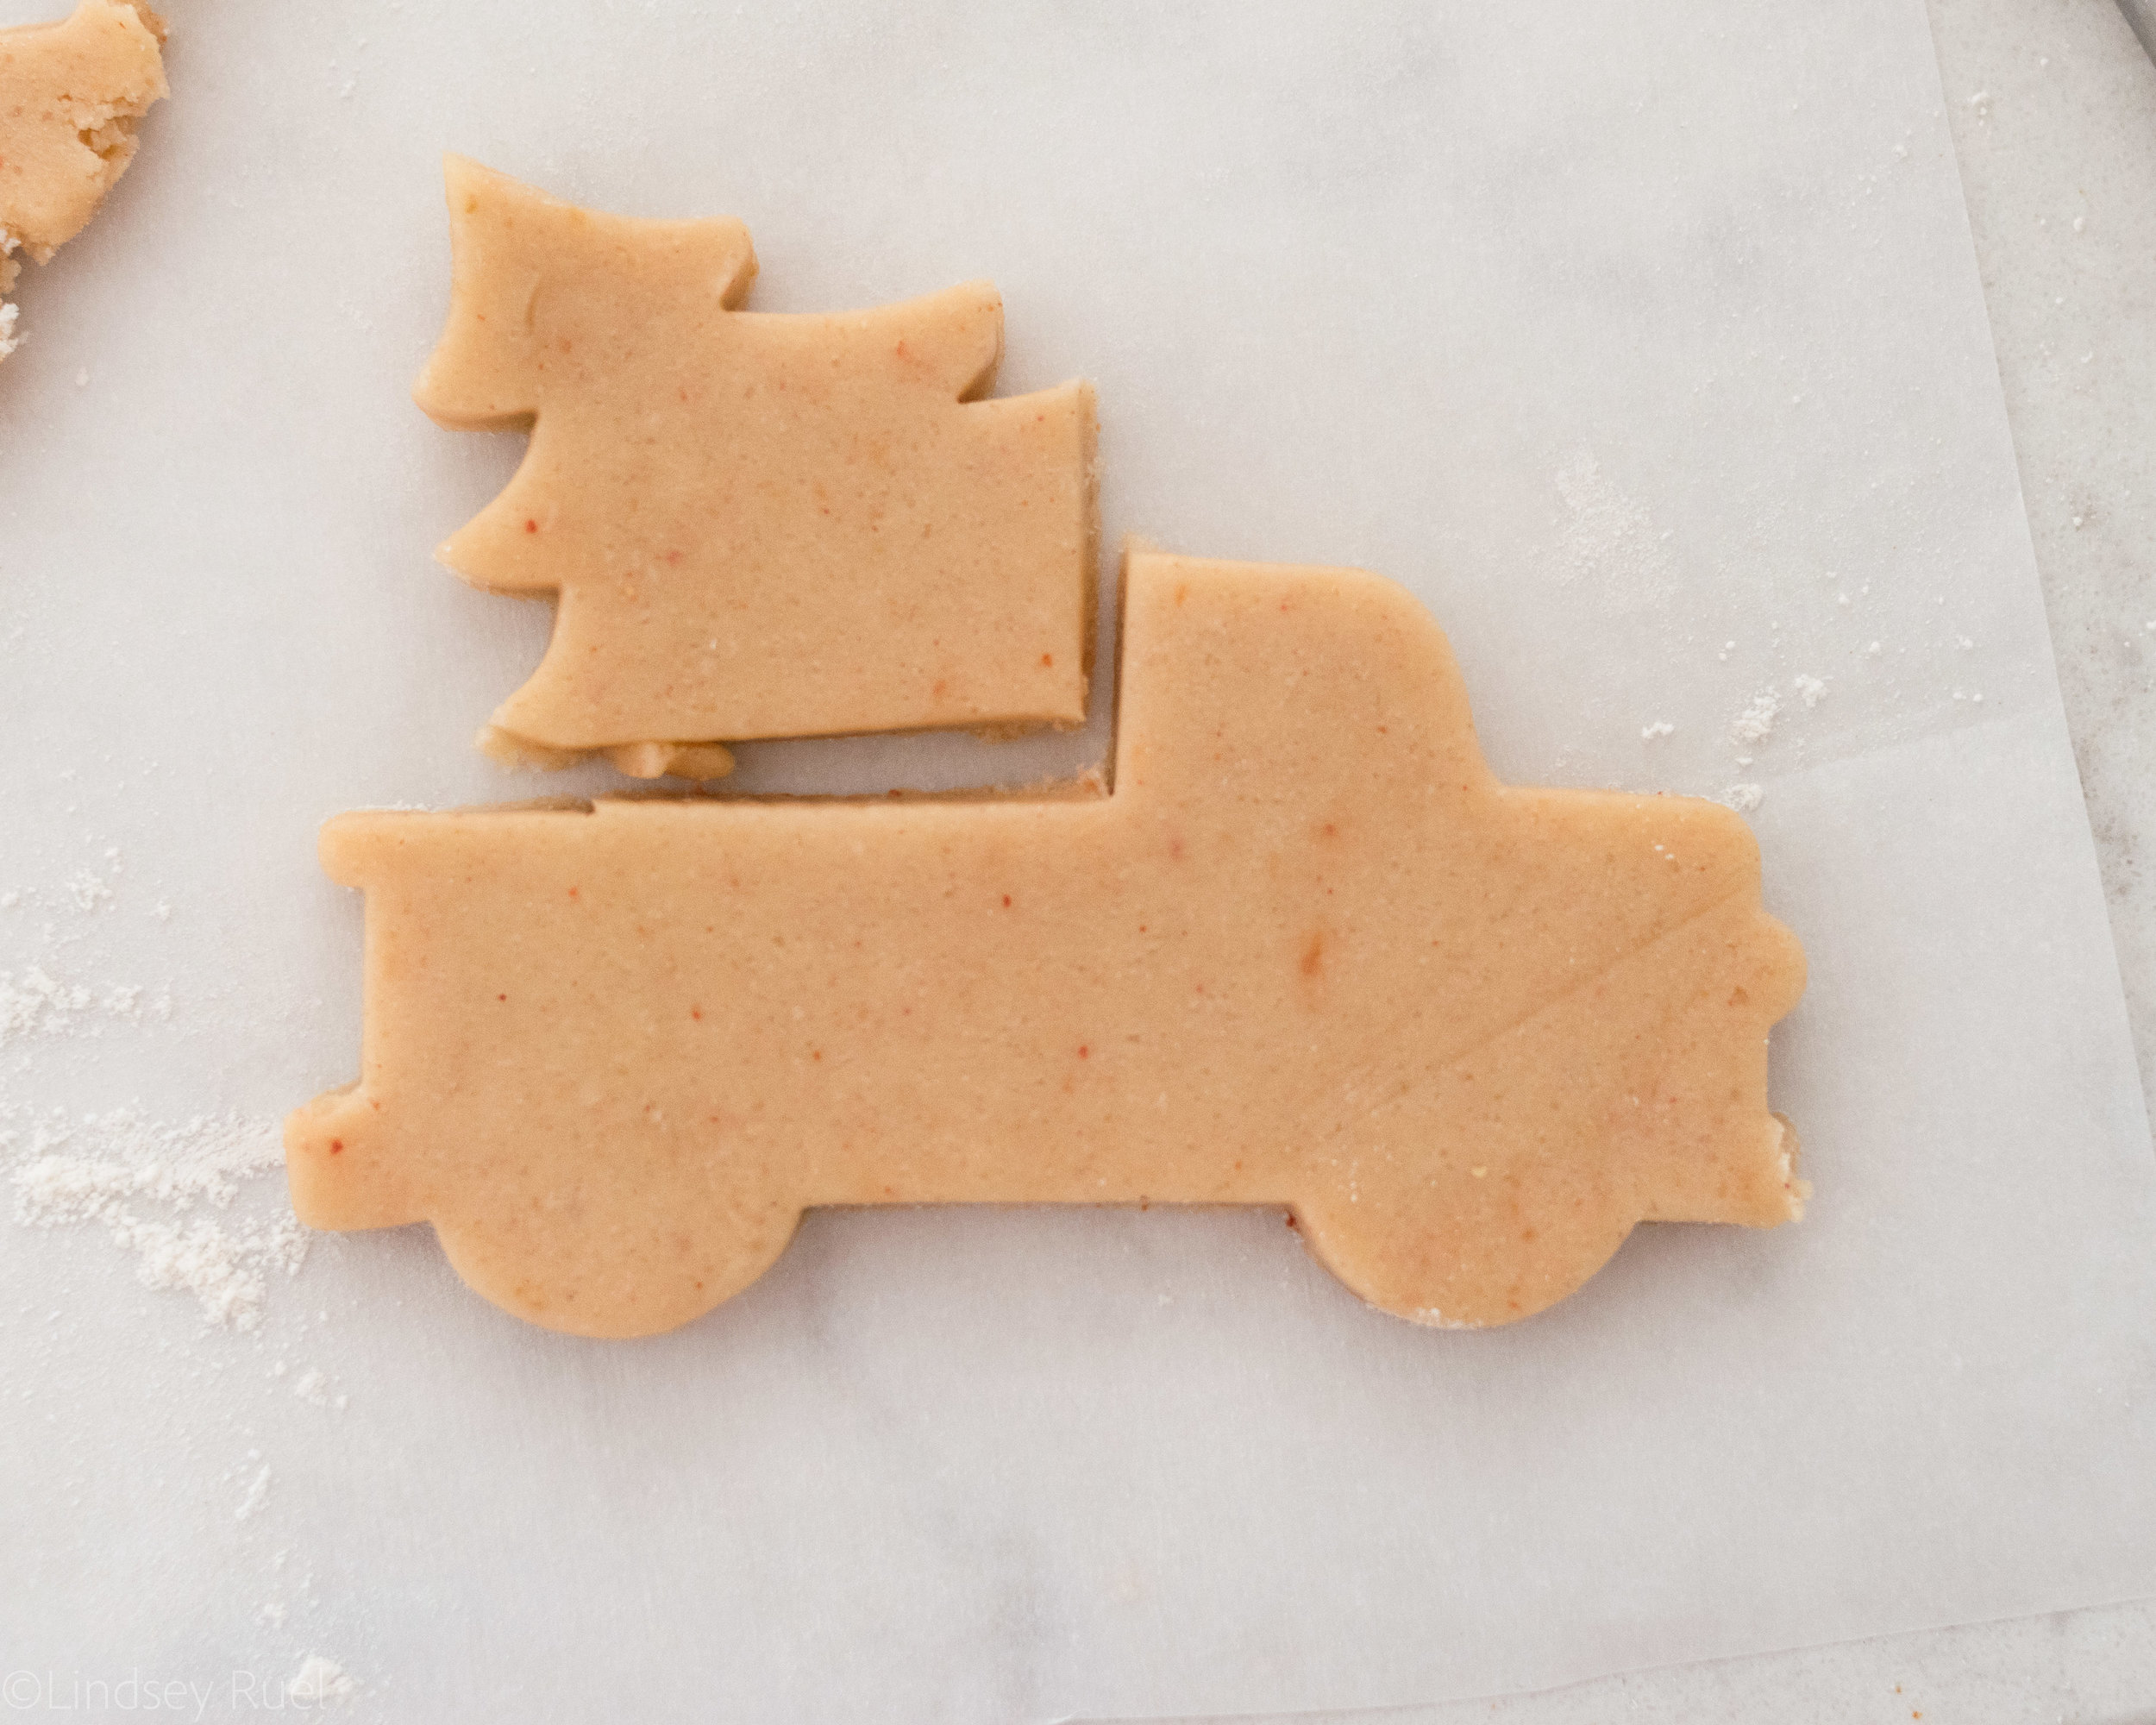

When I piece cookies together like this I do my best to press the seam together so that its stuck pretty well. However, I don’t worry too much about the cookie breaking at the seam because once the icing is on there it holds it all together.
After the cookies have baked and cooled, flood them with plain, uncolored icing and let that dry completely. Then you can get to painting!
See how I did it, below.
I am no artist, so if I can do it, so can you! I think it helps me a lot to have the shape of the cookie form the outline of what I am trying to paint. Otherwise my truck would probably look like a fish.
If you are curious how I painted the eggs, I used the same technique I used for these watercolor seaside cookies, just without the added metallic elements on top.