Homemade Marshmallows (Four Ways!)
Making marshmallows is a bit like a conducting science experiment. At least that’s what my husband said when we made a batch together over the weekend. He was a bit astonished that we took powdered gelatin, mixed it with some water to make a very thick gel. Then mixed that at high speed with some hot liquefied sugar and somehow we created marshmallows. Something that doesn’t resemble either of the two main ingredients at all.
It is kind of astonishing, isn’t it?
While it may seem more like a science experiment than baking, making marshmallows at home is a ton of fun! It would be a really fun thing to make with kids (with adult supervision of course because it does involve boiling sugar). Just be prepared for the stickiness. I still have marshmallow finger prints in random places around my kitchen.
Marshmallows require only a few simple ingredients: gelatin (plain), corn syrup, and sugar. That’s it. Of course, you can add in flavorings like vanilla….or….
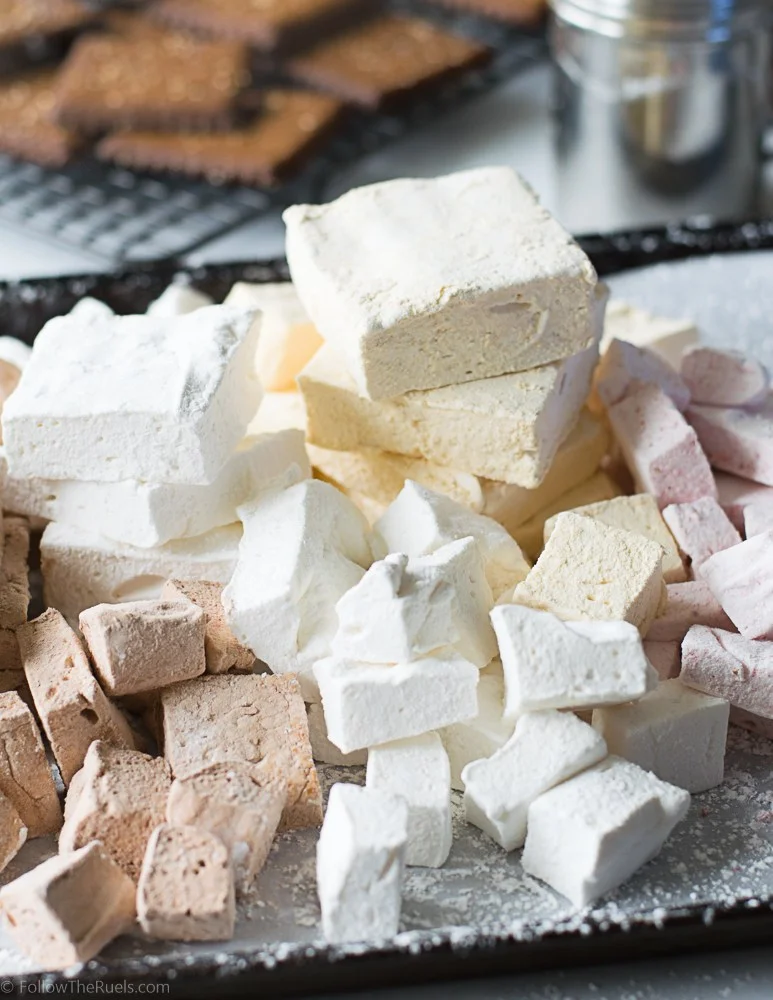
You can really step things up and make peanut butter, chocolate, and strawberry marshmallows like I did.
I knew that I wanted to make some different flavored marshmallows, not just plain old vanilla ones, and fortunately, I didn’t have to look far for my inspiration. I used peanut butter powder and cocoa powder to flavor the marshmallow mix peanut butter and chocolate flavored. Then I used freeze dried strawberries, that I ground up into a powder to mix it in the same way as the other powders.
But I am getting a little ahead of myself…
Start by blooming your gelatin with half of the water in a bowl or measuring cup. I recommend doing this in a separate bowl or cup (unlike what I did in my first batch), because some of the gelatin may stick to the bottom of the bowl and will never get fully incorporated into the rest of the marshmallow.
Meanwhile, what the gelatin is blooming away, bring the sugar, corn syrup, and water to a boil. A candy thermometer will come in really handy right about now because you want your mixture to come to 240 degrees.
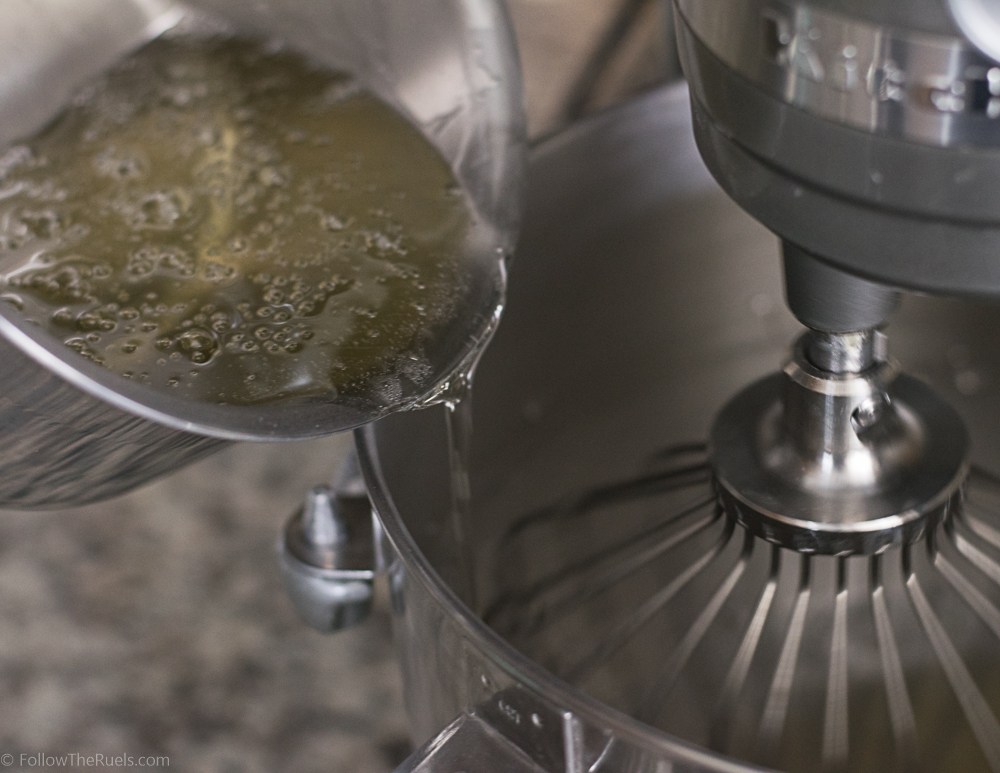
With your mixer on low speed, drizzle the sugar mixture into the bowl with the gelatin. After everything is poured in, turn the speed up to high and get the party started!
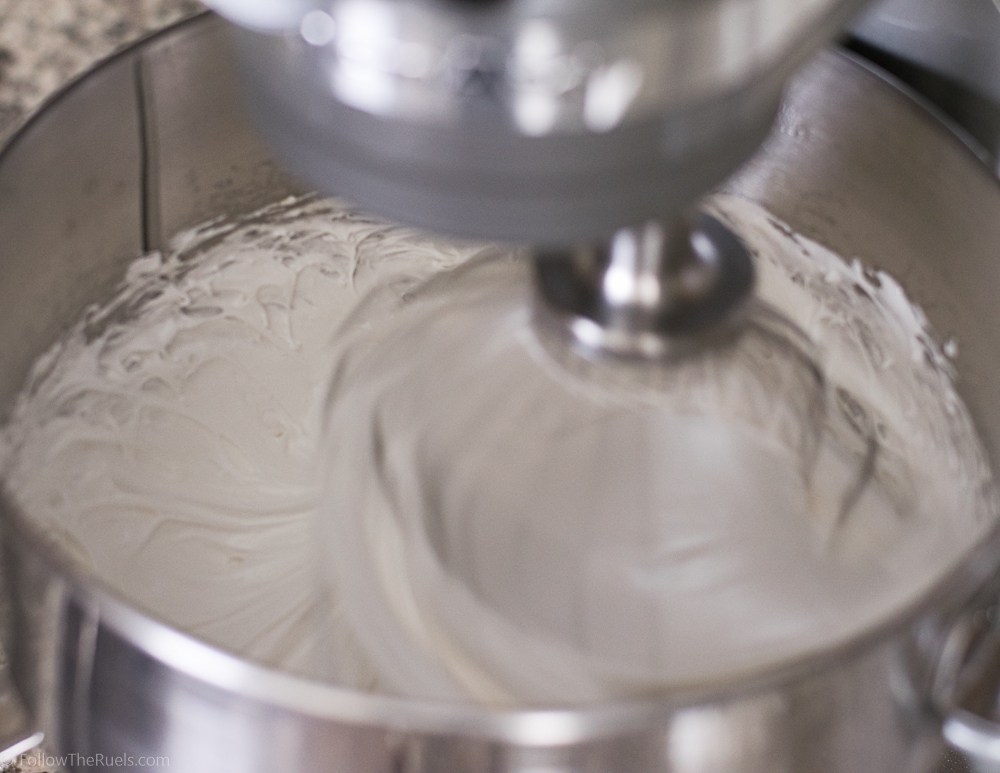
After about ten to fifteen minutes the mixture should look a lot like a stiff meringue, except a lot stickier! The mixture should be thick, but still very light and airy.
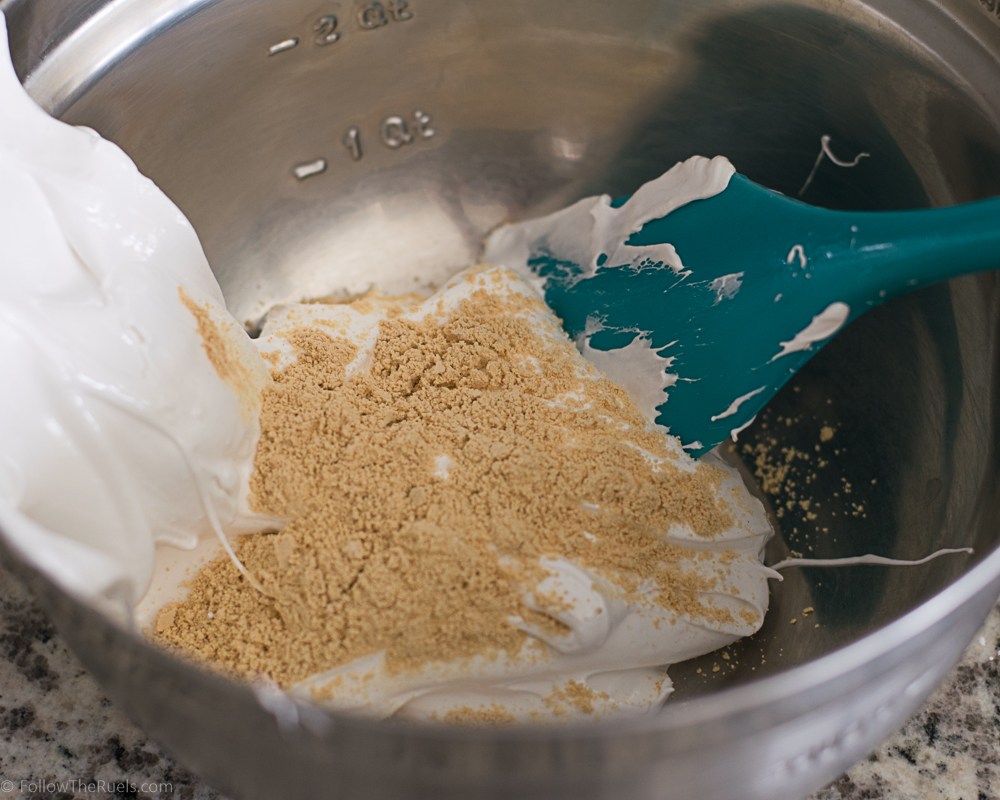
If you are flavoring your marshmallows with anything, now is the time to add that in. I added a couple tablespoons of peanut butter powder and mixed it into my marshmallow mix. I did the same with the cocoa powder and strawberry powder.
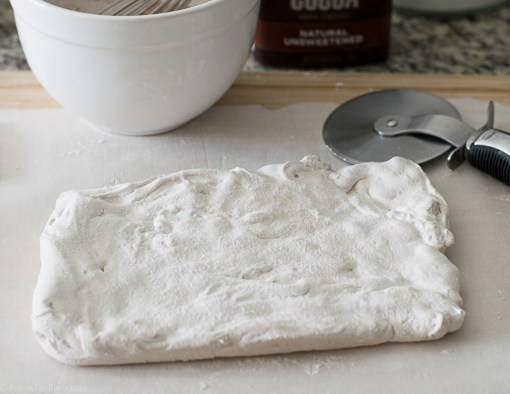
Forming the marshmallows may be the trickiest part of this whole process because the marshmallow is just so stubborn. It does not want to go where you want it to go, and it sticks to everything. I found that using a couple of well-oiled hands or an offset spatula works the best for spreading it out on to the pan.
Note that my pan is heavily dusted with powdered sugar. There is actually a layer of parchment under there, too, to make sure that nothing sticks!
Also, since I made several flavors, I sectioned off my pan with a piece of parchment so that the flavors wouldn’t stick together. If you plan on doing the same, I would recommend only try two flavors per batch.
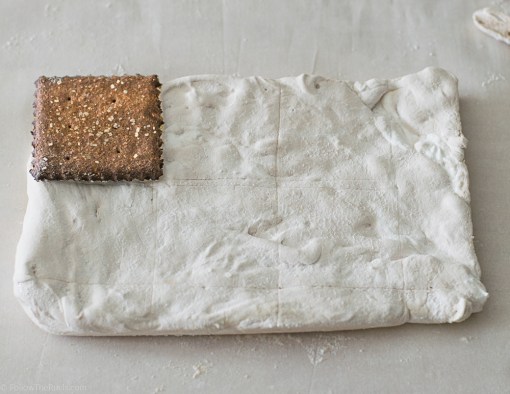
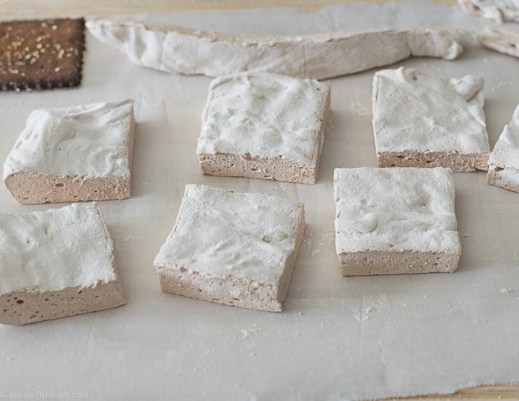
Let the marshmallows sit overnight so they can dry out. Then you can cut them to whatever size you wish! Since my marshmallows were going to be used for s’mores, I cut them to fit my graham cracker.
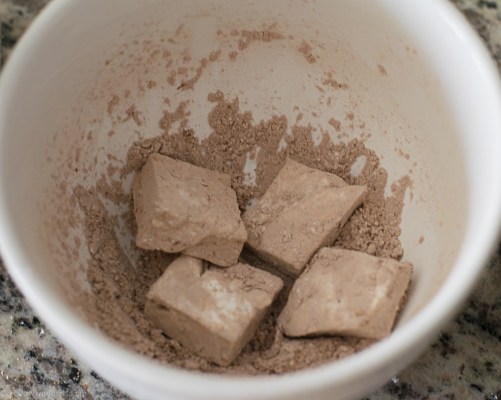
After your marshmallows are cut up however you like them, give them a toss in a bit more powdered sugar. If you flavored your marshmallows with any of the powders I used, add a teaspoon or two to your powdered sugar before tossing in your marshmallows. For instance, I added a teaspoon of cocoa powder to about a half a cup of powdered sugar then tossed in my chocolate marshmallows to make them extra chocolatey! And ensure that they marshmallows don’t stick to one another. But mostly the former.
And voila! Homemade marshmallows! Nothin beat them! They are so soft and spongey. Even after a few days, they are still so soft and just melt in your mouth (I am currently eating left over marshmallows as I type. I work best on massive amounts of sugar.)
Even the plain vanilla ones are just better. But let me tell you, those peanut butter marshmallows are perfection! I brought some leftovers to a coworker who loves to drink hot cocoa (even in the Summers). He confirmed my suspicion that hot cocoa is 100% better with peanut butter marshmallows. I bet it would also be good with chocolate or strawberry marshmallows! Also, can imagine a s’more made with white chocolate and the strawberry marshmallows? Oh man, delish!
Now it’s time to go make some s’mores!
Homemade Marshmallows
Yields 30 Prep Time 30 min Cook Time 10 min Total Time 40 min
Ingredients
- 3 packages of unflavored gelatin
- 1 cup water, divided
- 1 1/2 cups granulated sugar
- 1 cup light corn syrup
- 1/4 tsp salt
- 1 tbsp vanilla extract
- 1-2 cups confectioners sugar, for dusting
Optional
- 3 tbsp peanut butter powder
- 2 tbsp cocoa powder
- 3 tbsp freeze dried strawberries, processed into a powder
Instructions
- In a measuring cup or small bowl, sprinkle gelatin into 1/2 cup of water. Set aside to bloom.
- In a small sauce pan over medium-low heat, combine remaining water, salt, sugar, and corn syrup. Once sugar has dissolved, turn heat up to medium high and bring mixture to a low boil. Bring mixture to 240 degrees (F). Remove from heat.
- In the bowl of a stand mixer fitted with a whisk attachment, pour in the gelatin. Turn mixer to low speed and slowly drizzle in the hot syrup mixture. Once it has all been added, turn the speed up to high and whip until the marshmallow mixture is light, fluffy, and thick. About 10 to 15 minutes. Slowly mix in vanilla and any other flavoring you want to add.
- Prepare a rimmed baking sheet by spraying the bottom with baking spray, then lining it with parchment paper. Spray the parchment again and sift powdered sugar over top.
- Pour out the marshmallow mixture on to the pan and used a lightly oiled spatula or oiled hands to spread the marshmallow out into an even layer. Sift powdered sugar over top and set aside to set overnight.
- Cut into desired size pieces with an oiled knife. Toss in some additional powdered sugar. If you are making flavored marshmallows, add 1-2 tsp of the powder (peanut butter, cocoa, or strawberry) into the powdered sugar.
- Store in a zip top bag until read to use.
Notes: To make flavored marshmallows, add peanut butter powder, cocoa powder, or strawberry powder.
